Nordson-EFD-794-Service-Replacement-Parts-Manual.pdf
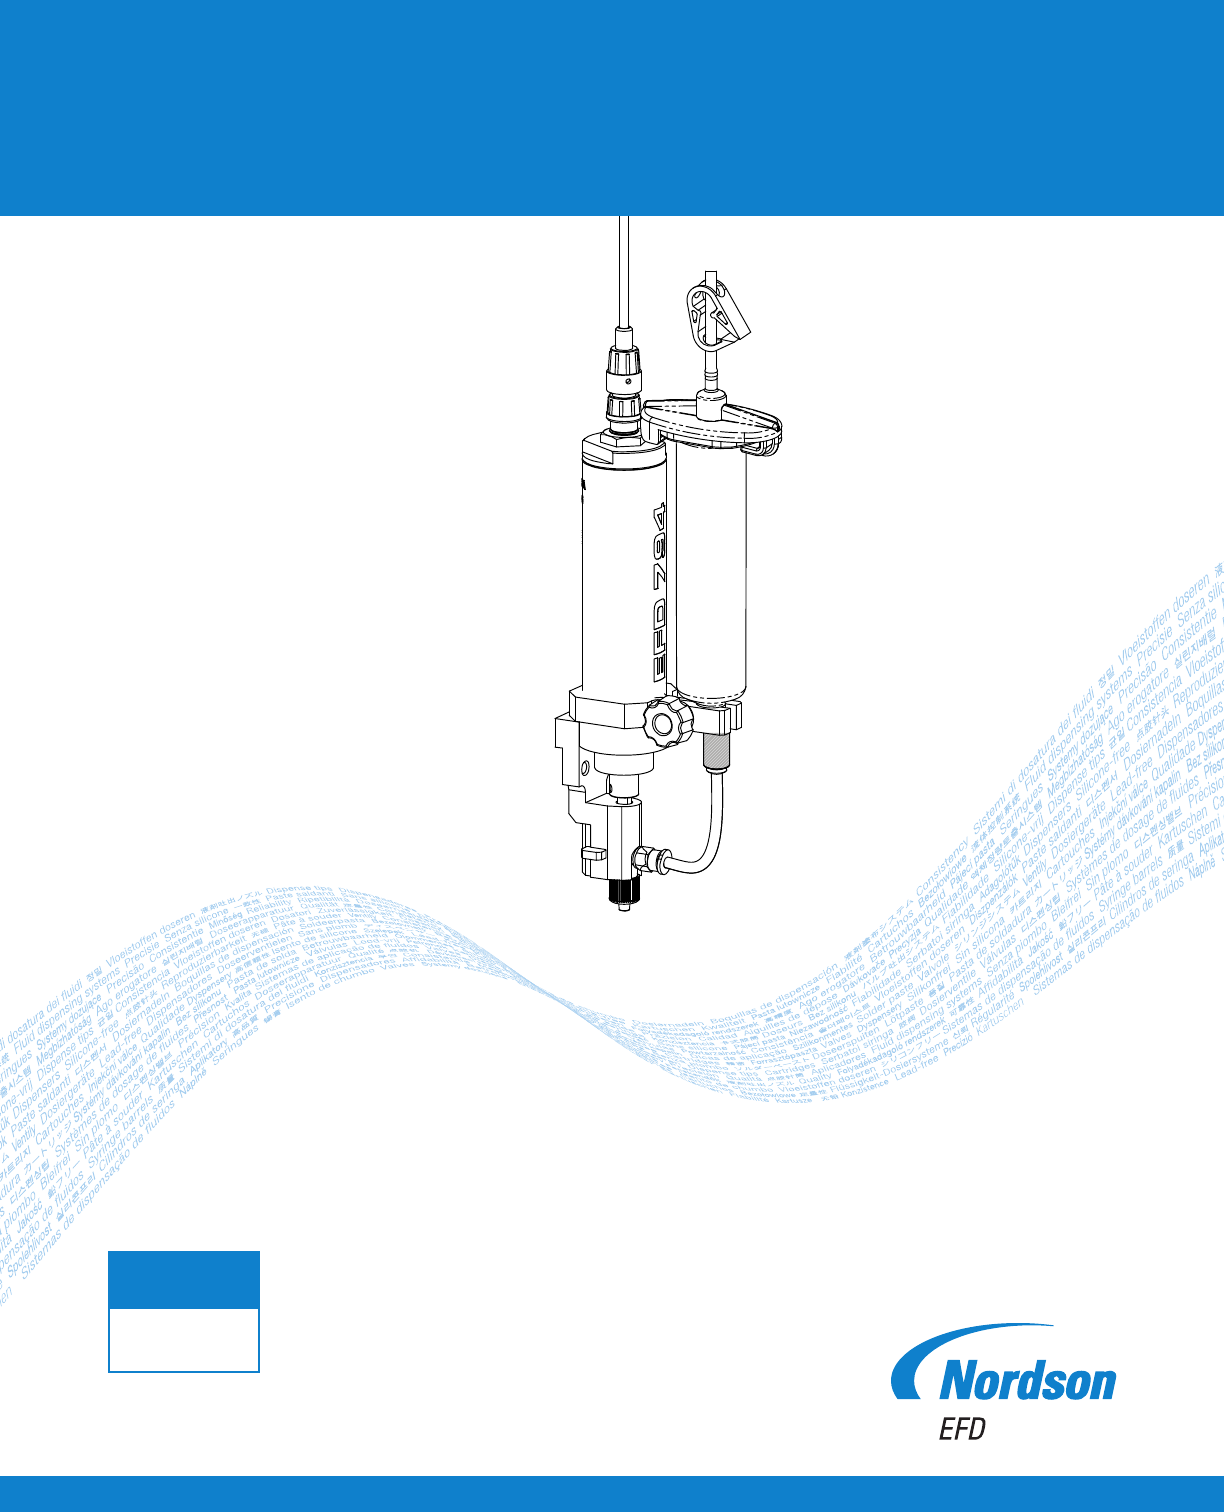
™ 794 Series Auger Valve Service & Replacement Parts Manual Electronic pdf files of Nordson EFD manuals are also available at www.nordsonefd.com IMPORTANT! Save this Sheet. Forward to Maintenance or Tool Crib Supervis…
™
794 Series Auger Valve
Service & Replacement Parts Manual
Electronic pdf files of Nordson EFD
manuals are also available at
www.nordsonefd.com
IMPORTANT!
Save this Sheet.
Forward to
Maintenance or
Tool Crib Supervisors
794 Series Auger Valve | Service & Replacement Parts Manual
2 www.nordsonefd.com info@nordsonefd.com +1-401-431-7000 Sales and service of Nordson EFD dispensing systems are available worldwide.
Tools and Supplies
• Valve purge compound (P/N7019147)
• Cotton swab
• Cleaning brushes and solvent or ultrasonic cleaning device
Valve Service Procedures
Follow these procedures to properly purge the valve and clean the auger assembly. Inspect, clean, and replace components
as needed. Refer to “Replacement Parts” on page4 for part numbers and for an exploded diagram of the valve
components.
CAUTION
Before any component change or service activity, relieve air pressure from the fluid reservoirs.
Purging
The use of valve purge compound between production shifts or after every eight hours of run time is highly recommended.
The compound cleans any material residue from the fluid path and conditions the valve for future use.
1. Install the barrel of valve purge compound on the fluid inlet fitting.
2. Apply reservoir pressure and cycle the valve until the valve purge compound has pushed all residual material from the
valve. Leave the compound in the valve until future use.
3. To remove the valve purge compound, replace it with the material to be dispensed and cycle the valve until all
compound is pushed from the valve.
794 Series Auger Valve | Service & Replacement Parts Manual
3www.nordsonefd.com info@nordsonefd.com +1-401-431-7000 Sales and service of Nordson EFD dispensing systems are available worldwide.
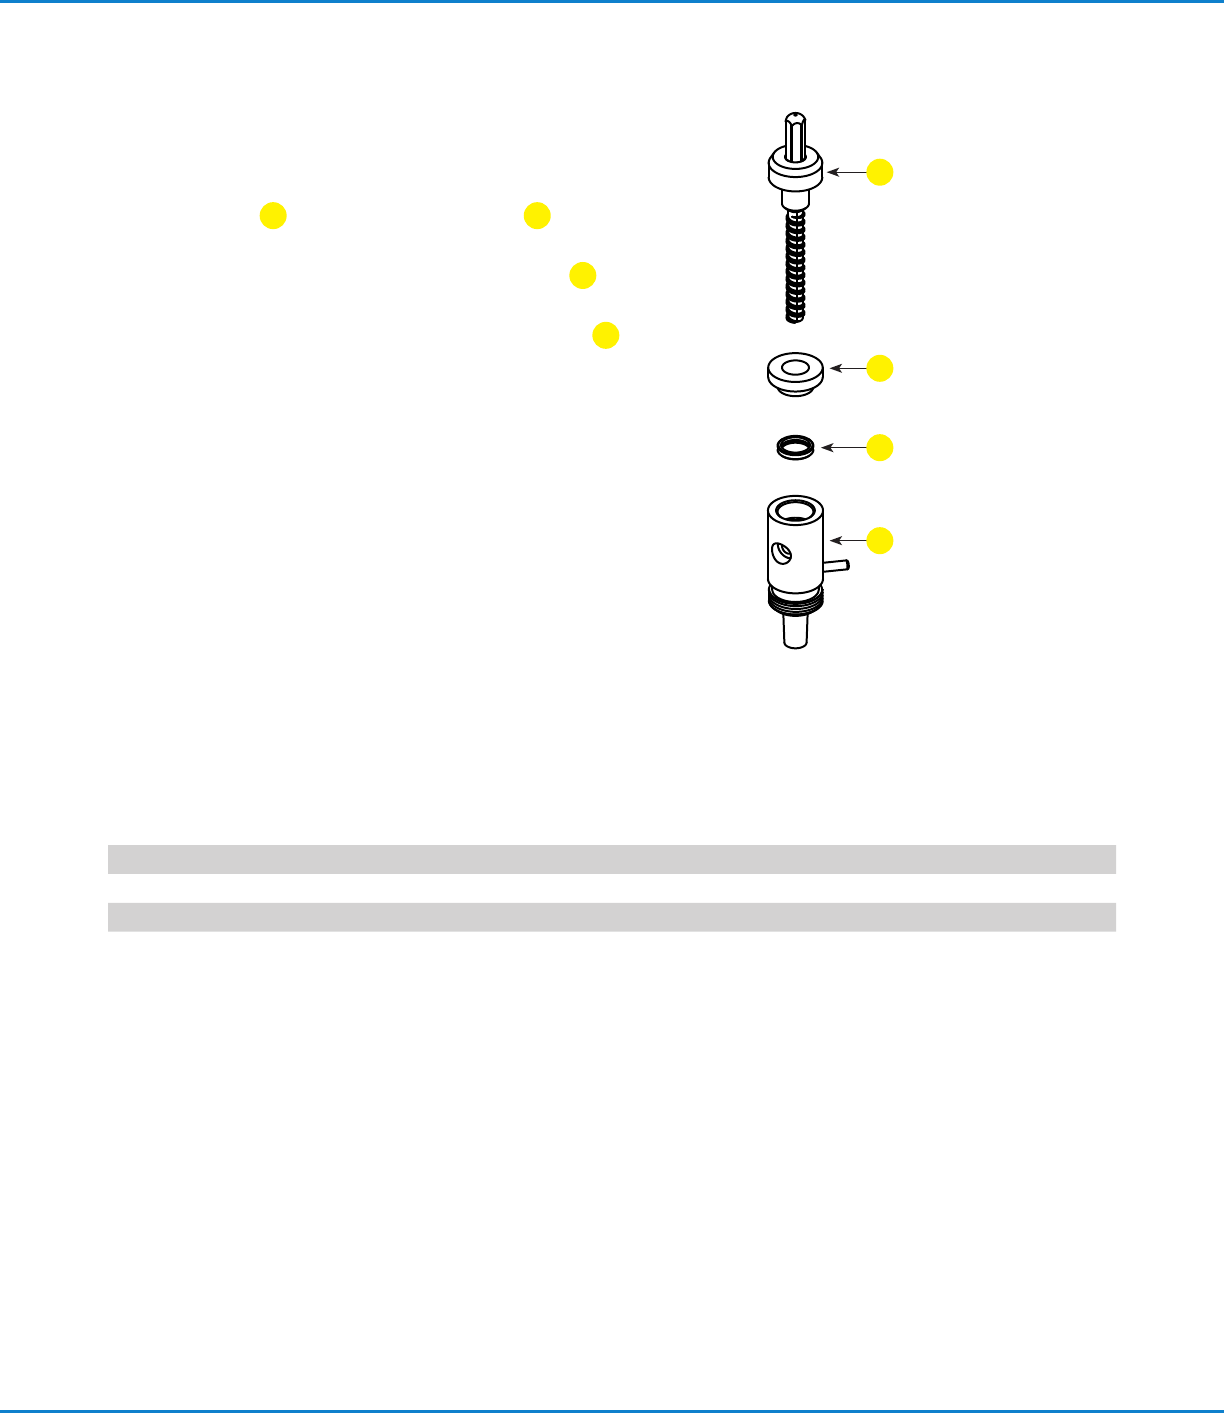
Cleaning the Auger Assembly
If the purging procedure detailed above is not sufficient to clean
the valve, disassemble the auger assembly as follows:
1. Pull the auger
1
straight out of the fluid body
4
, being
careful not to damage the spring energized seal.
2. Use your fingernail to carefully pry the auger bearing
2
out of
the fluid body.
3. Use a cotton swab to remove the spring energized seal
3
.
4. Clean all parts using any suitable solvent and brushes or an
ultrasonic cleaning device.
5. Inspect the seal and bearing for signs of wear or damage and
replace if needed.
6. Insert the seal, spring side inward, into the fluid body and use
the auger bearing to gently push it.
7. Fully press the auger bearing into the fluid body.
8. Insert the auger, being careful not to damage the seal.
Auger
Auger bearing
Spring energized seal
Fluid body
1
3
4
2
Valve Part Numbers
Part # Pitch Model Description
7029745 8 794-FR Auger valve, 8 pitch, brush motor, fixed head
7029746 16 794-FR Auger valve, 16 pitch, brush motor, fixed head
Valve Service Procedures (continued)