ACT - Accuracy Check Tool mit SSW 6xx User Manual 2017.pdf - 第76页
ACT with SSW 6xx / User Manual 07/2017 Edition 12 3 Preparatory Work 3.1 General Hardw are Preparations ► Ensure that the gla ss components ar e placed correctl y in the divi sions. The component s should be placed face …
ACT with SSW 6xx / User Manual 07/2017 Edition
11
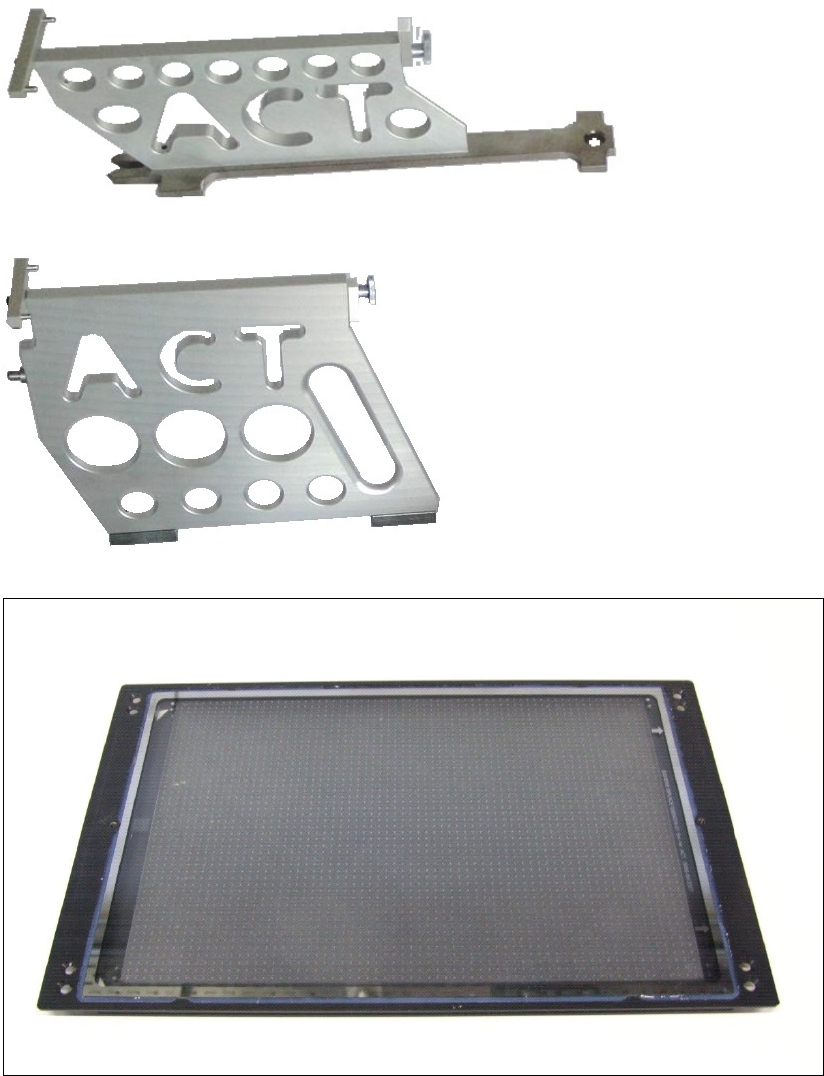
Figure 2-4: Manual waffle pack tray holder for S-table (carrier) for the glass components
Figure 2-5: Manual waffle pack tray holder for X-table (carrier) for the glass components
Figure 2-6: Measuring plate for ACT
ACT with SSW 6xx / User Manual 07/2017 Edition
12
3 Preparatory Work
3.1 General Hardware Preparations
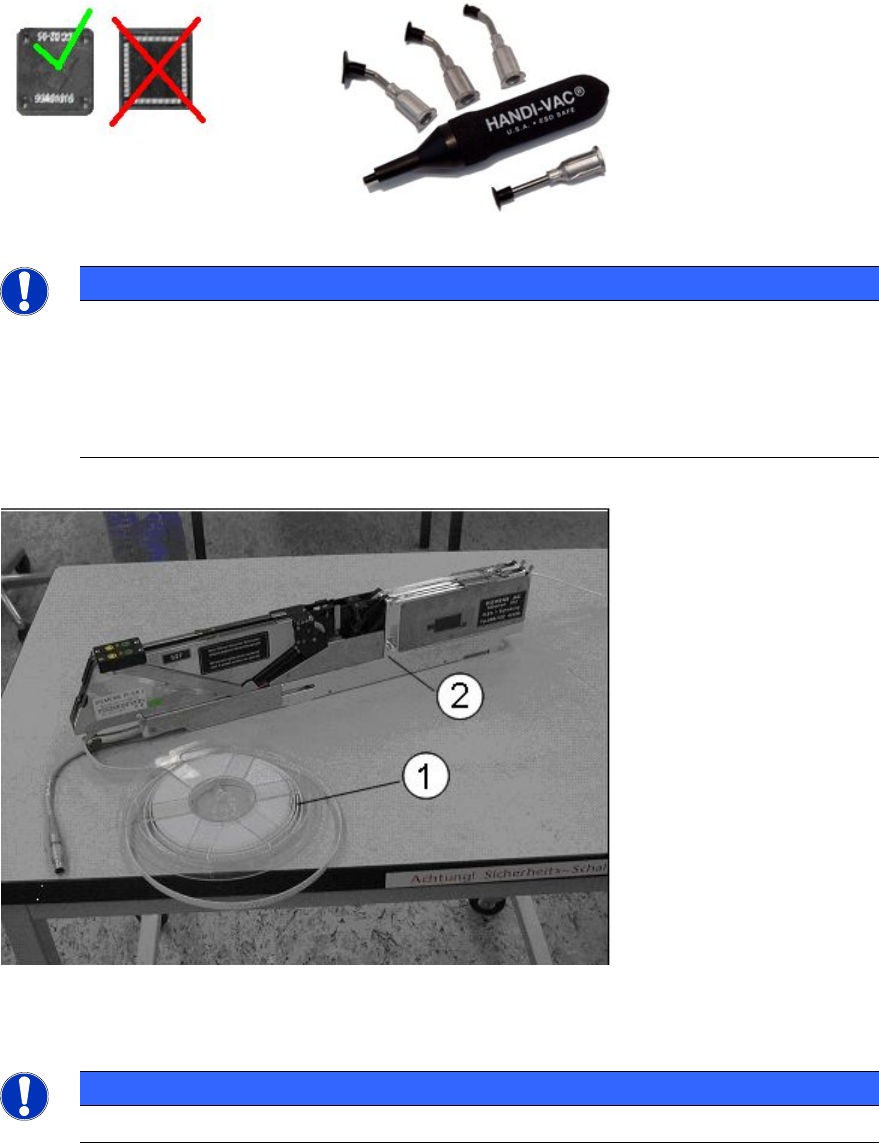
► Ensure that the glass components are placed correctly in the divisions. The components should
be placed face downwards into the tray, see Figure 3-1.
Figure 3-1: Arrangement of the glass components; vacuum nozzle HANDI-VAC
NOTICE
Handling the glass components
► Do not touch the underside of the glass surface where the QFP structure is applied
when you handle the glass components.
► Use the "HANDI VAC HV-4-ESD" vacuum nozzle [00334547-xx] to suck the
components on the upside where name and serial number are imprinted.
Feeder for ceramic components (Cerampads)
Figure 3-2: Feeder for ceramic components (S-feeder in figure)
Key:
(1) Ceramic components (Cerampads) (2) Feeder
NOTICE
Cleanliness of plate and glass components
ACT with SSW 6xx / User Manual 07/2017 Edition
13
To ensure proper measurement, make sure that the measuring plate and the
components are free of all contaminants (particularly the fiducials in the corners of the
glass components).
The glass components should be cleaned with glass cleaning agent (e.g. Viss universal
from Lever)
► Clean the measuring plate and apply the double-sided adhesive foil as described below.
NOTICE
Applying the foil without air bubbles
► Make sure that the foil is applied without air bubbles, particularly in the area around
the line markings on the measuring plate.
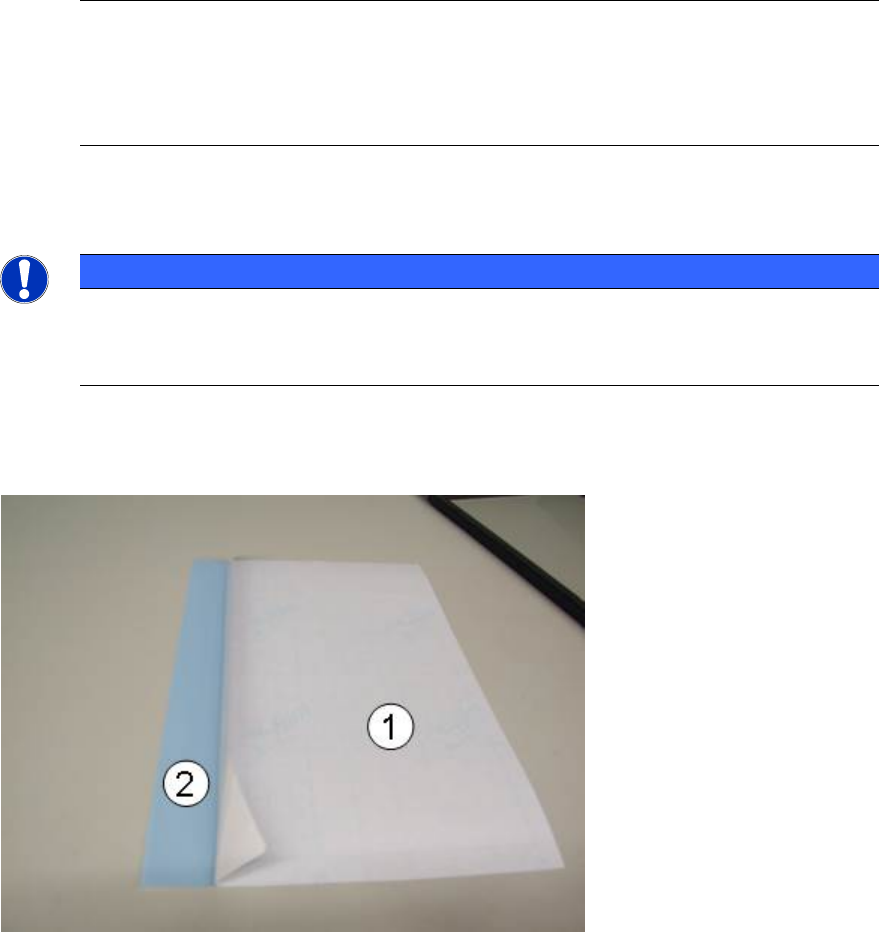
Applying the foil
► Remove the narrow strip of protective paper from the foil (Figure 3-3).
Figure 3-3: Adhesive foil with protective paper
Key:
(1) Protective sheet on adhesive
foil
(2) Adhesive foil