晶圆测试说明书Cascade-11861-6-Manual.pdf - 第77页
Chapter 4: Verifying and Operating • 53 CHAPTER 4 V erifying and Operating Chapter 6 This chapter ex plains how to: • Use the Emergency Off button (EMO) • Verify and use the 1100 0 or 12000-series probe station • Test th…

52
• Summit 11K/12K Probe Station User’s Guide
Install coolant
1. Fill the coolant reservoir. See also, the Temptronic manual for additional
information.
2. Check thermal functions.
Chapter 4: Verifying and Operating •
53
CHAPTER
4
Verifying and Operating Chapter 6
This chapter explains how to:
• Use the Emergency Off button (EMO)
• Verify and use the 11000 or 12000-series probe station
• Test the thermal chuck (thermal stations only)
• Test the joystick
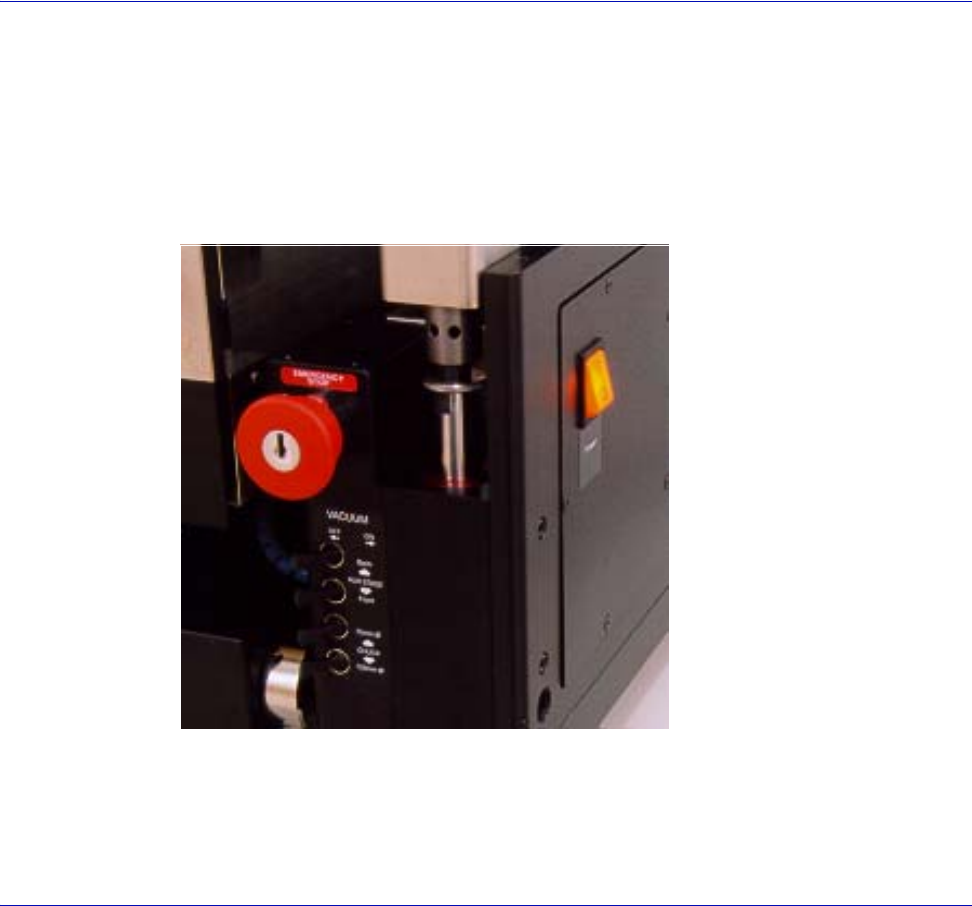
Using the Emergency Off Button (EMO)
The button will not lock unless it’s pushed, or keyed to lock for maintenance.
1. Identify the “red” button on the right front of the station.
2. Push to stop all movement on station.
3. The system key must be inserted and turned clockwise to release the button
and restore power.
Fig. 41. Emergency Off button (EMO).
54
• Summit 11K/12K Probe Station User’s Guide
Verifying the 11000 or 12000-Series Probe Station
Manually
We recommend that
you run these tests
on either the 12000-
series or 11000-
series base station.
Before installing any accessories, verify the probe station’s components. Tools are
not needed. This discussion explains how to verify the:
• Z-lever
• X-axis and Y-axis movements
These procedures
assume you are
facing the front of
the probe station.
• Theta adjustments
•Roll-out stage
•Vacuum controls
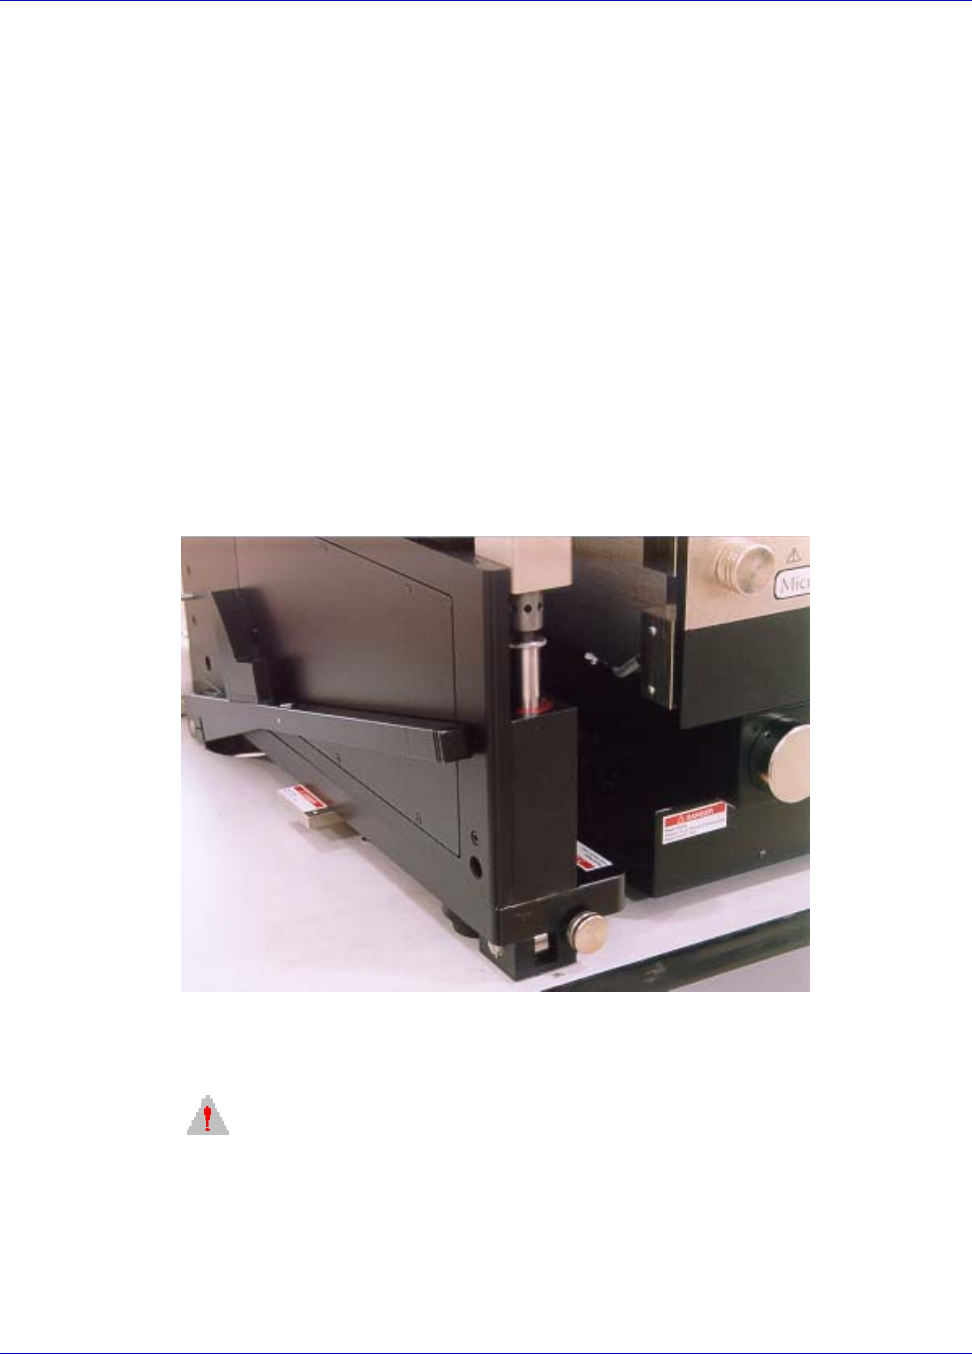
VERIFYING THE Z-LEVER
Adjust the Z-lever
friction after you
install probes and
accessories. To
adjust, see
Maintaining.
The Z-lever is located on the probe station’s lower-left side. When you raise and
lower the Z-lever, the wafer should stay in focus throughout the platen’s travel.
When operating correctly, the Z-lever stays in the place when you release it.
CAUTION
f the Z-lever friction is not adequate, the platen can drop suddenly and damage
your probes, positioners, and the wafer. Set the friction so that the platen stays in
position when you raise Z-lever.
To prevent damage to the probes, to the chuck surface, or to your wafer, check and
adjust the Z-lever friction as described in Maintaining. Check the friction
adjustment monthly and whenever you change the probing arrangement.
Fig. 42. Z-lever location.