PS288_OwnersMnl_PriorTo2009 - 第115页
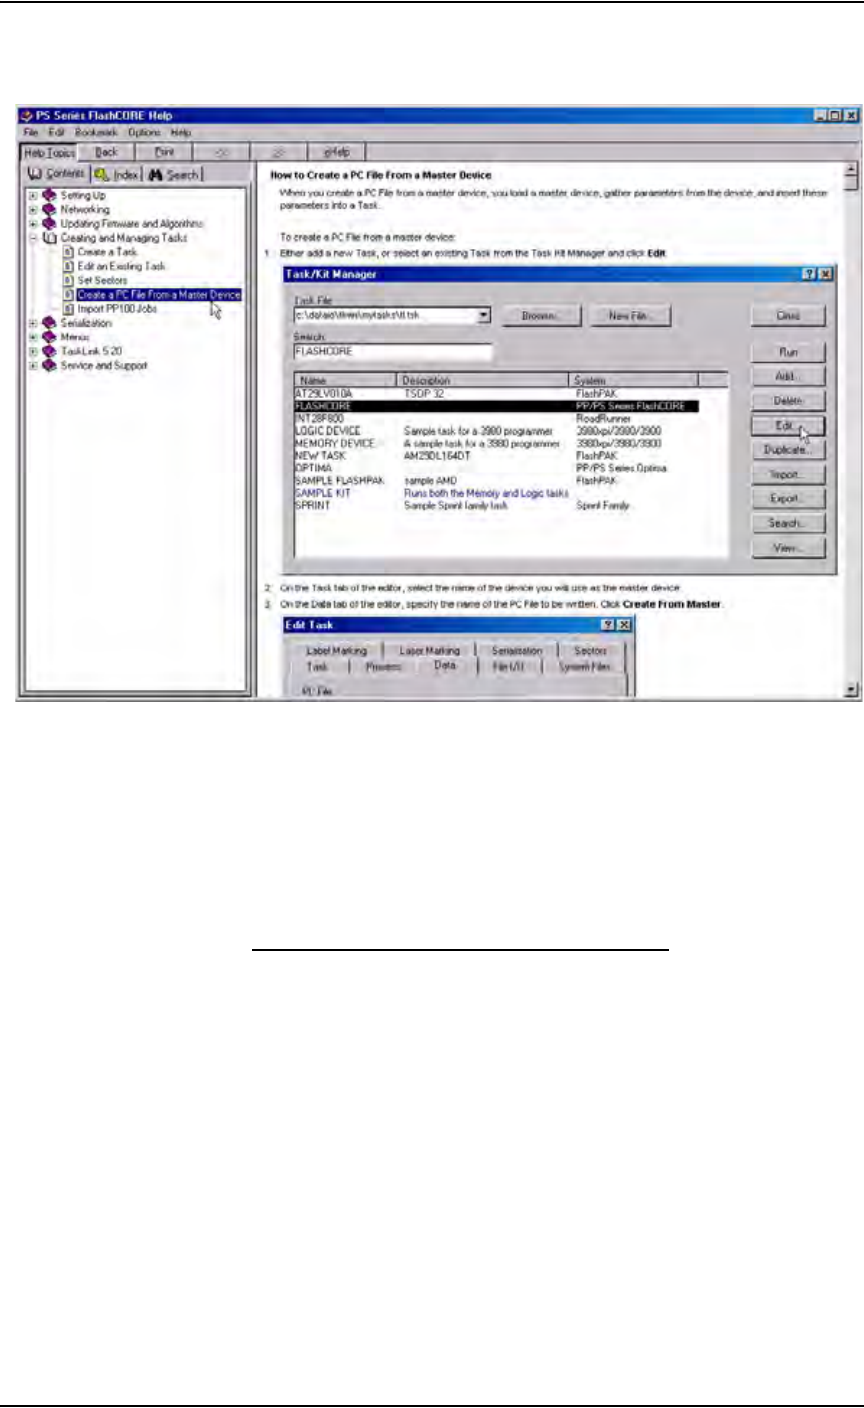
Operation • Administrator Functi ons PS288 Owner’s Manual 3—55 For complete instructions on creating a data file from a master device, see T askLink online Help. Figur e 3-73—Pr ocedure for cr eating PC file fr om master…
Operation • Administrator Functions
3—54 PS288 Owner’s Manual
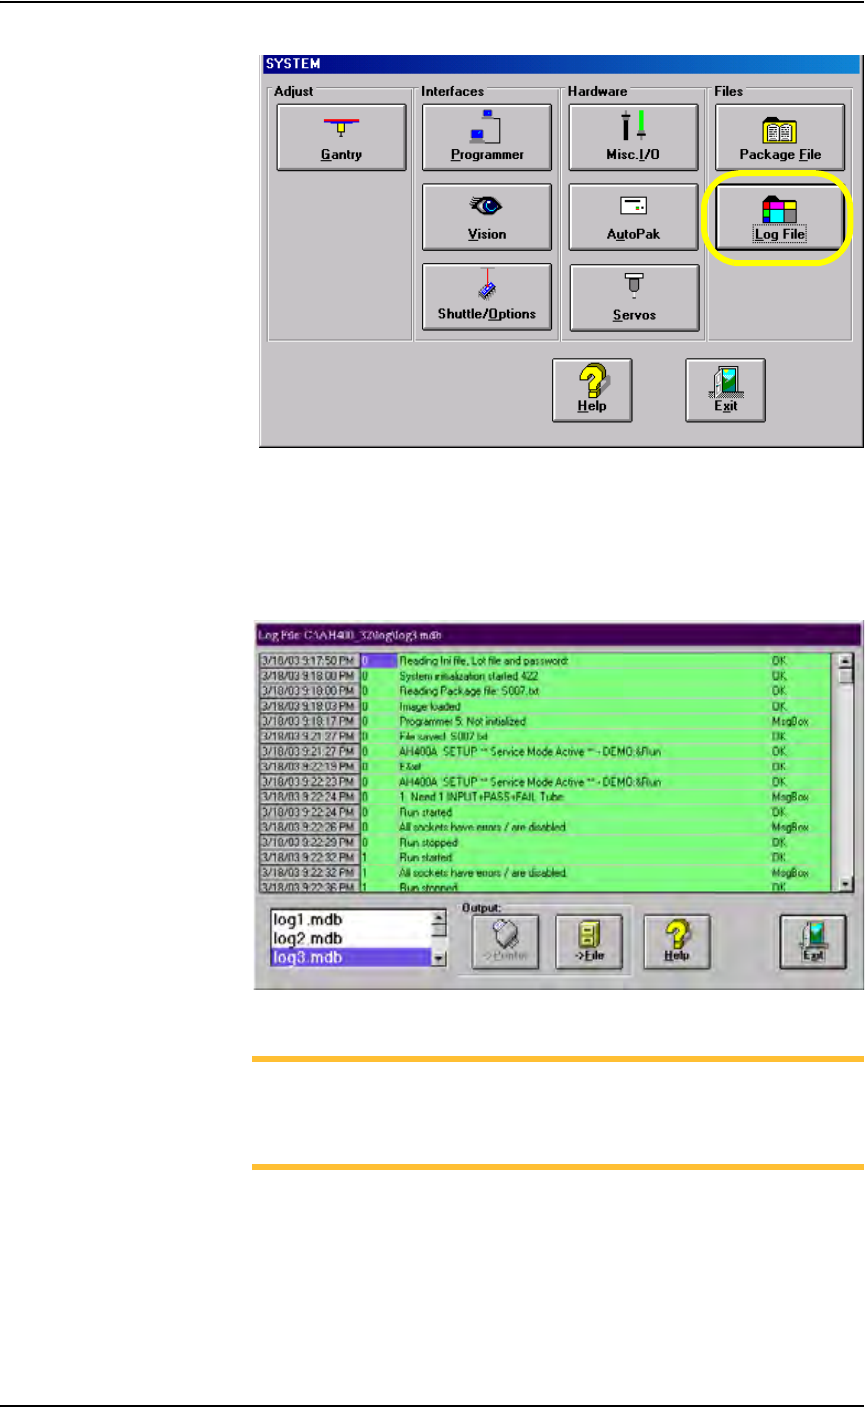
Figure 3-71—Select Log File
2. The LogFile window—
2a) Information is displayed about the successful or unsuccessful comple-
tion of any operation of the PS288.
2b) (Optional) View, print, or store daily operation logs to another location.
Figure 3-72—LogFile window
NOTE: The Log Files are named log1.mdb, log2.mdb, log3.mdb,
and so on up to log7.mdb. They correspond to the days of the week,
where log1.mdb is the Log File for Sunday, log2.mdb is the Log
File for Monday, and so on up to log7.mdb for Saturday.
(Optional) Create a Data File from a Master Device
The PS288 can read data from a master device and create a data file (PC file)
that can then be used in programming jobs.
Operation • Administrator Functions
PS288 Owner’s Manual 3—55
For complete instructions on creating a data file from a master device, see
TaskLink online Help.
Figure 3-73—Procedure for creating PC file from master device
(Optional) Create a Laser Marking File
Laser graphics used to mark devices are generated using the WinMark Pro
software on the Laser Computer. Any style of marking (whether text-based,
graphic-based, or both) can be generated and used for marking devices. The
only limitation is the size of the device to be marked.
Creating an Image File for the Laser System
To create an image file for the laser system to use in laser marking devices:
1. Prepare the system—
1a) Select the Laser Computer. Copy and paste Template.mkh to create
Copy of Template.mkh.
1b) Rename Copy of Template.mkh to the name you gave the laser marking
(drawing) file in the job creation process, e.g. Ver7.mkh.
1c) Start WinMark Pro by double-clicking the WinMark icon on the desk-
top.
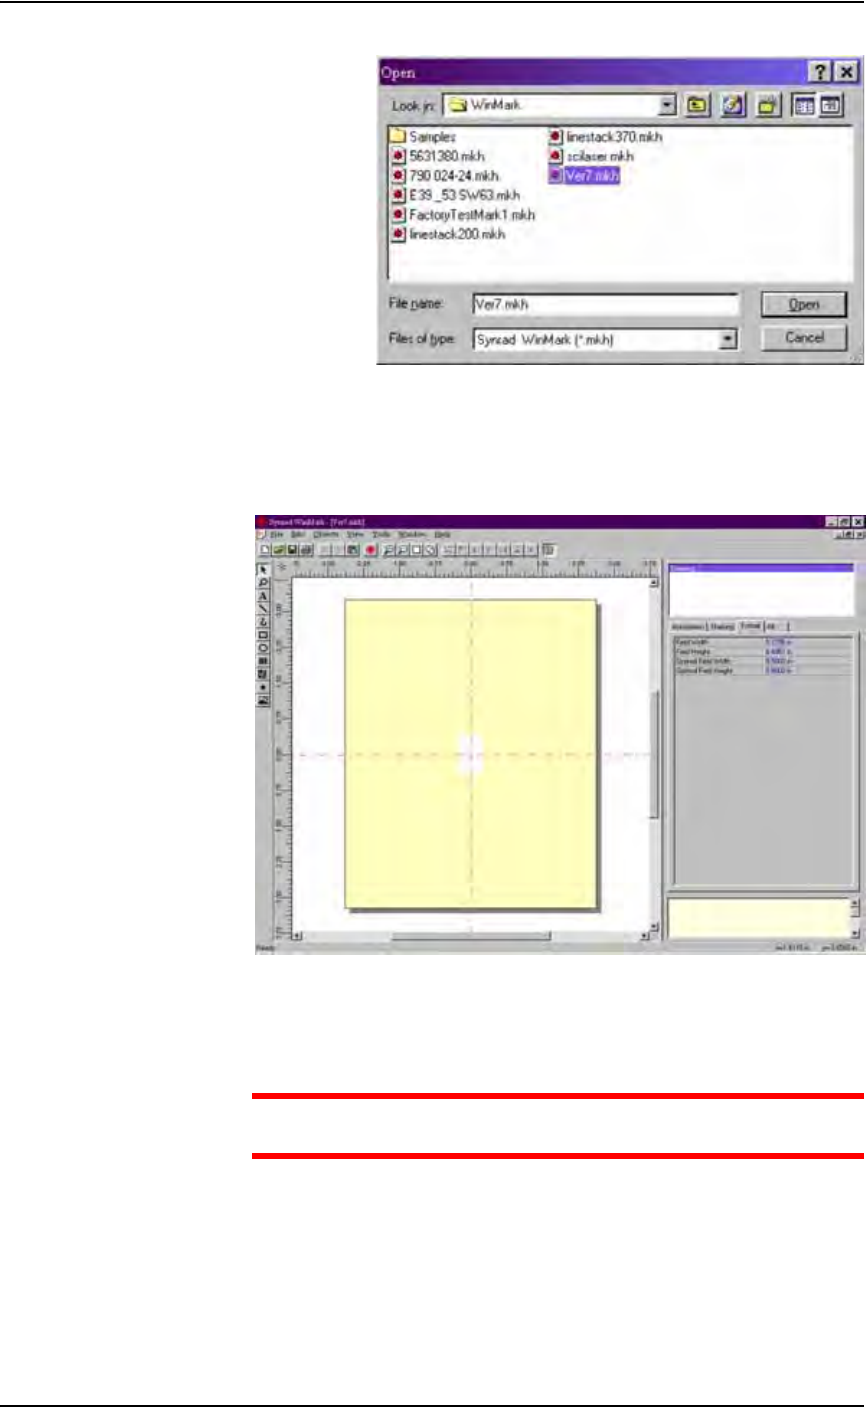
2. Load the file—
2a) From the menu at the top of the window, select File > Load.
2b) Select your laser marking file from the list that appears, or navigate to
the location and select the file.
2c) Click Open to load the file.
Operation • Administrator Functions
3—56 PS288 Owner’s Manual
Figure 3-74—Selecting the laser marking file
3. Format—
3a) Click Drawing in the right-hand side of the Properties window.
3b) Click the Format tab.
Figure 3-75— Format tab
3c) On the Format tab, set the Optimal Field Width and Optimal Field
Height to the approximate height and width of the device to be marked.
CAUTION: Do NOT change values in the Automation tab. These
values are set in Template.mkh.
4. Create text—
4a) On the vertical tool bar on the left side of the window, select the Text
tool (the button with the letter A on it).
4b) Click the mouse anywhere in the drawing area.
4c) Type the desired text.