PS288_OwnersMnl_PriorTo2009 - 第141页
Maintenance • Preventive Maintenance 5—6 PS288 Owner’s Manual CAUTION: Use a small amount of lubricant, just eno ugh to allow the bearing block to move fr eely on the track. T oo much lubricant will aid in the build up o…
Maintenance • Preventive Maintenance
PS288 Owner’s Manual 5—5
Check Automatic Tray Feeder
1. Feeder—
1a) Check the automatic tray feeder for damaged or broken parts.
1b) Contact Data I/O Customer Support if you find damaged or broken
parts.
2. Conveyor belts—
2a) Check the orange conveyor belts for dirt, nicks, or other signs of dam-
age.
2b) If the conveyor belts are dirty, clean with dry compressed air or wipe
with a dry, lint-free cloth.
Procedures Performed Every Month
Clean the Input Air Filter and Assembly
1. Disconnect the input factory air line from the input air filter assembly.
2. Remove the air contamination collection bowl.
3. Check the collection bowl and input air filter for dirt, oil, or water.
Clean as necessary.
4. Reconnect the collection bowl and air filter.
5. Reconnect the air line.
6. Restore air pressure to the PS288.
Clean the Shuttle Assembly
1. Prepare the system—
1a) Verify that the PS288 is shut down and the main power switch is in the
OFF position.
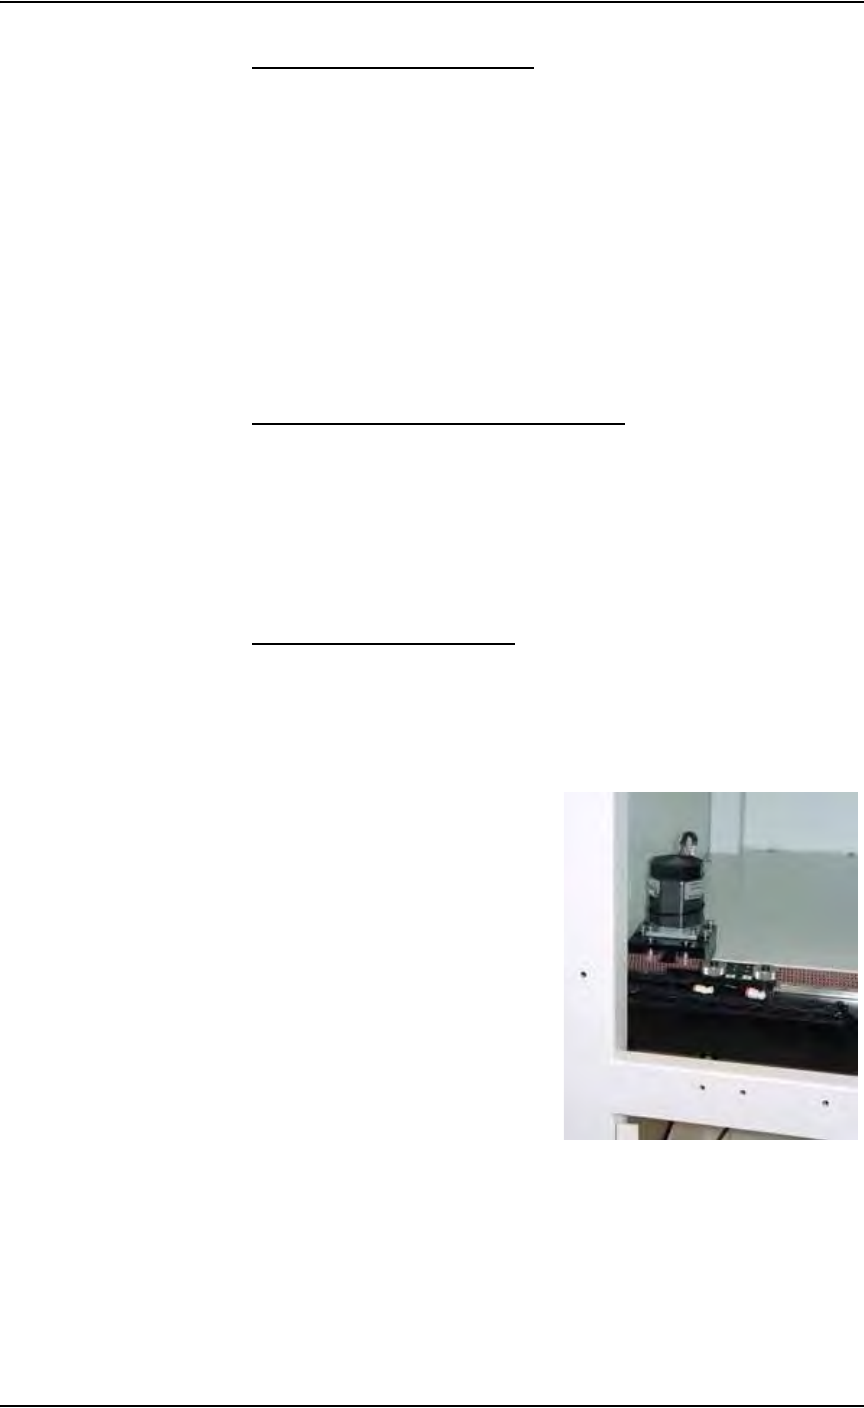
1b) Remove the upper left Option Bay panel. Figure 5-1 shows the panel
removed and the shuttle transfer assembly is visible.
Figure 5-1—Upper left Option Bay panel removed
2. Clean—
Clean the shuttle track using isopropyl alcohol.
3. Lubricate—
Use Tri-Flow lubricant to lubricate the bearing block and shuttle track.
Maintenance • Preventive Maintenance
5—6 PS288 Owner’s Manual
CAUTION: Use a small amount of lubricant, just enough to allow
the bearing block to move freely on the track. Too much lubricant
will aid in the build up of contamination and cause stalling.
4. Reinstall—
Reinstall all guards and panels.
Adjust Tension on the Shuttle Belt
WARNING: Electric shock hazard. Shut down the PS288 (see
“Shut Down the System” on page 3-12) and turn off the main
power switch before removing any panels.
1. Prepare the system—
1a) Verify that the PS288 is shut down and the main power switch is in the
OFF position.
1b) Remove the upper left Option Bay panel.
2. Check the shuttle belt—
Check the belt for wear and replace if necessary.
3. Adjust shuttle belt tension—
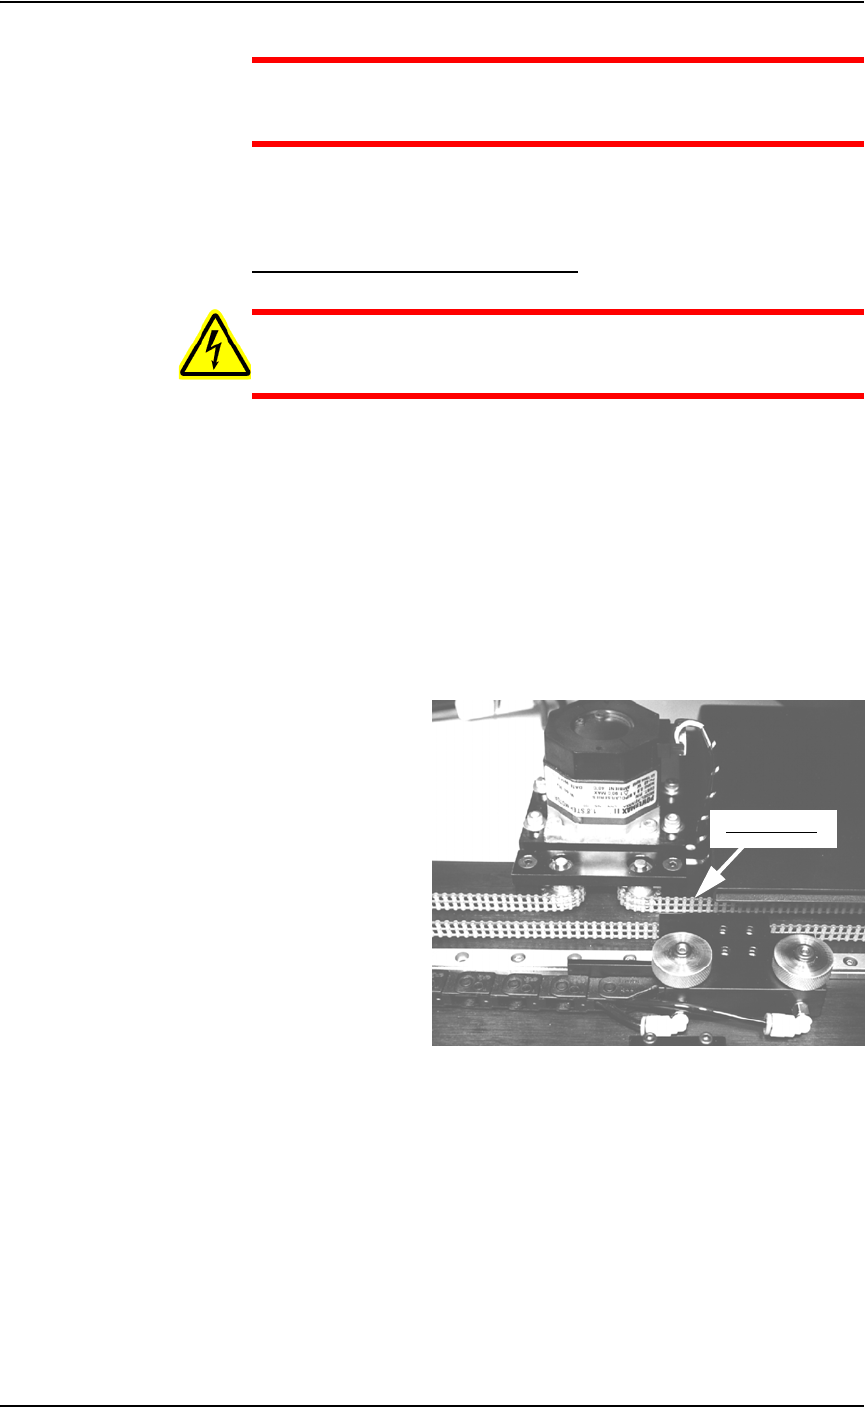
3a) Pull slightly on the center of the shuttle belt to the right of the motor.
See Figure 5-2.
Figure 5-2—Shuttle belt and motor
3b) If the belt moves more than 12 mm (0.5 inch) off its path, loosen the
four motor mounting screws (see Figure 5-3), and then push the motor
away from the belt until the belt tension is correct.
Pull belt here

Maintenance • Preventive Maintenance
PS288 Owner’s Manual 5—7
Figure 5-3—Location of four motor mounting screws
3c) If the belt still moves more than 12 mm (0.5 inch), remove it and cut
off as many links as needed to achieve the proper tension.
3d) Replace the belt and tighten the four motor mounting screws.
4. Check the belt sprocket set screws—
4a) Check the belt sprocket set screws and tighten if necessary.
4b) If a sprocket has loosened and is rubbing against the frame, reposition
the sprocket up off the frame and tighten the set screw.
4c) Reinstall all guards and panels.
Clean the Laser Housing
WARNING: Hazardous materials. Wear safety goggles and dis-
posable protective gloves.
WARNING: Electric shock hazard. Shut down the PS288 (see
“Shut Down the System” on page 3-12) and turn off the main
power switch before removing any panels.
1. Prepare the system—
1a) Verify that the PS288 is shut down and the main power switch is in the
OFF position.
1b) Remove all the laser marker housing panels.
2. Clean—
2a) Use a damp paper towel and antistatic cleaner to wipe laser marking
dust and other foreign material from the housing into a sealable plastic
bag.
2b) Place the paper towel in the plastic bag. Pull off the disposable protec-
tive gloves, place them in the sealable plastic bag, and then close and
tightly seal the bag.
WARNING: Numerous government regulations apply to the stor-
age of hazardous waste. Ensure that contaminated filters are
properly labeled and stored in your hazardous waste storage area.