PS288_OwnersMnl_PriorTo2009 - 第188页
Maintenance • Replacing Major Assemblies PS288 Owner’s Manual 5—53 Figur e 5-65—Removing upper scr ews 5. Install new PNP head— 5a) Install new PNP head by securing the two upper and two lower screws. 5b) Reassemble in r…

Maintenance • Replacing Major Assemblies
5—52 PS288 Owner’s Manual
3. Swing Socket Actuator away from guide—
3a) Using a 2.5 mm Allen wrench, remove the four screws that hold the
Socket Actuator to the guide.
Figure 5-63—Removing four screws
3b) Swing the Socket Actuator away from the guide.
4. Remove old PNP head—
CAUTION: Hold the PNP head while removing the screws to pre-
vent the PNP head from falling.
4a) Using a 2.5 mm Allen wrench, remove the two lower screws that hold
the PNP head in place. See Figure 5-64.
Figure 5-64—Removing lower screws
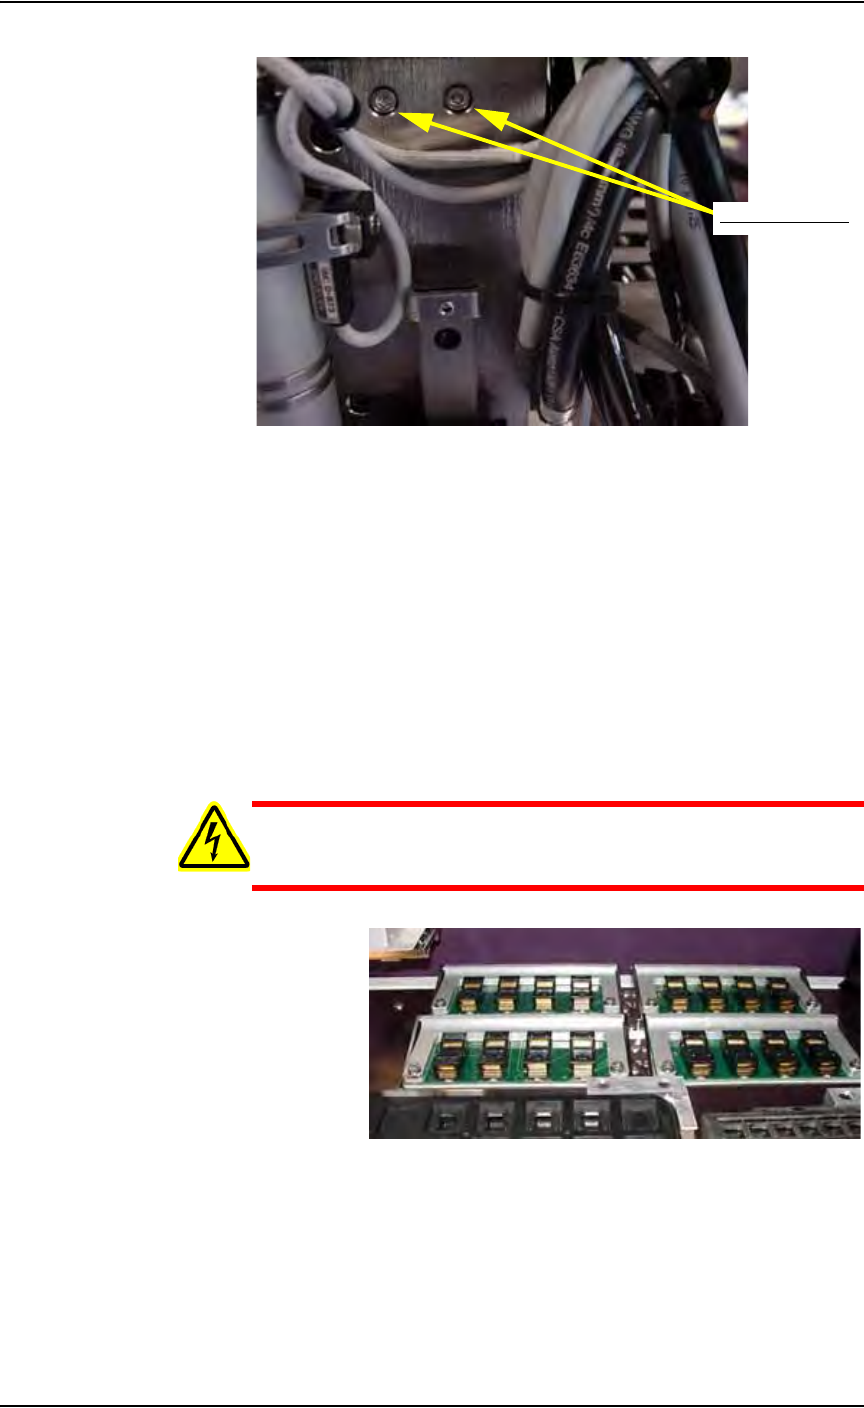
4b) Using a 2.5 mm Allen wrench, remove the two upper screws that hold
the PNP head in place. See Figure 5-65.
Remove screws
Remove two screws
Maintenance • Replacing Major Assemblies
PS288 Owner’s Manual 5—53
Figure 5-65—Removing upper screws
5. Install new PNP head—
5a) Install new PNP head by securing the two upper and two lower screws.
5b) Reassemble in reverse order.
5c) Verify that all screws are tight.
Replacing FlashCORE Quad or FlashCORE Assem-
blies
The PS288 contains a FlashCORE Quad assembly. The FlashCORE Quad
assembly holds four individual FlashCORE programmer assemblies. Both
the FlashCORE Quad assembly and individual FlashCORE programmer
assemblies can be replaced.
WARNING: Electrocution hazard! Turn off the main power
switch before removing any panels. Servicing the PS288 involves
a significant risk of electric shock.
Figure 5-66—FlashCORE Quad assembly
To replace the FlashCORE Quad assembly:
1. Prepare the system—
1a) Verify that the PS288 is shut down and the main power switch is in the
OFF position.
1b) Open the outer access panel closest to the FlashCORE Quad assembly.
Remove two screws

Maintenance • Replacing Major Assemblies
5—54 PS288 Owner’s Manual
2. Disconnect cables—
Disconnect the power and communications cables from the Flash-
CORE Quad assembly.
NOTE: Each cable should be labelled (if not already) to facilitate
proper reinstallation when the FlashCORE Quad assembly is
replaced.
3. Remove FlashCORE Quad assembly—
3a) Remove the six hex screws that fasten the FlashCORE Quad assembly
to the work surface.
3b) Carefully lift the FlashCORE Quad assembly from the work surface,
ensuring that none of the circuit boards, cables, or other mechanical
assemblies catch during removal.
4. Replace—
Replace with new FlashCORE Quad assembly in reverse order.
5. Assign sites and update firmware—
Each of the four newly installed FlashCORE programmer assemblies
in the FlashCORE Quad must be "located" and assigned sites from
TaskLink. Once each site is assigned, firmware on the new FlashCORE
programmer assemblies must be updated from TaskLink.
See TaskLink online Help for information about updating firmware.
To replace an individual FlashCORE programmer assembly:
1. Prepare the system—
1a) Verify that the PS288 is shut down and the main power switch is in the
OFF position.
1b) Open the outer access panel closest to the defective FlashCORE pro-
grammer assembly.
2. Disconnect cables—
Disconnect the power and communications cables from the Flash-
CORE programmer assembly.
3. Remove FlashCORE programmer assembly—
3a) Remove the three mounting screws that hold the FlashCORE program-
mer assembly to the top plate.
3b) Carefully remove the defective FlashCORE programmer assembly.
4. Replace—
4a) If the defective board(s) in the removed FlashCORE programmer
assembly is known, it may be replaced as required. Otherwise, replace
the entire FlashCORE programmer assembly, including CPU, Wave-
form Board and Backplane Board.
4b) Replace FlashCORE programmer assembly in reverse order.