00196804-02_SiplaceProInstall_en.pdf - 第26页
Installation Manual 4 Installation of SIPLACE Pro and possible Setup Types SIPLACE Pro 9.3 Edition 05/2011 24 Select the language you want . Click OK . Note This decision only relates to the language used during the …
4 Installation of SIPLACE Pro and possible Setup Types Installation Manual
Edition 05/2011 SIPLACE Pro 9.3
23
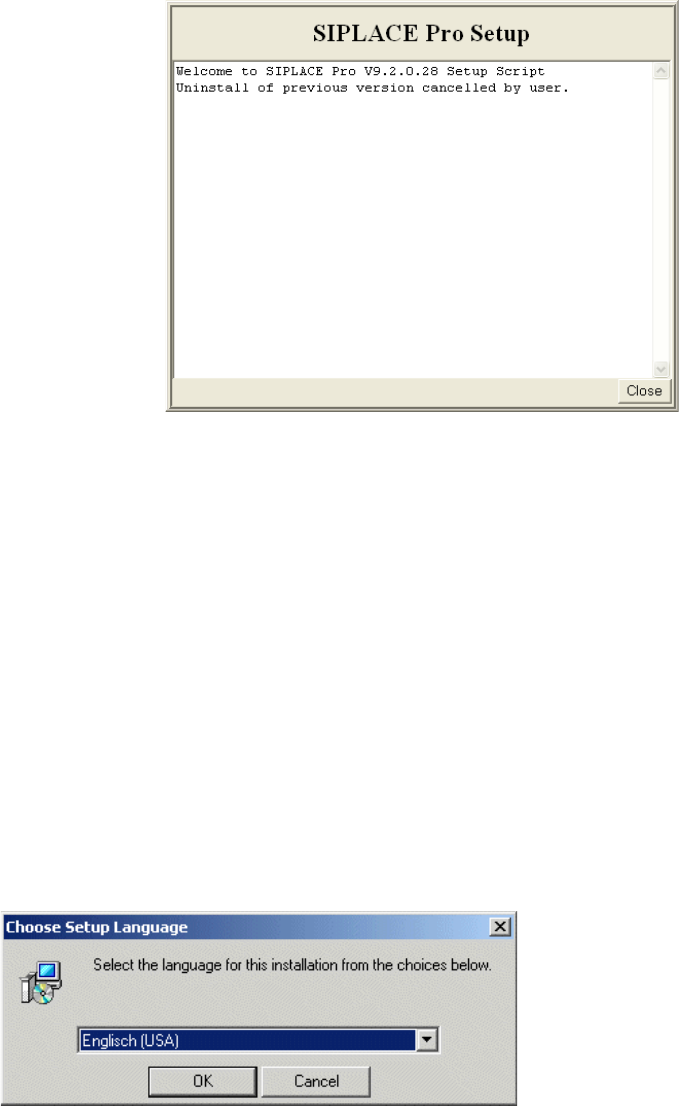
If you've cancelled Setup (or other errors occurred) during a step, a close button will be shown
after a short time as shown in the following picture:
4
Fig. 4.2 - 4 Example of "Cancel" dialog box
In this case, click the Close button to close the window and abort the Setup.
If you've met all conditions for upgrade, Setup will continue preparing your computer for
upgrade, which includes: 4
– Stopping SIPLACE Pro- related services and COM+ components
– Uninstalling previous version of SIPLACE Pro automatically
After preparation for upgrade has been completed, Setup will continue to start the user-controlled
installation of SIPLACE Pro.
Continue with Step 2 on page 23.
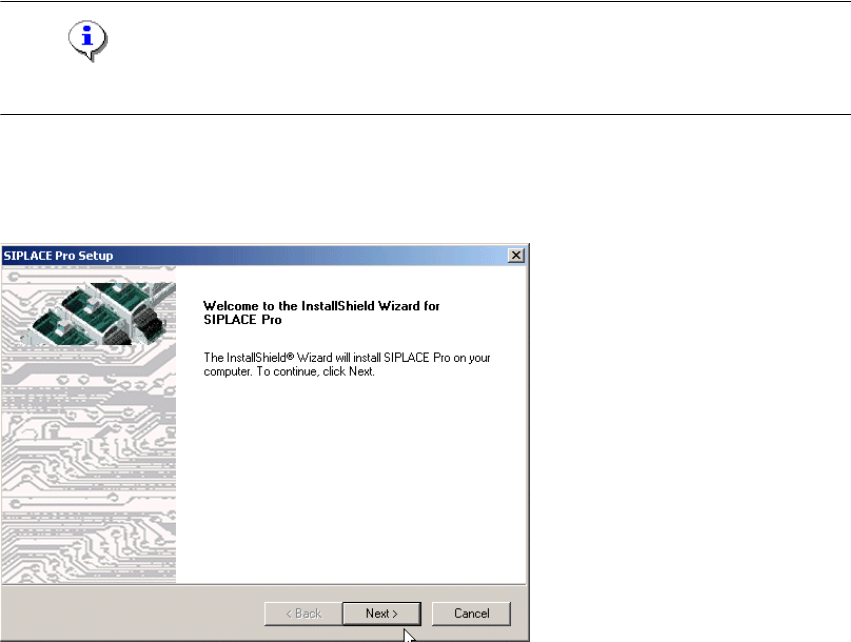
Step 2
This starts the user-controlled installation of SIPLACE Pro; you are prompted to select the
installation language. 4
4
Fig. 4.2 - 5 "Choose Setup Language" dialog box
Installation Manual 4 Installation of SIPLACE Pro and possible Setup Types
SIPLACE Pro 9.3 Edition 05/2011
24
Select the language you want.
Click OK.
Note
This decision only relates to the language used during the installation routine! 4
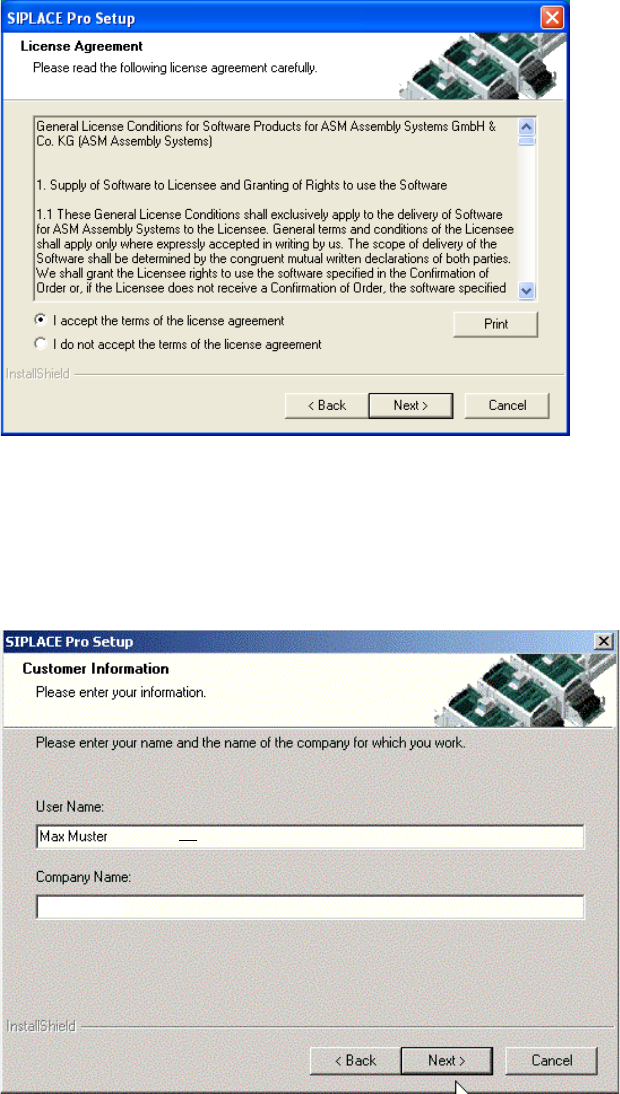
Step 3
The InstallShield Wizard will guide you through the program setup process.
4
Fig. 4.2 - 6 InstallShield Wizard box for Siplace Pro
Click Next.
Step 4
Read the license agreement relating to use of this software.
4 Installation of SIPLACE Pro and possible Setup Types Installation Manual
Edition 05/2011 SIPLACE Pro 9.3
25
4
Fig. 4.2 - 7 "Software License Agreement" dialog box
Please make sure to accept the licence agreement.
Then click the Next button to continue with the installation routine.
Step 5
4
Fig. 4.2 - 8 "Customer Information" dialog box
Enter your User Name and Company Name in the "Customer Information" dialog box.
Both boxes must be filled in before the installation process can be continued.
Click Next.