N7201A617E00_0317.pdf - 第151页
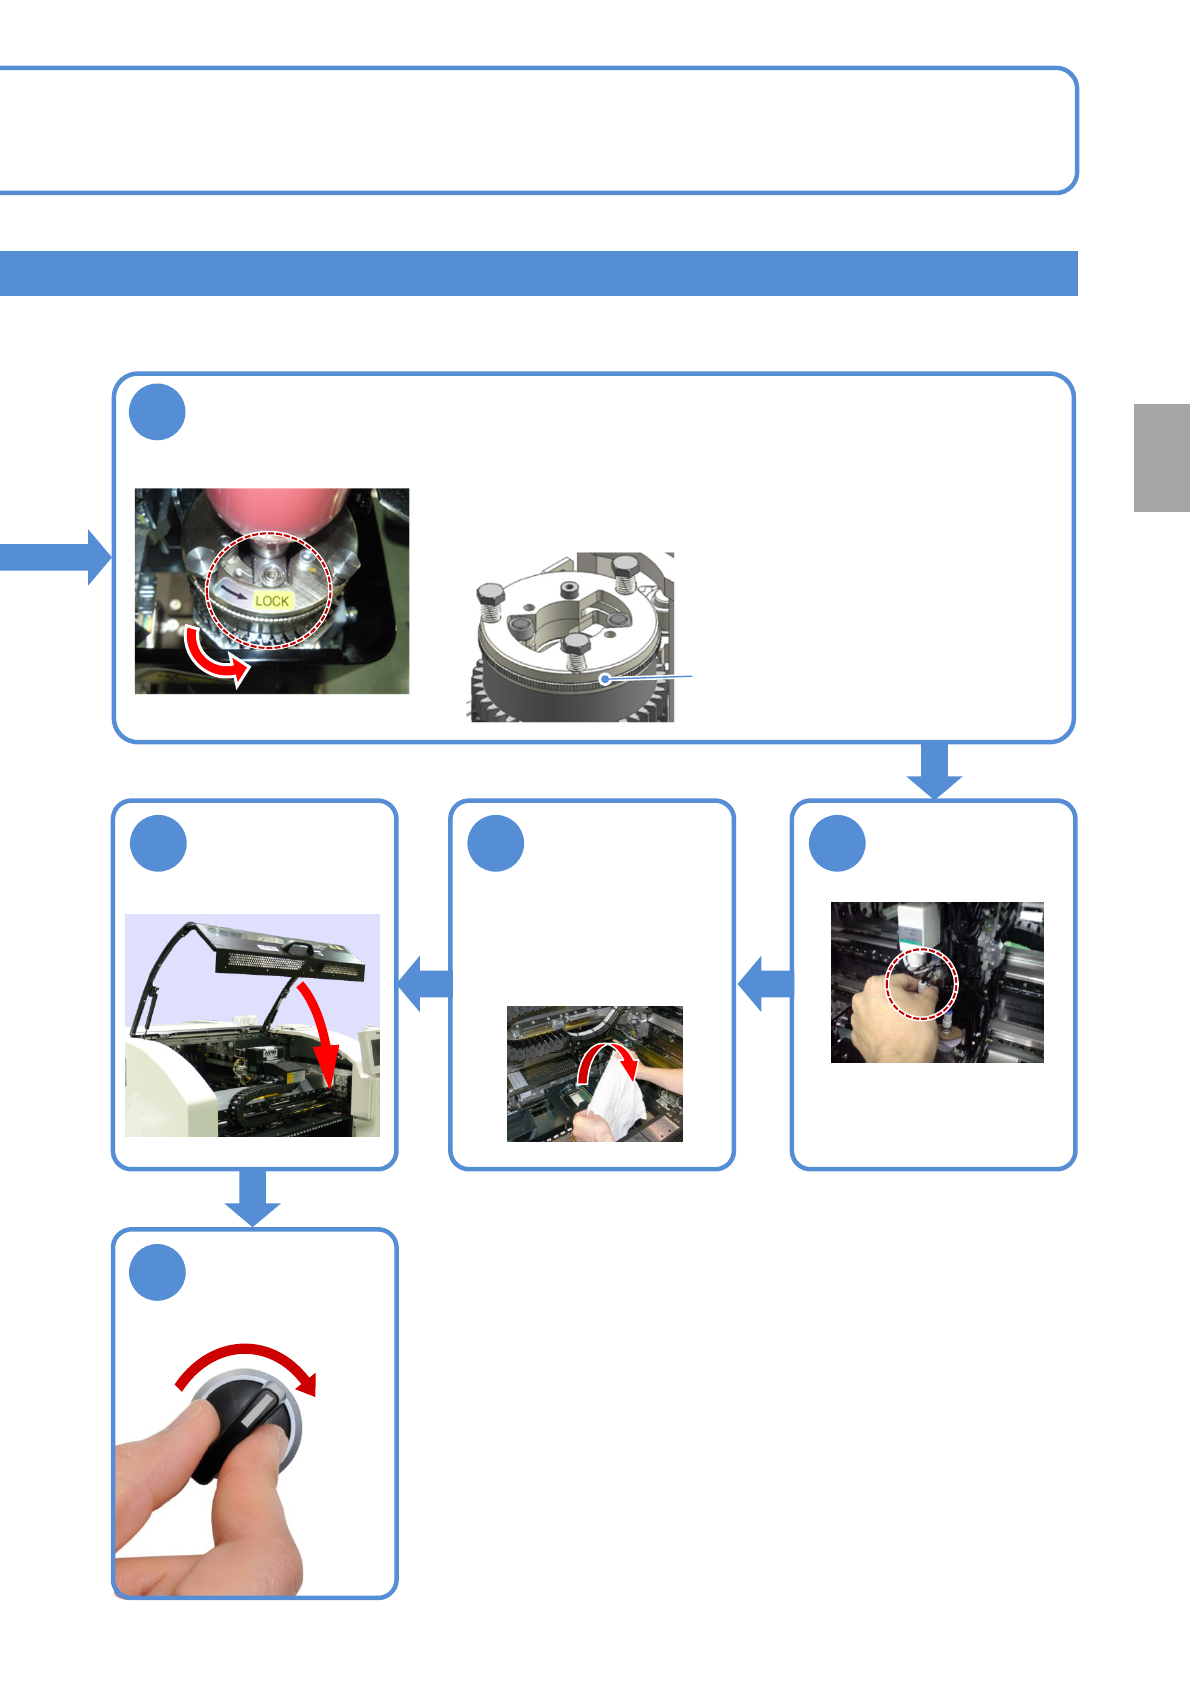
NPM-W 2 EJM7DE-MB-04 M-00 4-2-5 -8 20 ● Check that the lock plate comes to the lock position. 21 Lock plate Connect the air plug 22 T ake out the cloth covered with the multi- recognition camera and the nozzle changer 23…
NPM-W2 EJM7DE-MB-04M-00
4-2-5-7
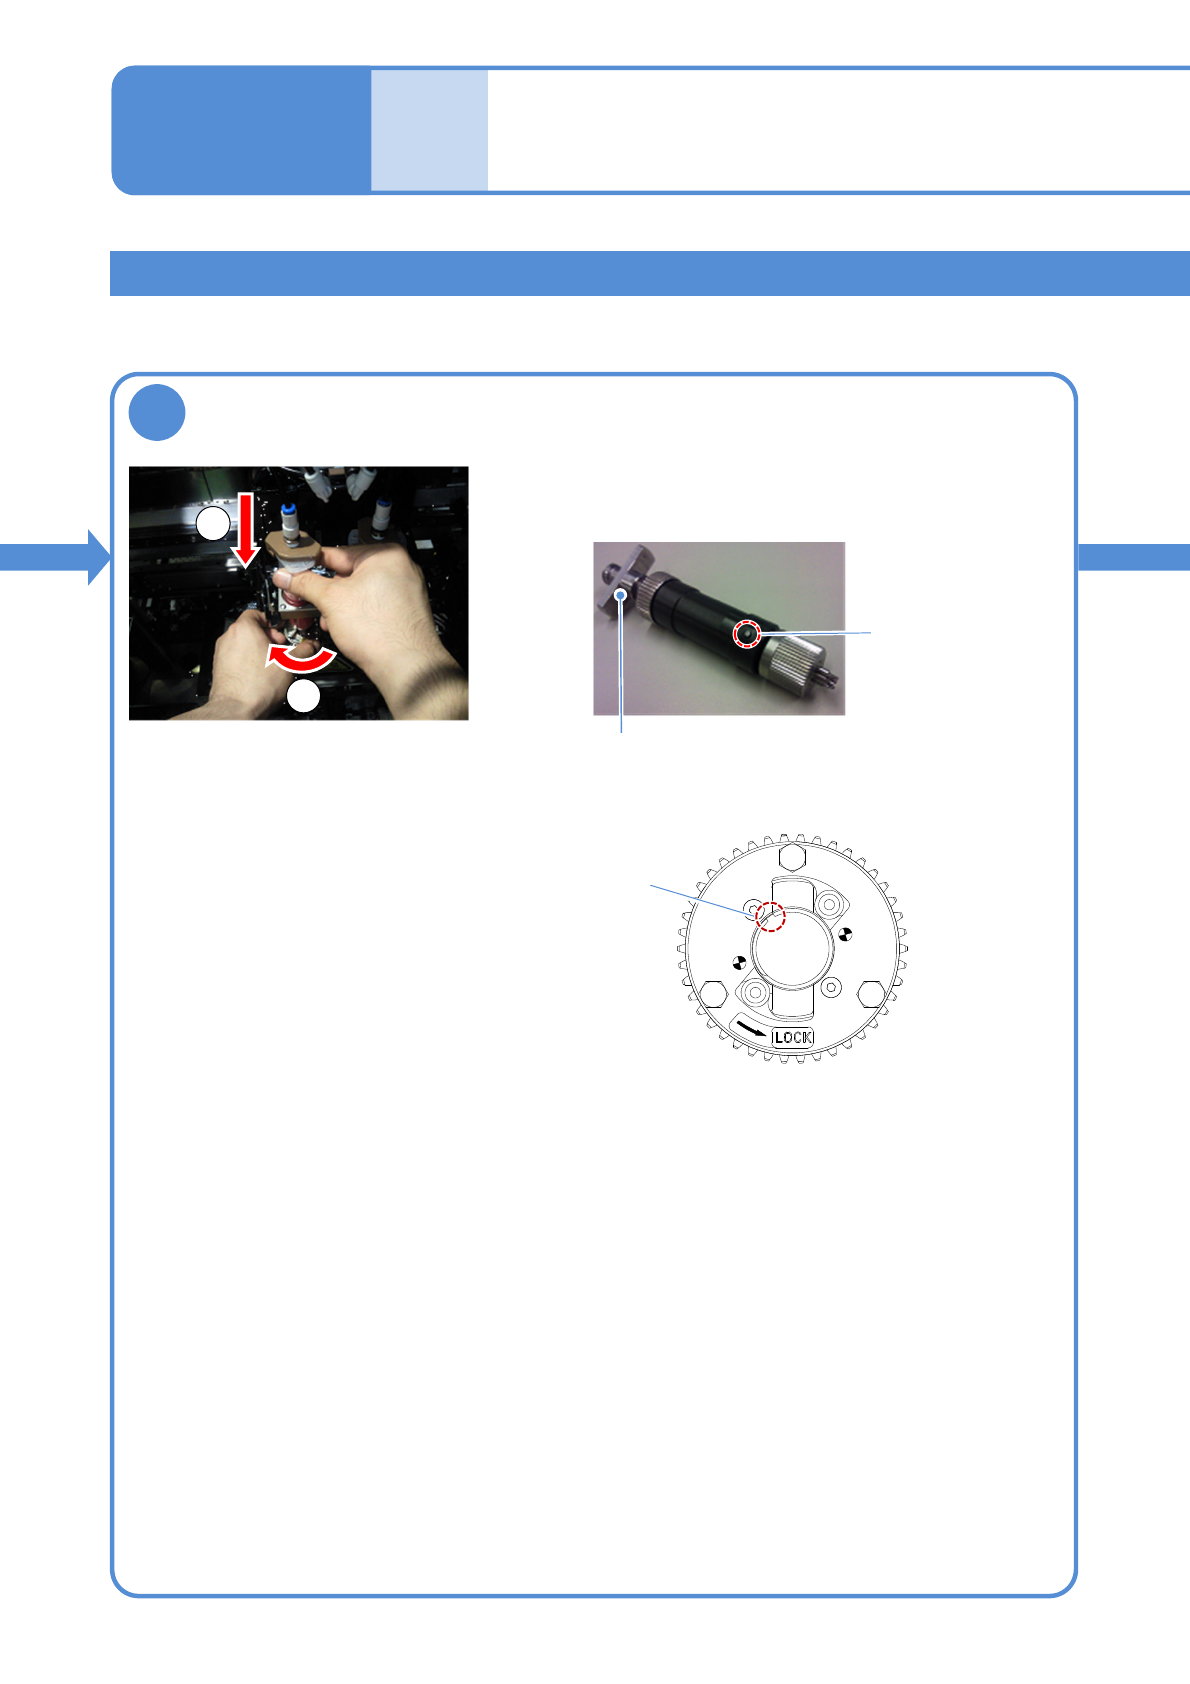
Attaching the syringe
19
Set the screw unit to the syringe holder
After
opera-
tion
Maintenance
4-2-5
Cleaning and checking the
screw unit and the nozzles 4
(dispensing head(option))
①Adjust the guide pin of the screw unit to the 9 to 11 o’clock
position. Then insert it into housing.
Housing groove
1
2
②Rotate the screw in the clockwise direction until it stops
rotating.
③Push the syringe in until it hits, with the angle of the flange
adjusted according to the holder direction.
Flange
Guide pin
●By moving it to the 9 to 11 o’clock position in the clockwise
direction, the guide pin is fitted into the groove of the
housing.
NPM-W2 EJM7DE-MB-04M-00
4-2-5-8
20
● Check that the lock plate comes to the lock position.
21
Lock plate
Connect the air
plug
22
Take out the
cloth covered
with the multi-
recognition
camera and the
nozzle changer
23
Rotate the lock plate in the counterclockwise direction, and
lock the syringe
SERVO
ON
24
Every
24
hours
PeriodicPeriodic
inspection
NPM-W2 EJM7DE-MB-04M-00
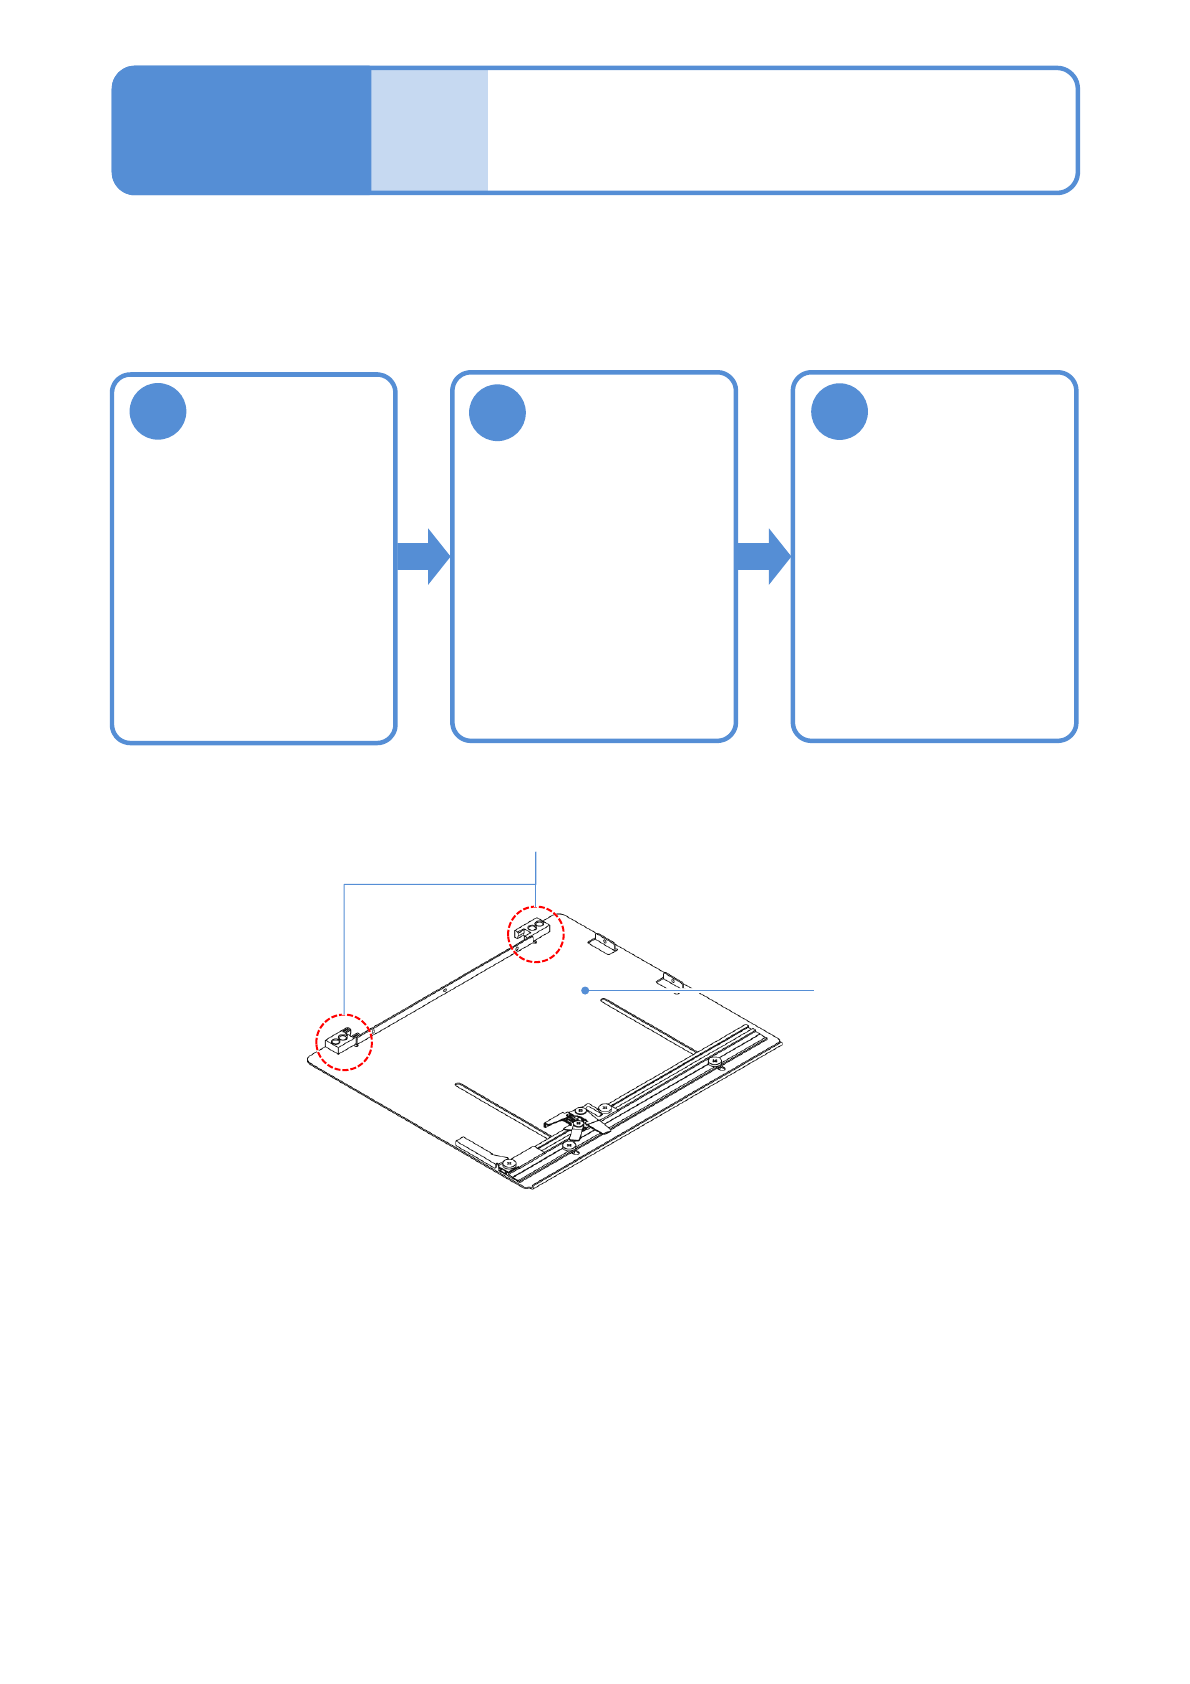
Clean the (whole)
upper surface of
the pallet
As
needed
Maintenance
4-3-1
Tool used: Lint free cloth Time required: 2 minutes (per location)
Visually check
the drawer
block
Visually check
the pallet for
warps
Drawer block
Pallet upper
surface
●If you find any cracks or
chips, avoid using the
pallet.
●If it is warped, fix it.
Cleaning and inspecting
the pallet
(tray feeder pallet(option))
2
1
3
4-3-1
Describes cleaning and inspecting the pallet.