N7201A617E00_0317.pdf - 第501页
NPM-W 2 EJM7DE-MB-14M-00 14-3 -6 5 Adjust the angle of the signal tower Installation Adjust the angle and tighte n the adjustment bolt. ● Recommended tightening torq ue: 3.0 N ・ m Signal tower: horizontally installed bef…
NPM-W2 EJM7DE-MB-14M-00
14-3-5
Installation 3
Common
4
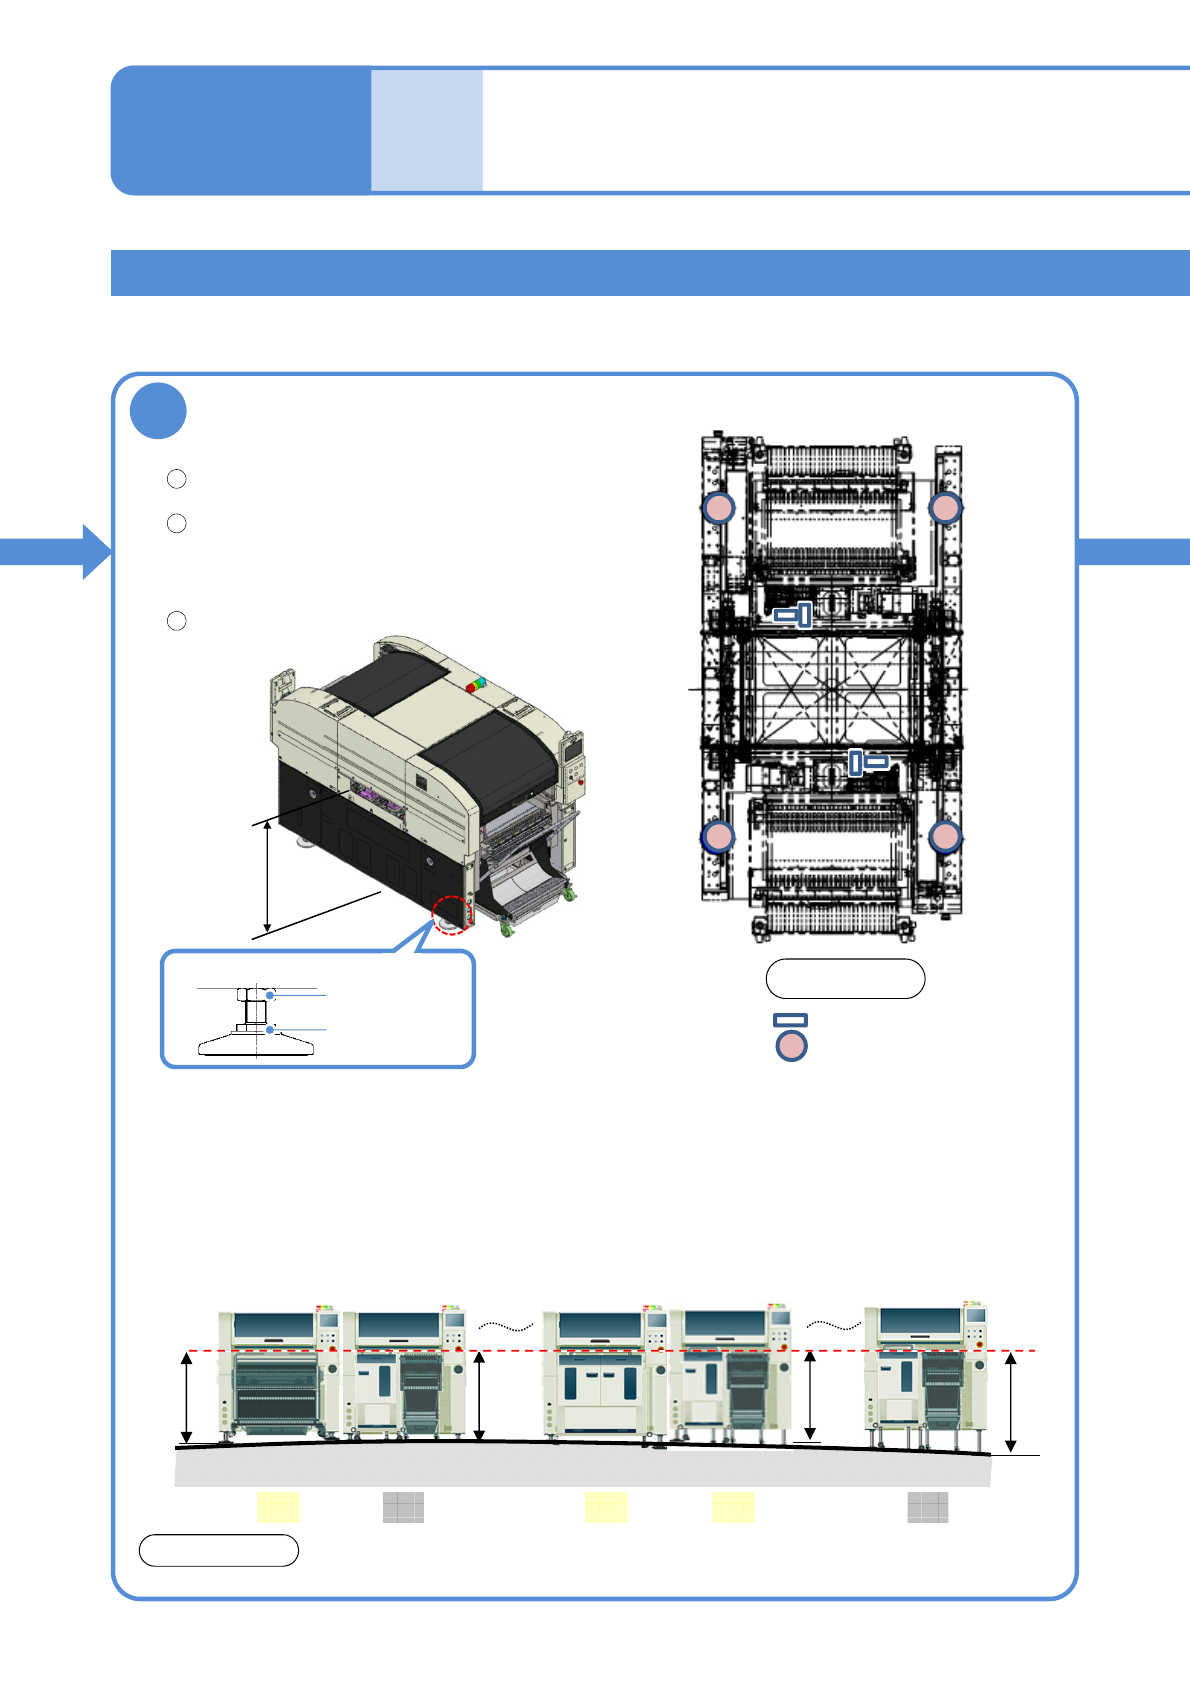
Level the machine
Place level gauges as shown in the right figure.
●Level: 4 locations
Level the machine with the adjustment bolts.
●The bubble should stay centered or within 1
division. (0.02 mm/m)
●4 adjustment bolts
Secure the adjustment bolts with the lock nuts.
You are recommended to check the level every six months after installation.
NOTICE
Level gauge installation sites
Adjustment bolts
PCB transfer
height
900 to 920 mm
1
2
3
Front side
Lock nut
Adjustment
bolt
■About PCB transfer height
●The standard PCB transfer height of NPM-W2 is from 900 to 920 mm.
●If the PCB transfer heights of all your production-line NPM-W2s cannot be 900 to 920 mm, please
consult our sales representative or customer service in advance.
●Depending on your plant floor conditions, the PCB transfer heights of your production-line machines
can vary as shown in the figure below, in which feeder carts may not be connected normally to
machines #2 and #15.
900
mm
885
mm
920
mm
Floor
PCB
transfer
height
#1 #2 #7 #8 #15
940
mm
NG NGOK OK OK
Maintenance
14-3
NPM-W2 EJM7DE-MB-14M-00
14-3-6
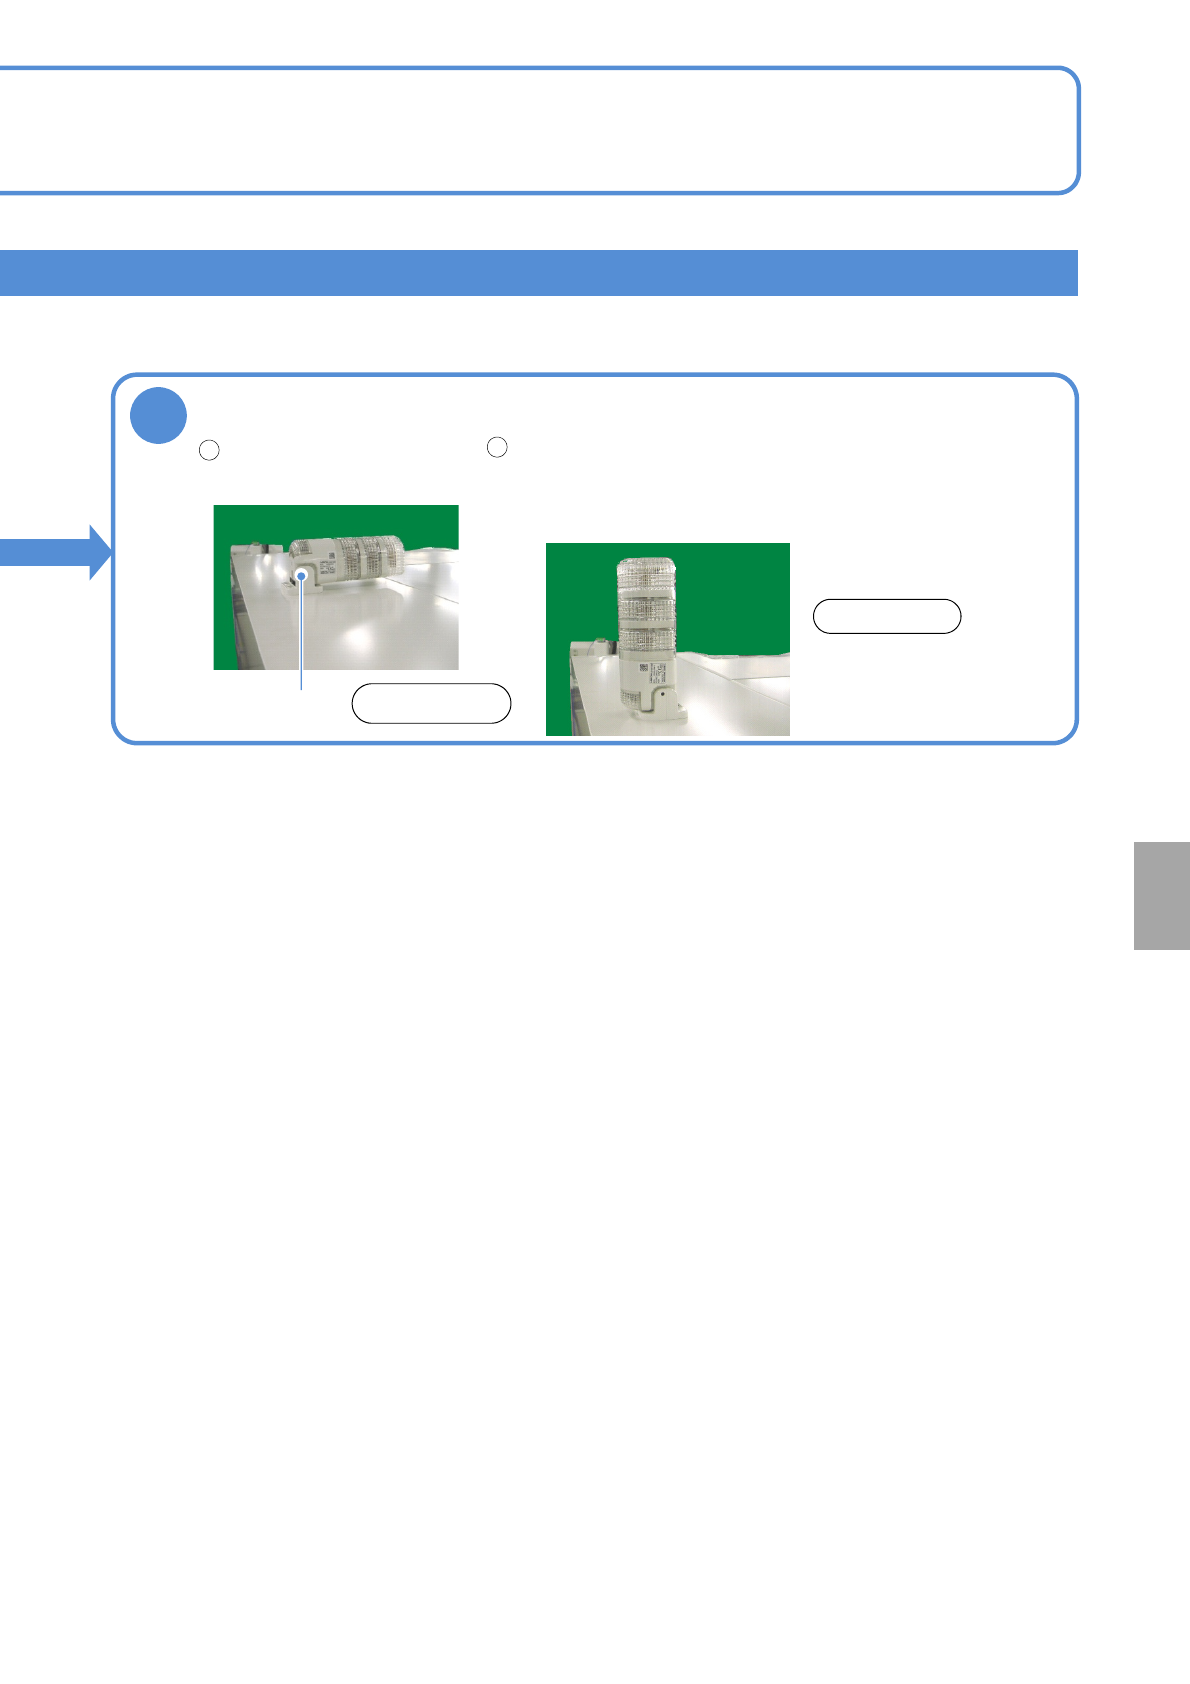
5
Adjust the angle of the signal tower
Installation
Adjust the angle and tighten the
adjustment bolt.
●Recommended tightening torque:
3.0 N・m
Signal tower:
horizontally installed
before shipment
Loosen the adjustment bolt
with Allen wrench (3 mm).
1
2
Adjustment bolt
NOTICE
Rear side

NPM-W2 EJM7DE-MB-14M-00
14-3-7