N7201A653E.pdf - 第167页
EJM1EJ-MB-06 M-02 NPM-TT2 6-4 -9 15 14 Attach the new absorption pad Clean the nozzle changer top surface ● Be carefu l not to leave behind any contaminatio n on the face in cont act with the nozzle reflectors. ● Confirm…
EJM1EJ-MB-06M-02NPM-TT2
6-4-8
For 3-nozzle head 2
12
Clean the nozzle inside
●Insert a nozzle cleaning pin and push lodgment out of the nozzle upper
part (the shank side) in the nozzle inside.
Nozzle cleaning pin
Shank
18
SERVO
ON
17
16
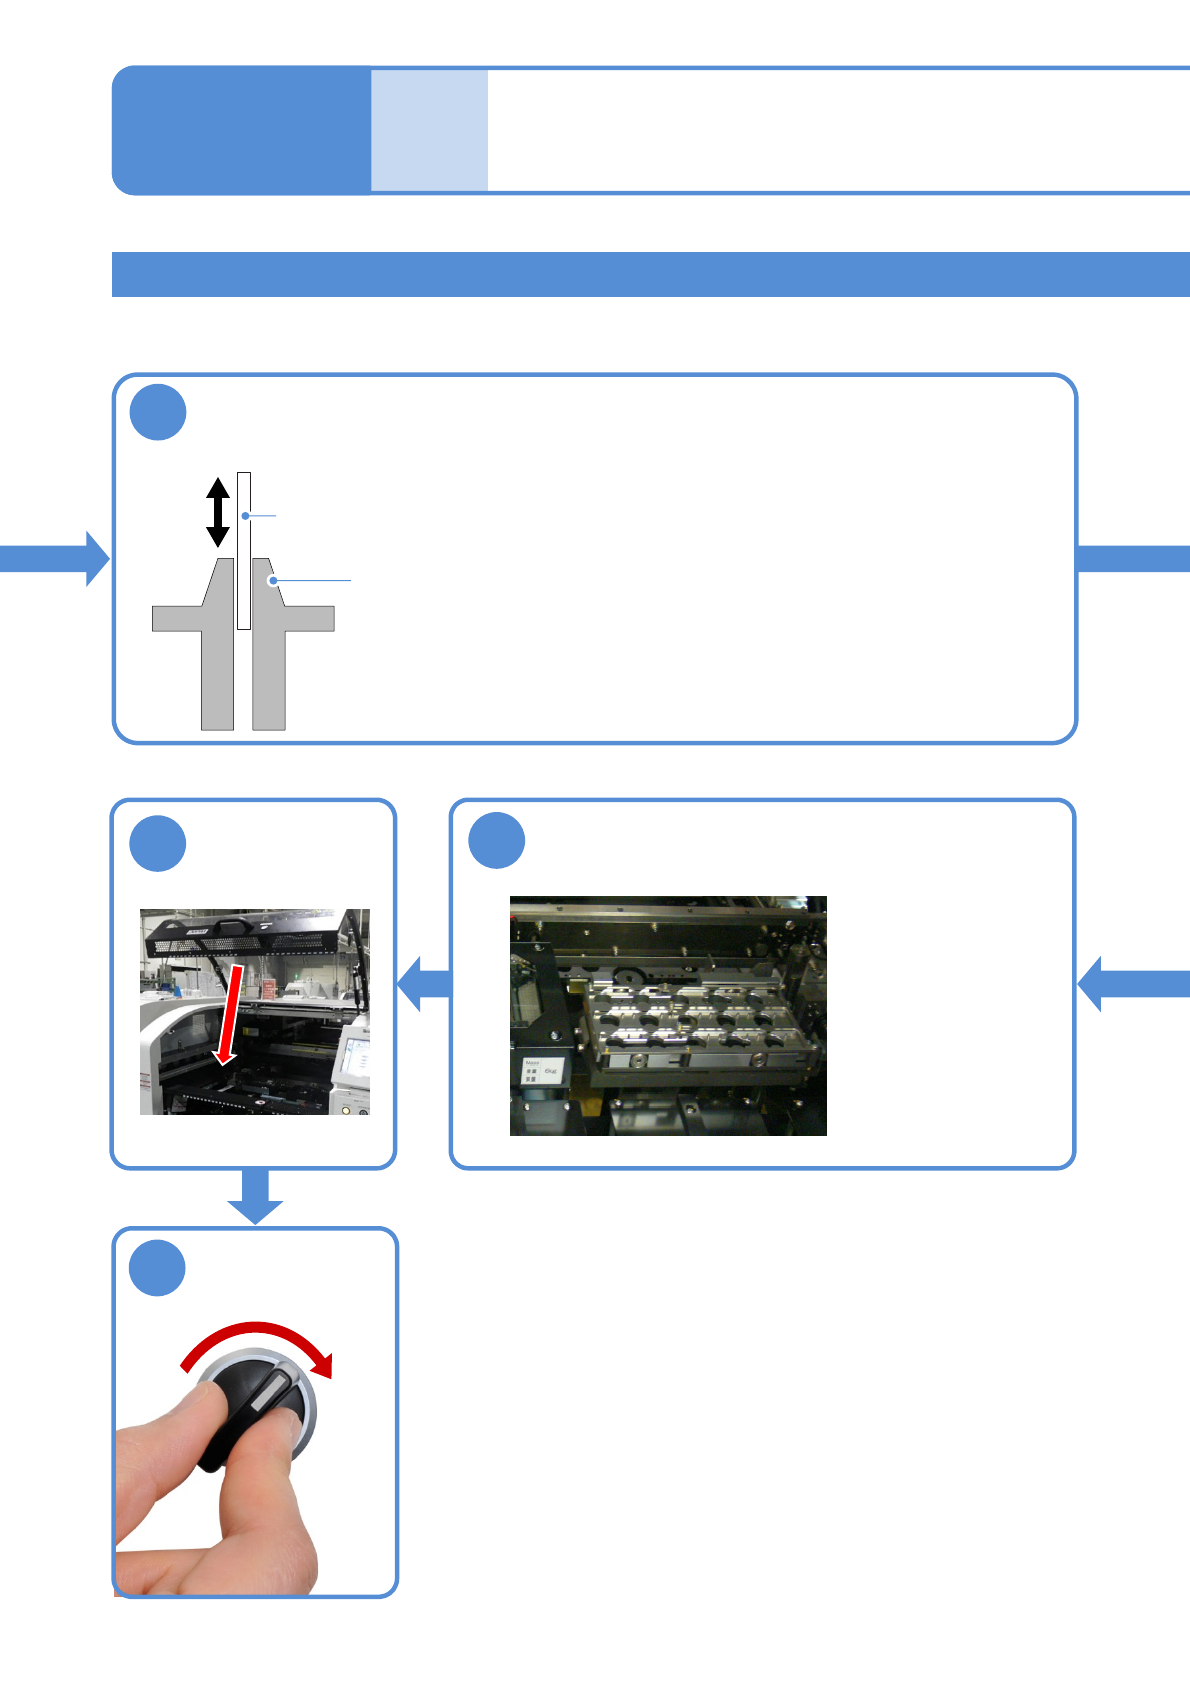
Set the nozzle changer
●How to attach
(Operating procedure
P.2-5-1)
Maintenance
6-4
Cleaning the nozzle (option)
and the nozzle changer (option)
5
EJM1EJ-MB-06M-02NPM-TT2
6-4-9
15
14
Attach the new
absorption pad
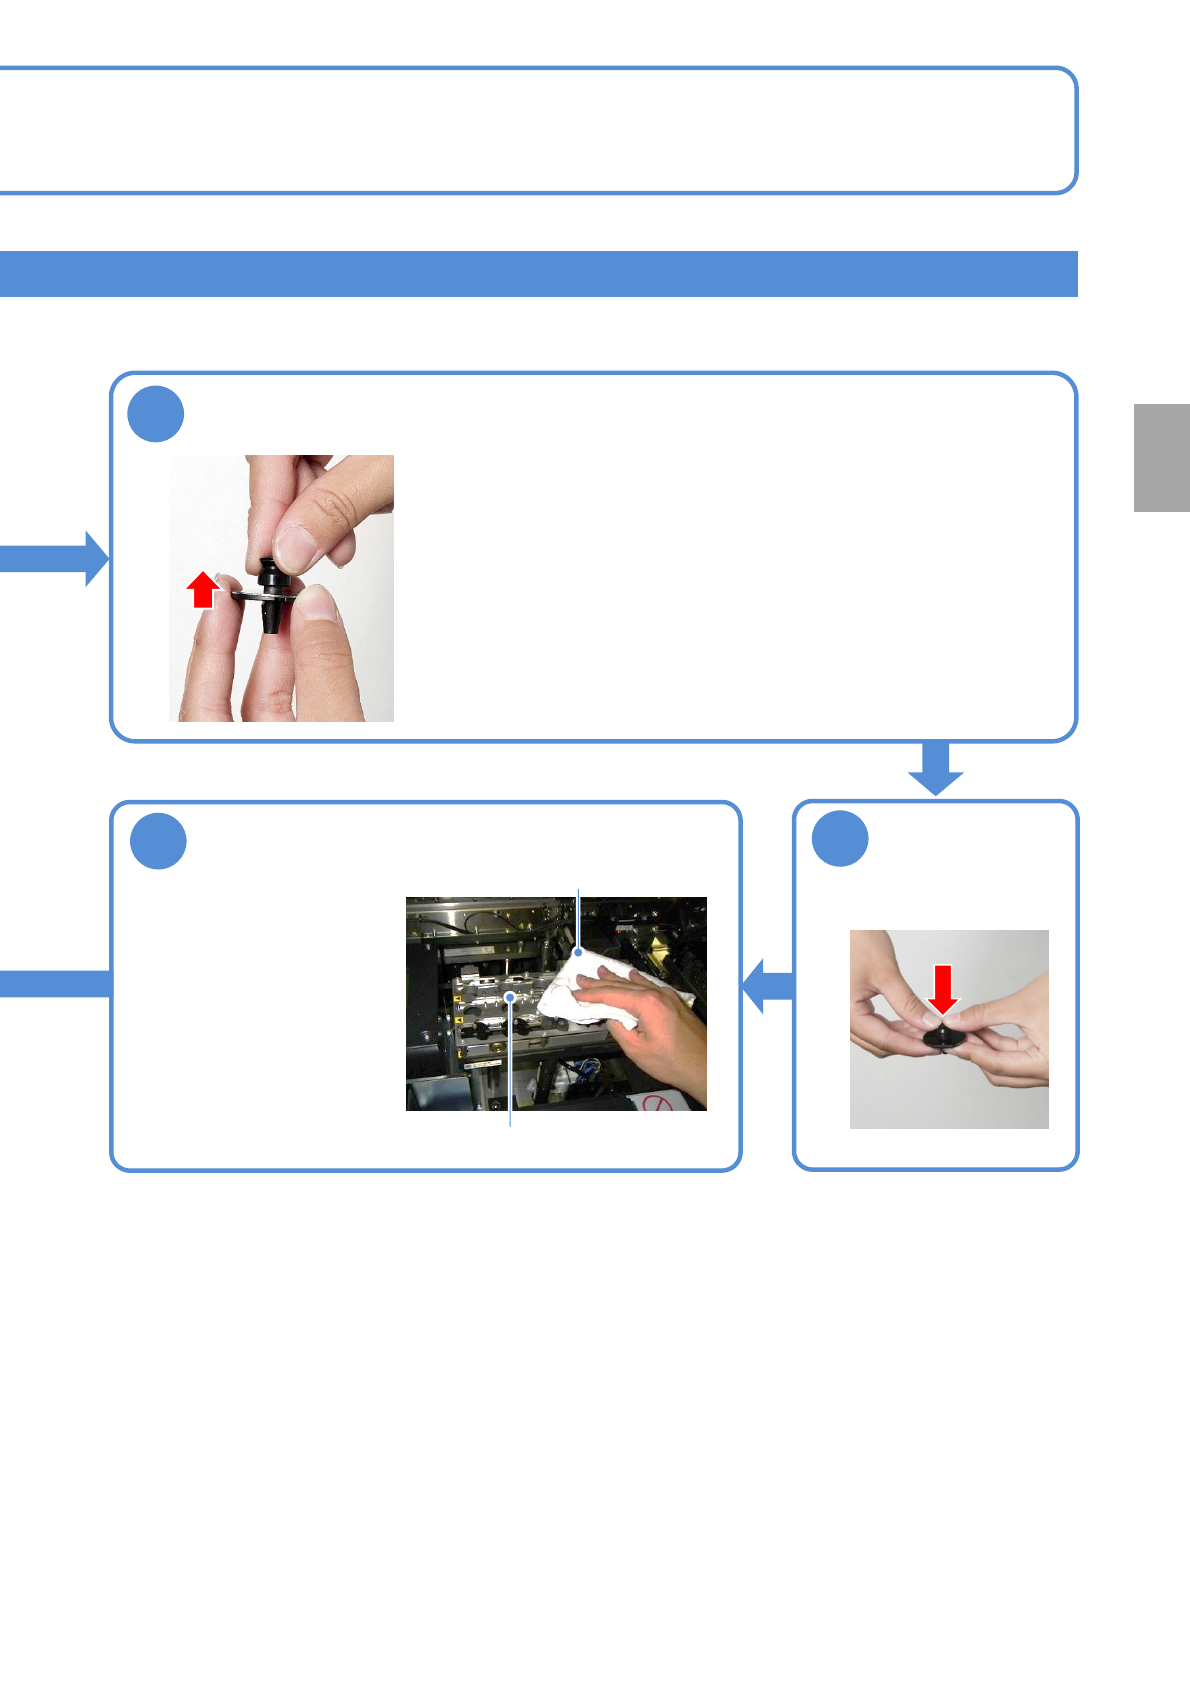
Clean the nozzle changer top surface
●Be careful not to leave
behind any contamination
on the face in contact with
the nozzle reflectors.
●Confirm that there is no
foreign object jammed
between the space of the
shutter and the nozzle
changer.
Nozzle changer
Lint free cloth
13
Detach the damaged pickup pad
●There is a nozzle that an absorption pad sticks to in order to be stable,
and to absorb a part.
If there is a scratch or a crack to this absorption pad, change the
absorption pad or the nozzle itself.
(e.g., the 1004th nozzle, the 1005th nozzle)
Every
560
hours
PeriodicPeriodicPeriodicPeriodic
inspection
EJM1EJ-MB-06M-02NPM-TT2
6-5-1
1 2
Adjust the
conveyor width
of 150mm (For
better
workability)
(→[Operating
procedure] P.2-5-4)
Describes how to inspect the PCB conveyor.
Tool used: Belt tension meter Time required: 15 minutes
3
Maintenance
6-5
Inspecting the PCB /
extension conveyor
(option) 1
Inspecting the PCB conveyor belt
5
Detach the tray
feeder or the
feeder cart
●For a tray feeder
(→ P.14-8)
●For a feeder cart
(→ P.3-2)
Attach the tray
feeder or the
feeder cart
●For a tray feeder
(→ P.14-8)
●For a feeder cart
(→ P.3-2)
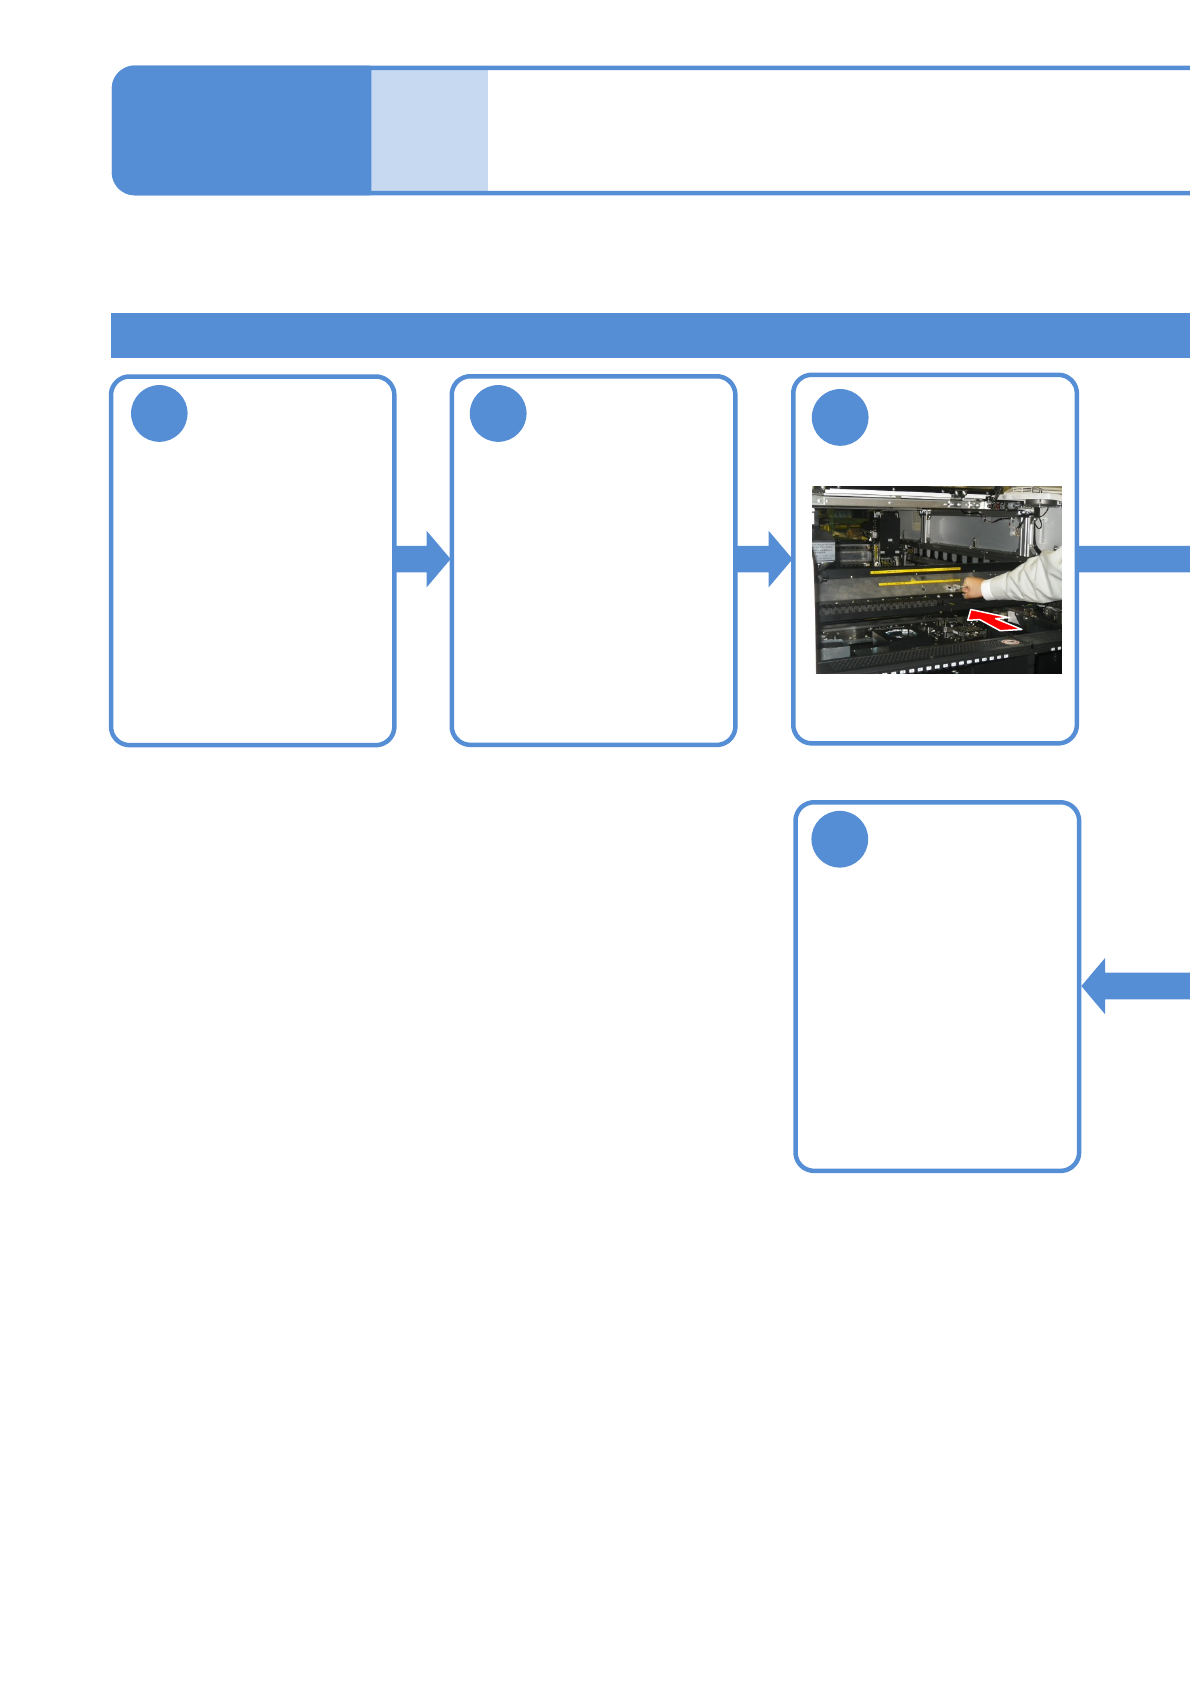
Push the X-axis
inward