N7201A653E.pdf - 第168页
EJM1EJ-MB-06 M-02 NPM-TT2 6-5 -1 1 2 Adjust the conveyor width of 150mm (For better workability) (→[Operating procedure] P.2-5- 4) Describes how to inspect the PCB conveyor. Tool used : B elt tension meter Time required:…
EJM1EJ-MB-06M-02NPM-TT2
6-4-9
15
14
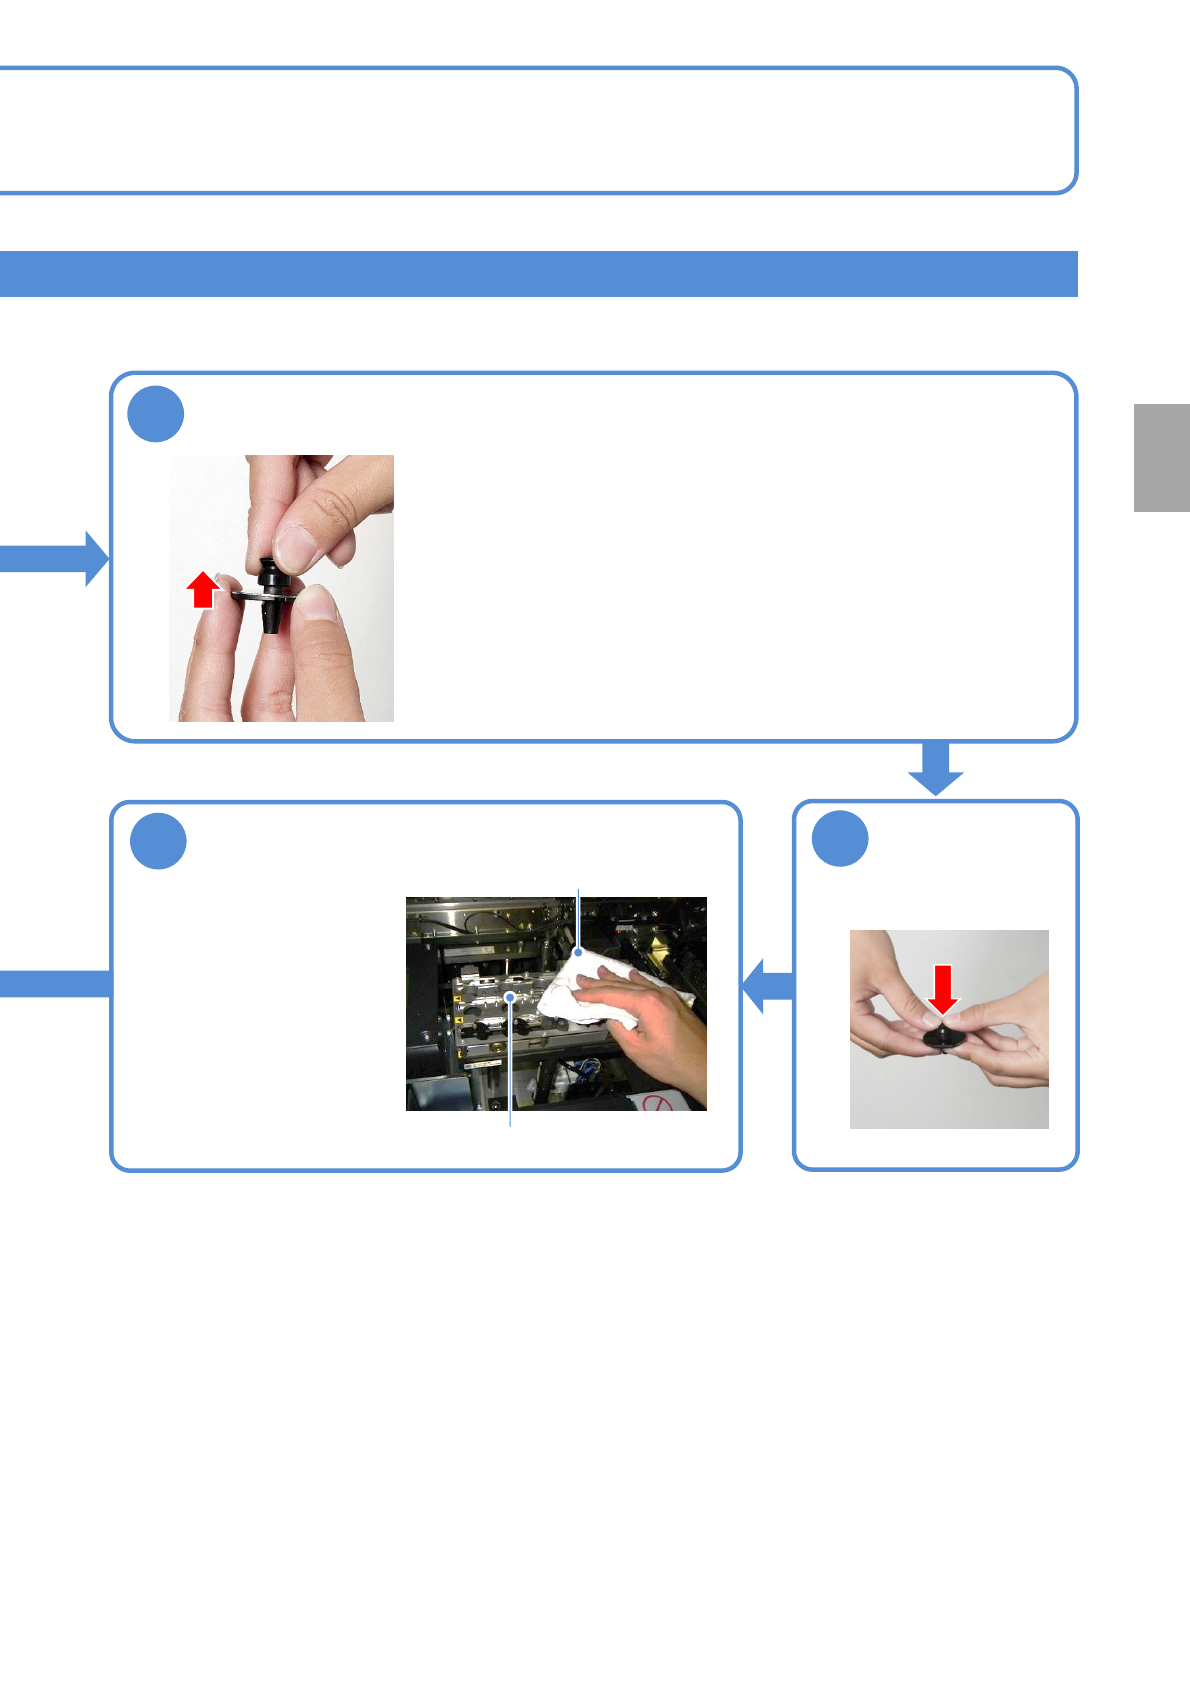
Attach the new
absorption pad
Clean the nozzle changer top surface
●Be careful not to leave
behind any contamination
on the face in contact with
the nozzle reflectors.
●Confirm that there is no
foreign object jammed
between the space of the
shutter and the nozzle
changer.
Nozzle changer
Lint free cloth
13
Detach the damaged pickup pad
●There is a nozzle that an absorption pad sticks to in order to be stable,
and to absorb a part.
If there is a scratch or a crack to this absorption pad, change the
absorption pad or the nozzle itself.
(e.g., the 1004th nozzle, the 1005th nozzle)
Every
560
hours
PeriodicPeriodicPeriodicPeriodic
inspection
EJM1EJ-MB-06M-02NPM-TT2
6-5-1
1 2
Adjust the
conveyor width
of 150mm (For
better
workability)
(→[Operating
procedure] P.2-5-4)
Describes how to inspect the PCB conveyor.
Tool used: Belt tension meter Time required: 15 minutes
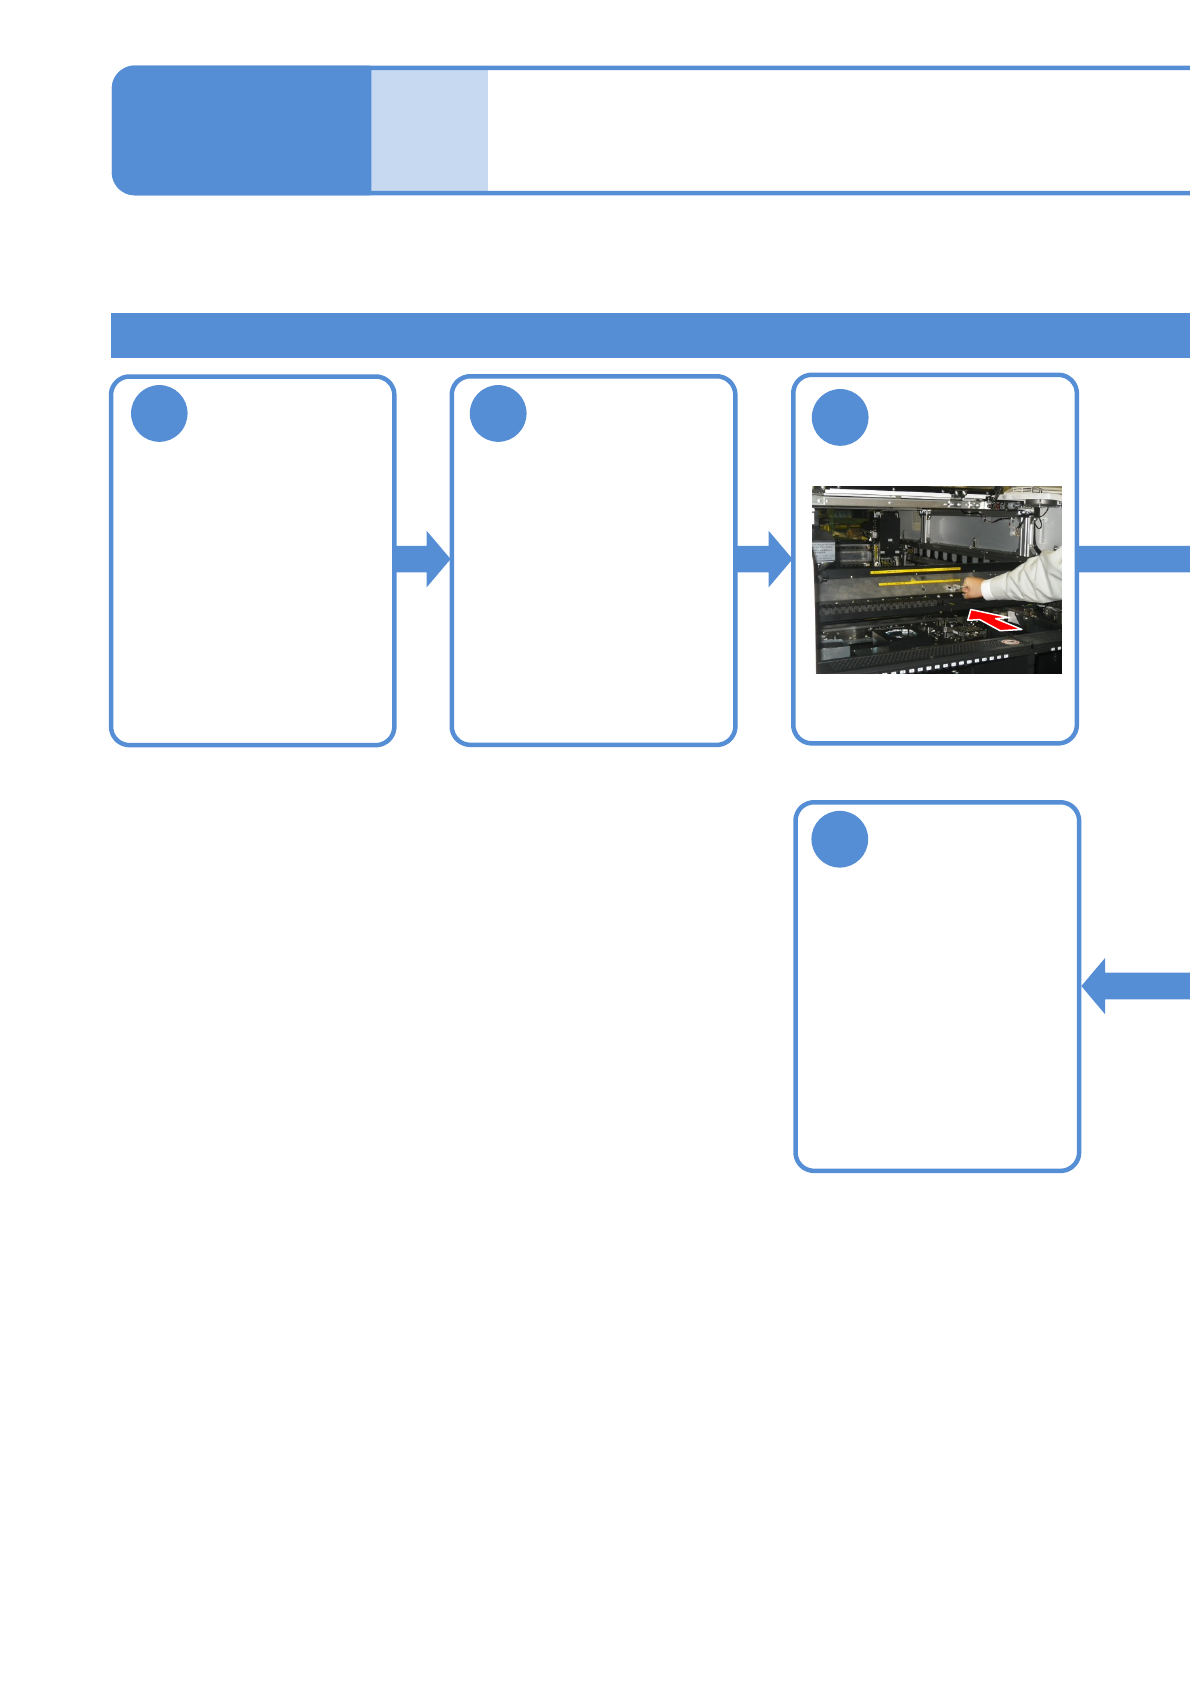
3
Maintenance
6-5
Inspecting the PCB /
extension conveyor
(option) 1
Inspecting the PCB conveyor belt
5
Detach the tray
feeder or the
feeder cart
●For a tray feeder
(→ P.14-8)
●For a feeder cart
(→ P.3-2)
Attach the tray
feeder or the
feeder cart
●For a tray feeder
(→ P.14-8)
●For a feeder cart
(→ P.3-2)
Push the X-axis
inward
EJM1EJ-MB-06M-02NPM-TT2
6-5-2
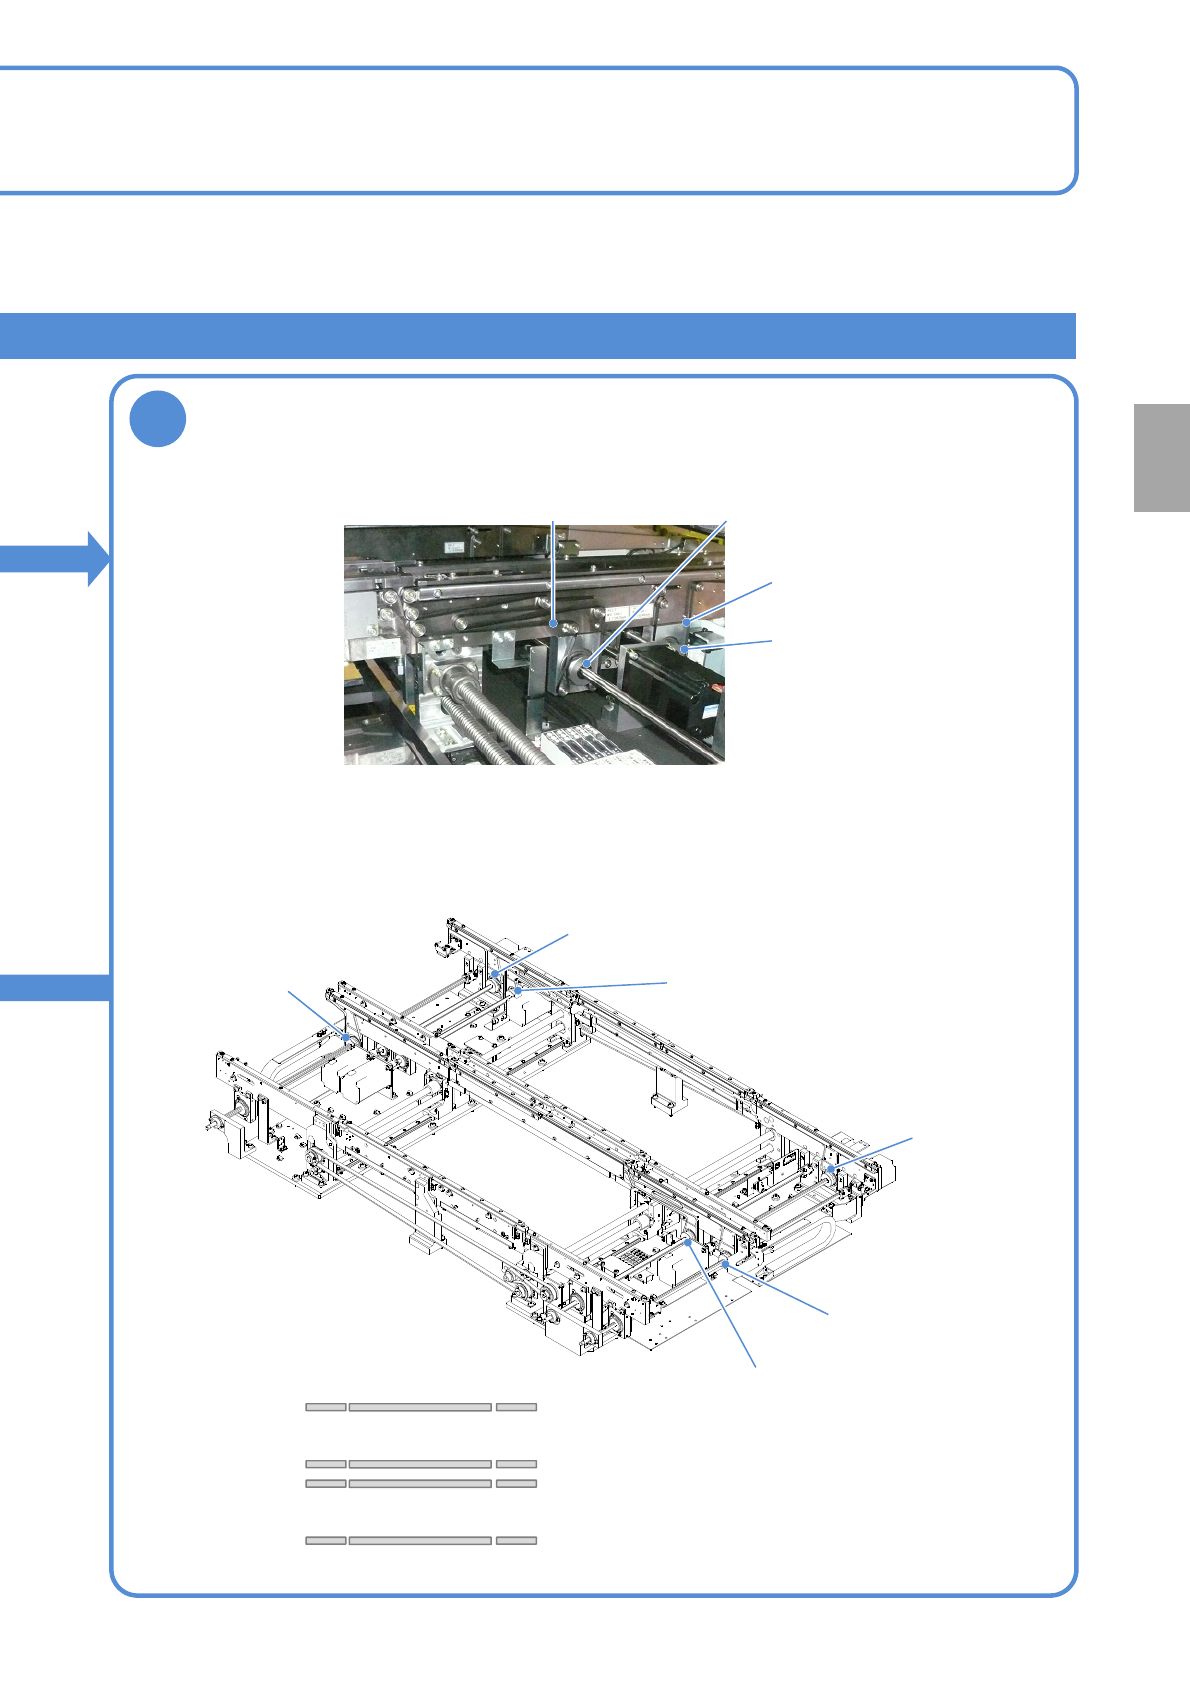
Check the belt
●Rotate the belt with hands and replace it if any flaw,
contamination or wear out is found.
●Six belts on each lane (See the figure below)
4
Every
560
hours
PeriodicPeriodicPeriodicPeriodic
inspection
Belt
(Mount section)
Pulley
(Mount section)
Belt
(Standby section)
Pulley
(Standby section)
Lane 1
Lane 2
Pulley
(Mount section)
Pulley
(Standby section)
Pulley
(Standby section)
Pulley
(Mount section)
Pulley
(Standby section)
Pulley
(Standby section)
Movable side
Fixed side
Movable side
Fixed side
Lane 1
Lane 2