N7201A653E.pdf - 第188页
EJM1EJ-MB-06 M-02 NPM-TT2 Extension conveyor (option) 2 4 6-9 -7 Cleaning the PCB detection sensor s 4 Maintenance 6-9 ■ Sensor position installed to the Left side Three bolts A Three bolts Extension conveyor (Reflection…
EJM1EJ-MB-06M-02NPM-TT2
Tool used: Swabs (MTNZ001268AA), Allen wrench (3 mm)
Time required: 3 minutes
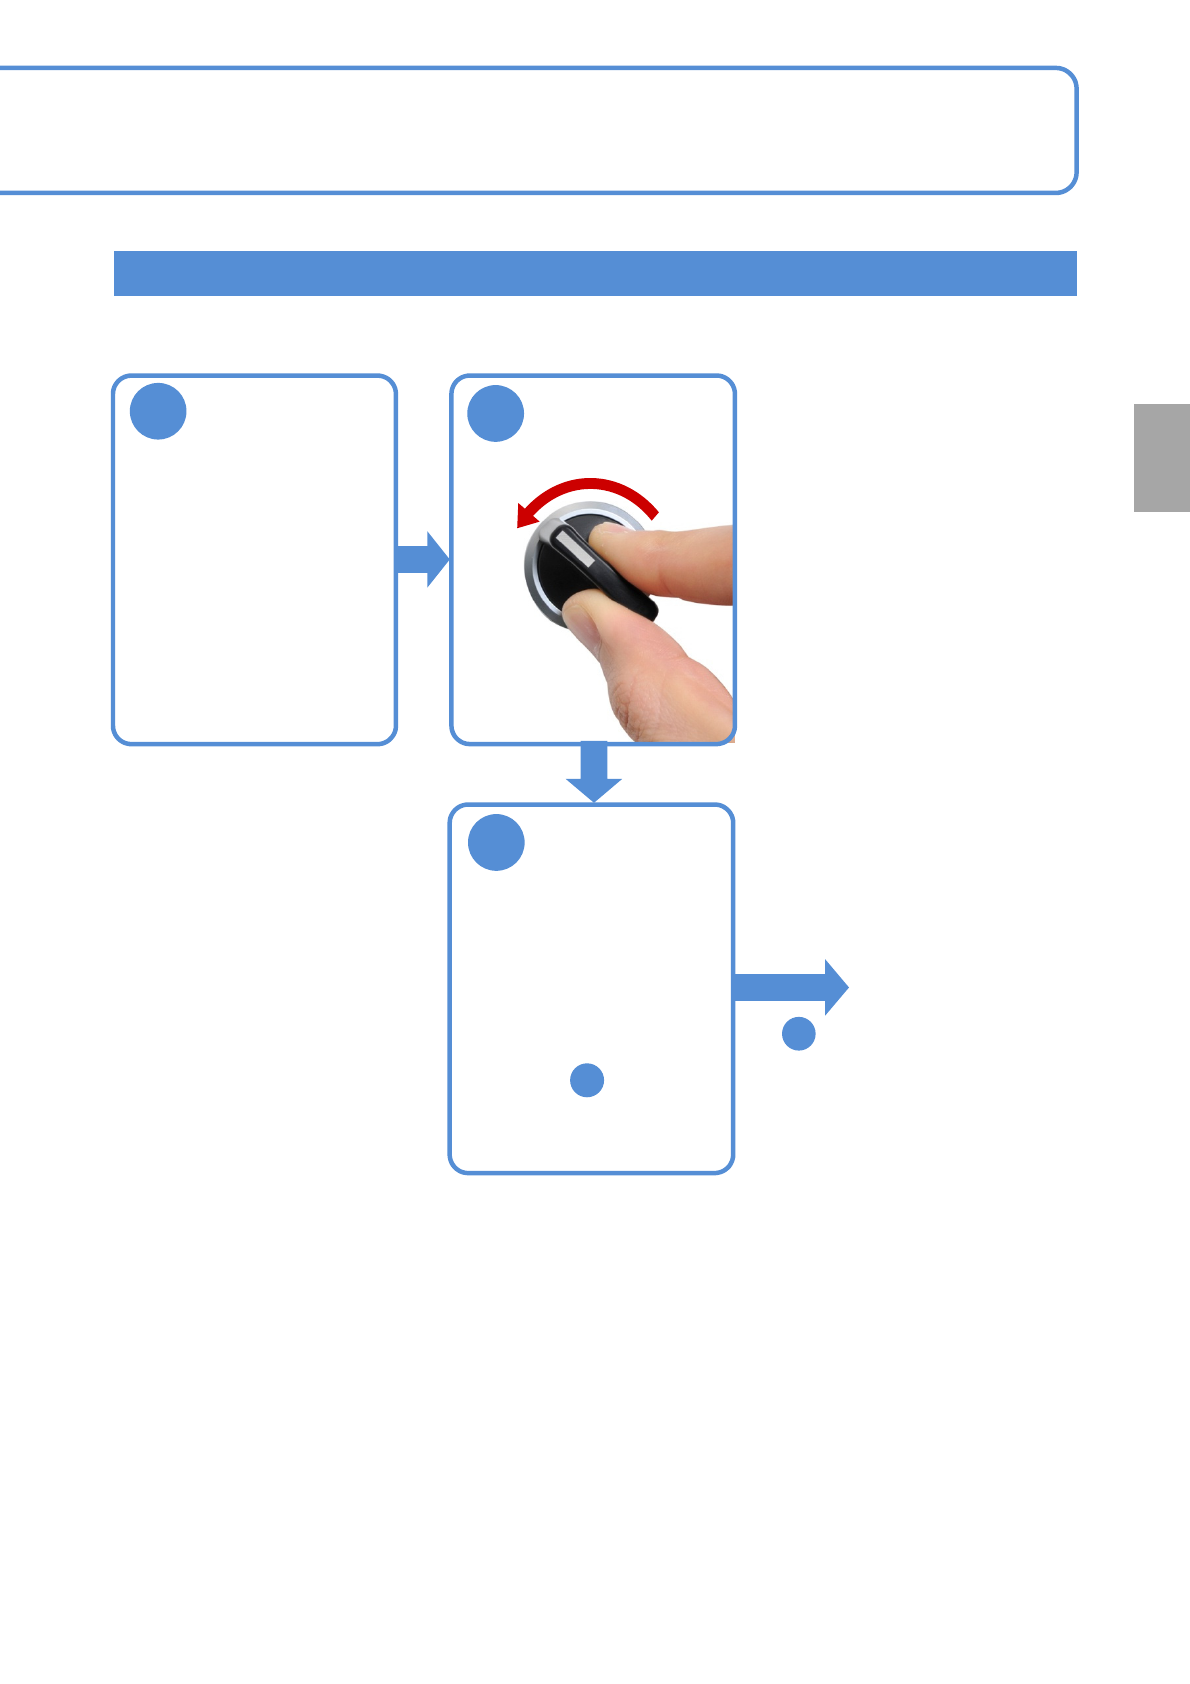
Extension conveyor (option) 1
3
2
OFF
SERVO
1
6-9-6
Every
560
hours
PeriodicPeriodicPeriodicPeriodic
inspection
Adjust the
conveyor width
of 150 mm(For
better
workability)
(→[Operating
procedure] P.2-5-4)
Remove the
upper cover
●See step for bolt
position.
4
●Loosen the bolts of the
cover with the Allen
wrench and remove the
cover.
To
4

EJM1EJ-MB-06M-02NPM-TT2
Extension conveyor (option) 2
4
6-9-7
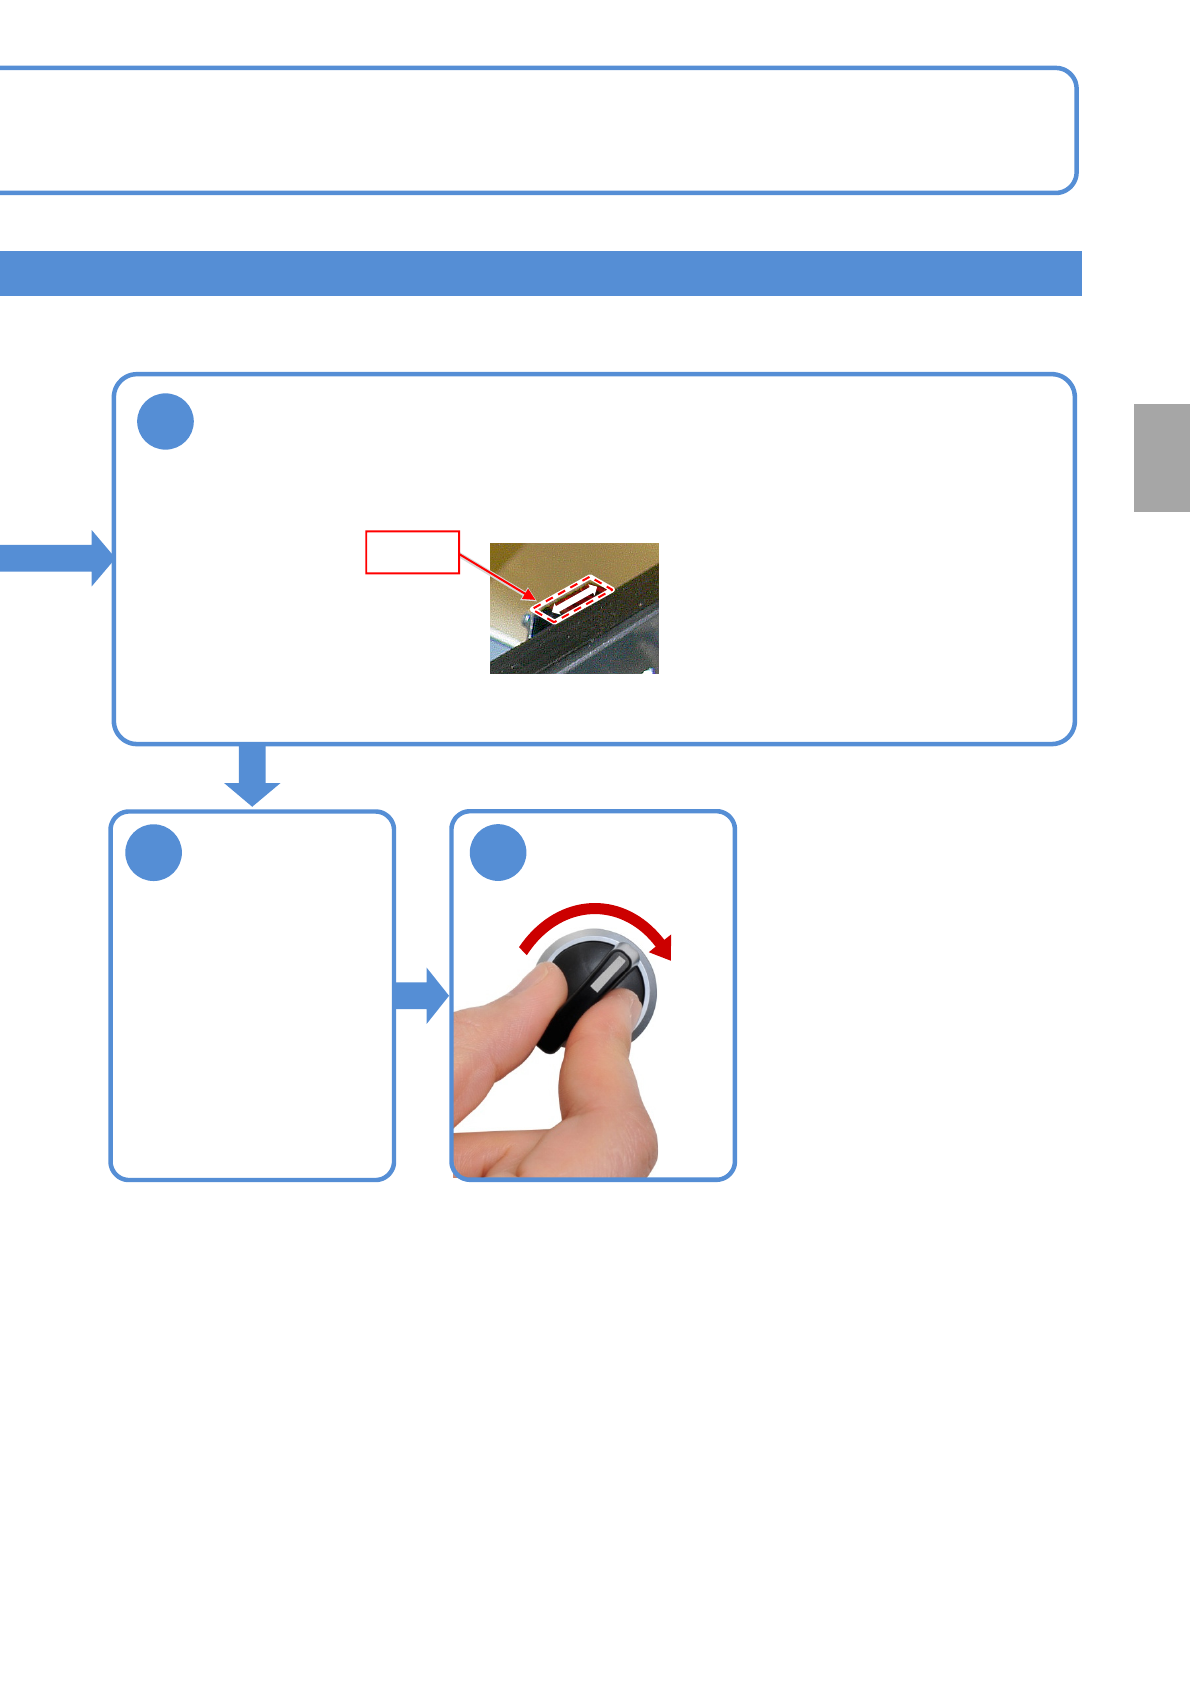
Cleaning the PCB
detection sensors 4
Maintenance
6-9
■Sensor position installed to the Left side
Three bolts
A
Three bolts
Extension
conveyor
(Reflection type)
PCB detection sensor
View on arrow A
Verify the location and type of each PCB detection sensor.
●PCB detection sensor
Reflection type: Two sets
EJM1EJ-MB-06M-02NPM-TT2
5
Detecting
section
6
7
SERVO
ON
6-9-8
Every
560
hours
PeriodicPeriodicPeriodicPeriodic
inspection
Clean the PCB detection sensors
Attach the
upper cover
●Secure the bolts of the
cover with the Allen
wrench.
●Touch the swab tip to detecting section of the PCB detection sensor (reflection type) and
move it as shown below to remove any stain.