N7201A653E.pdf - 第444页
NPM- TT2 EJ M1EE-MB-14M-0 2 14-8 -5 Ho w to handle the tr ay f e eder (option) 3 Maintenance 14-8 How to attach 2 9 10 Unlock the machine and ON
NPM-TT2 EJM1EE-MB-14M-02
14-8-4
Installation
4
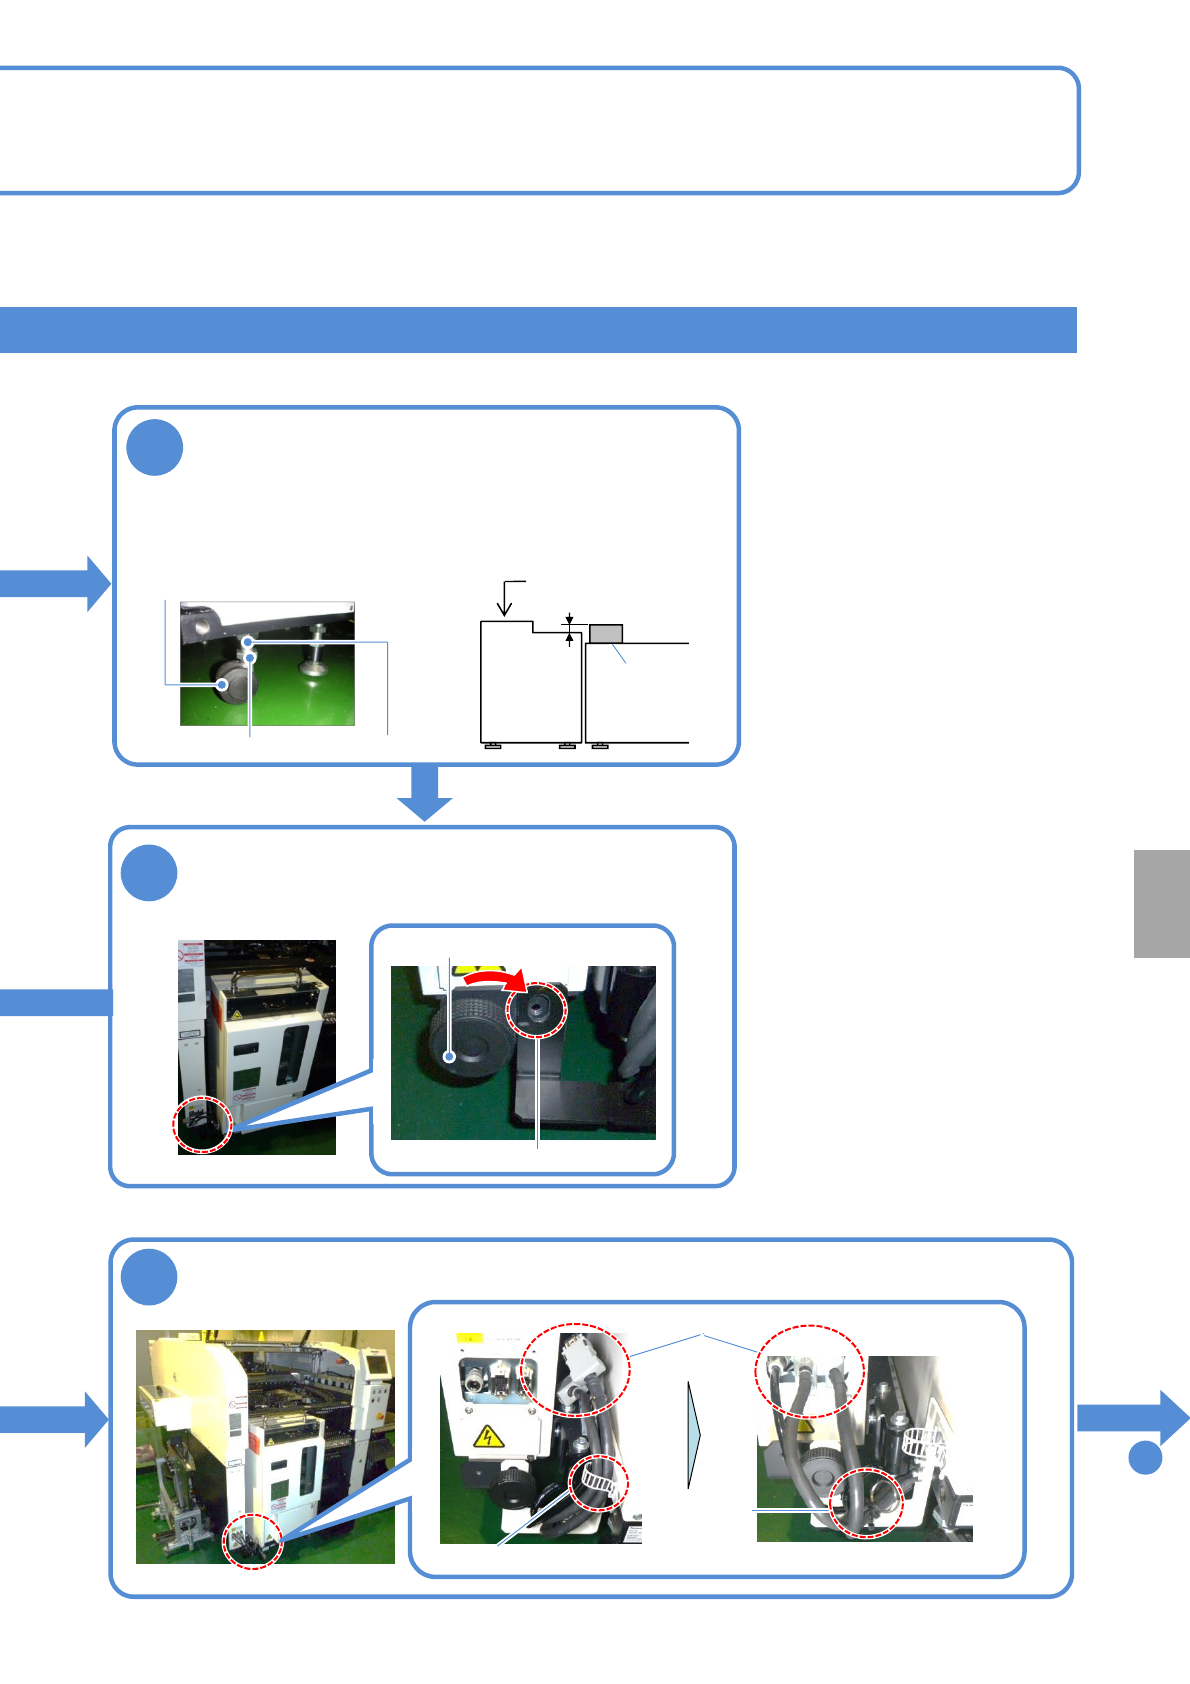
Adjust the height
1. Loosen the lock nuts.
2. Adjust the height using the
adjustment nuts.
3. Tighten the lock nuts.
Tray feeder
Mult-
recognition
camera
●Adjust the height/level of the feeder
as shown in the figure below
The bubble should stay within 1
division (0.1 mm/m)
Lock nut
Adjustment nut
●Casters: 4 pcs
9
To
19 2 mm
Level gauge
Fix location
Joint screw A
5
Remove the joint screw A and install it to the
fix position
The tray feeder is fixed to the machine
Remove the cable and pipe from the cable tie and install to the machine
8
Cable tie
Clamping
band
Cable pipe
●Do not remove the clamping band
NPM-TT2 EJM1EE-MB-14M-02
14-8-5
How to handle the tray
feeder
(option) 3
Maintenance
14-8
How to attach 2
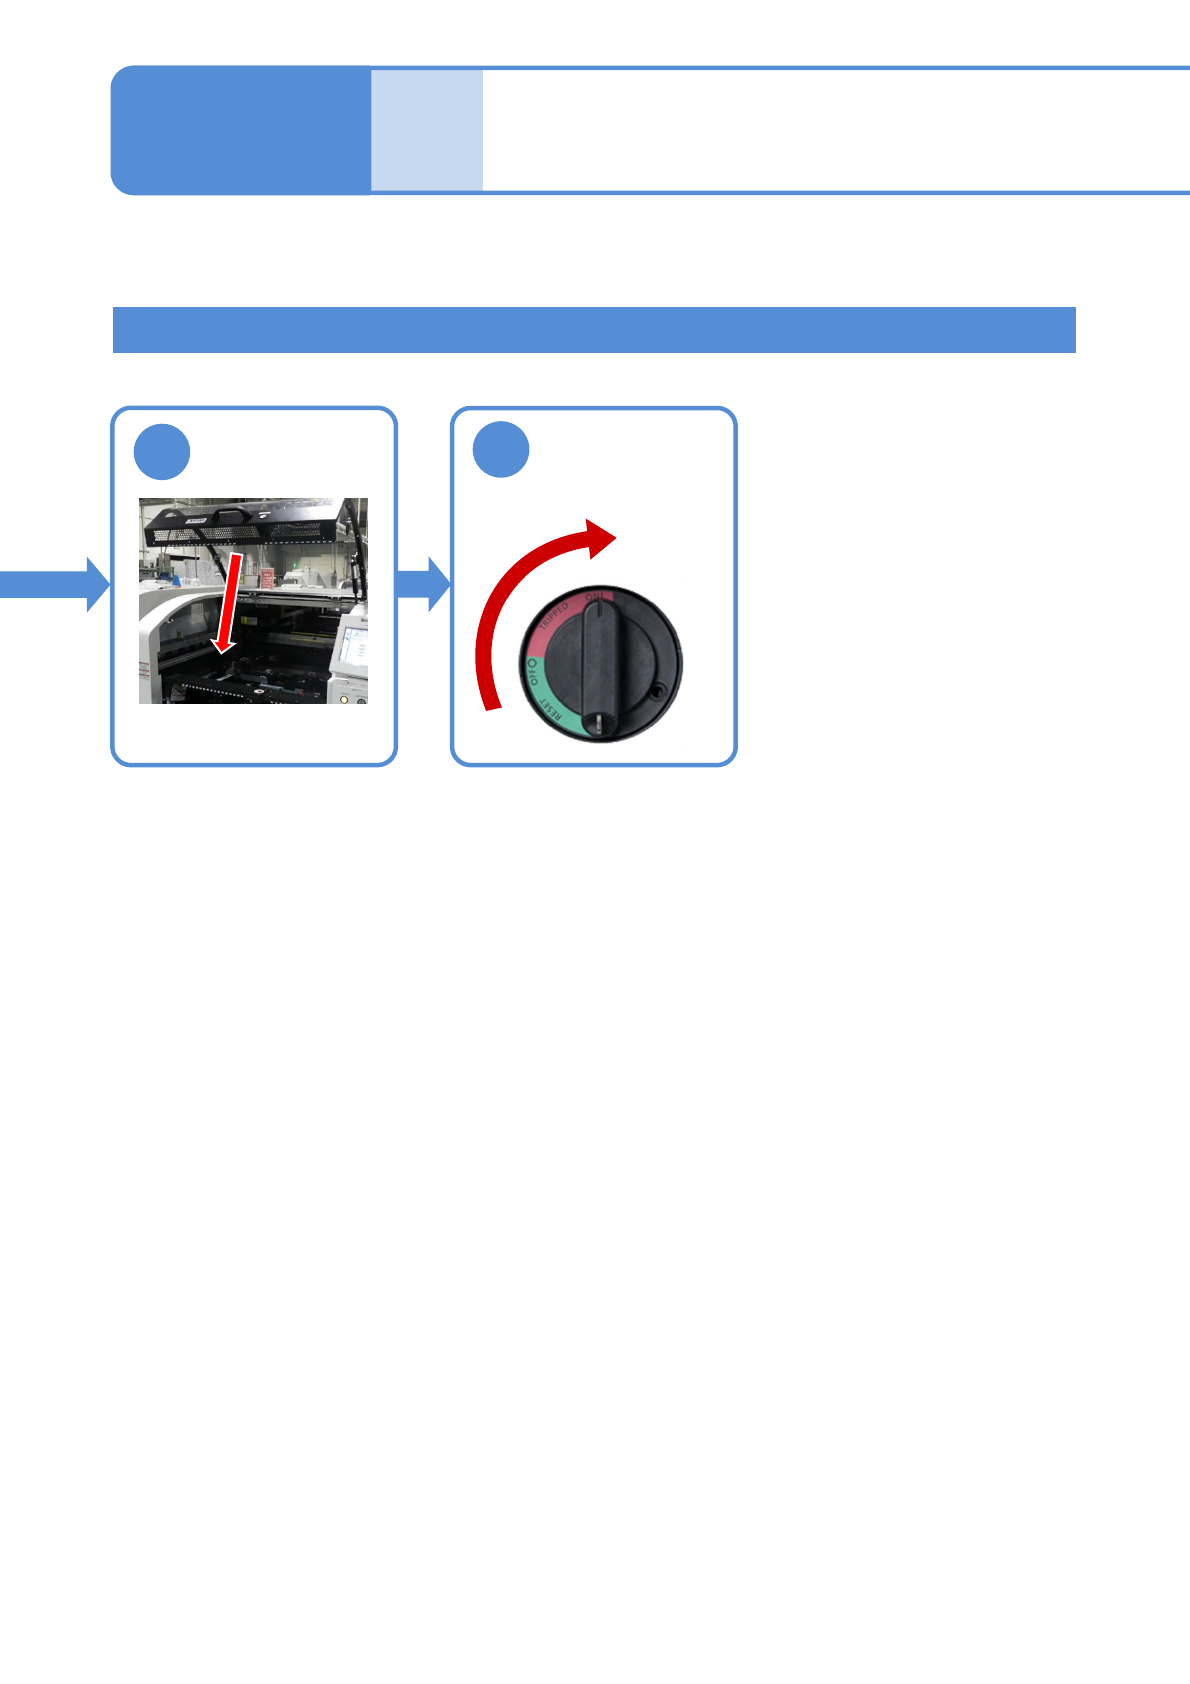
9
10
Unlock the
machine and
ON
NPM-TT2 EJM1EE-MB-14M-02
14-8-6
Installation
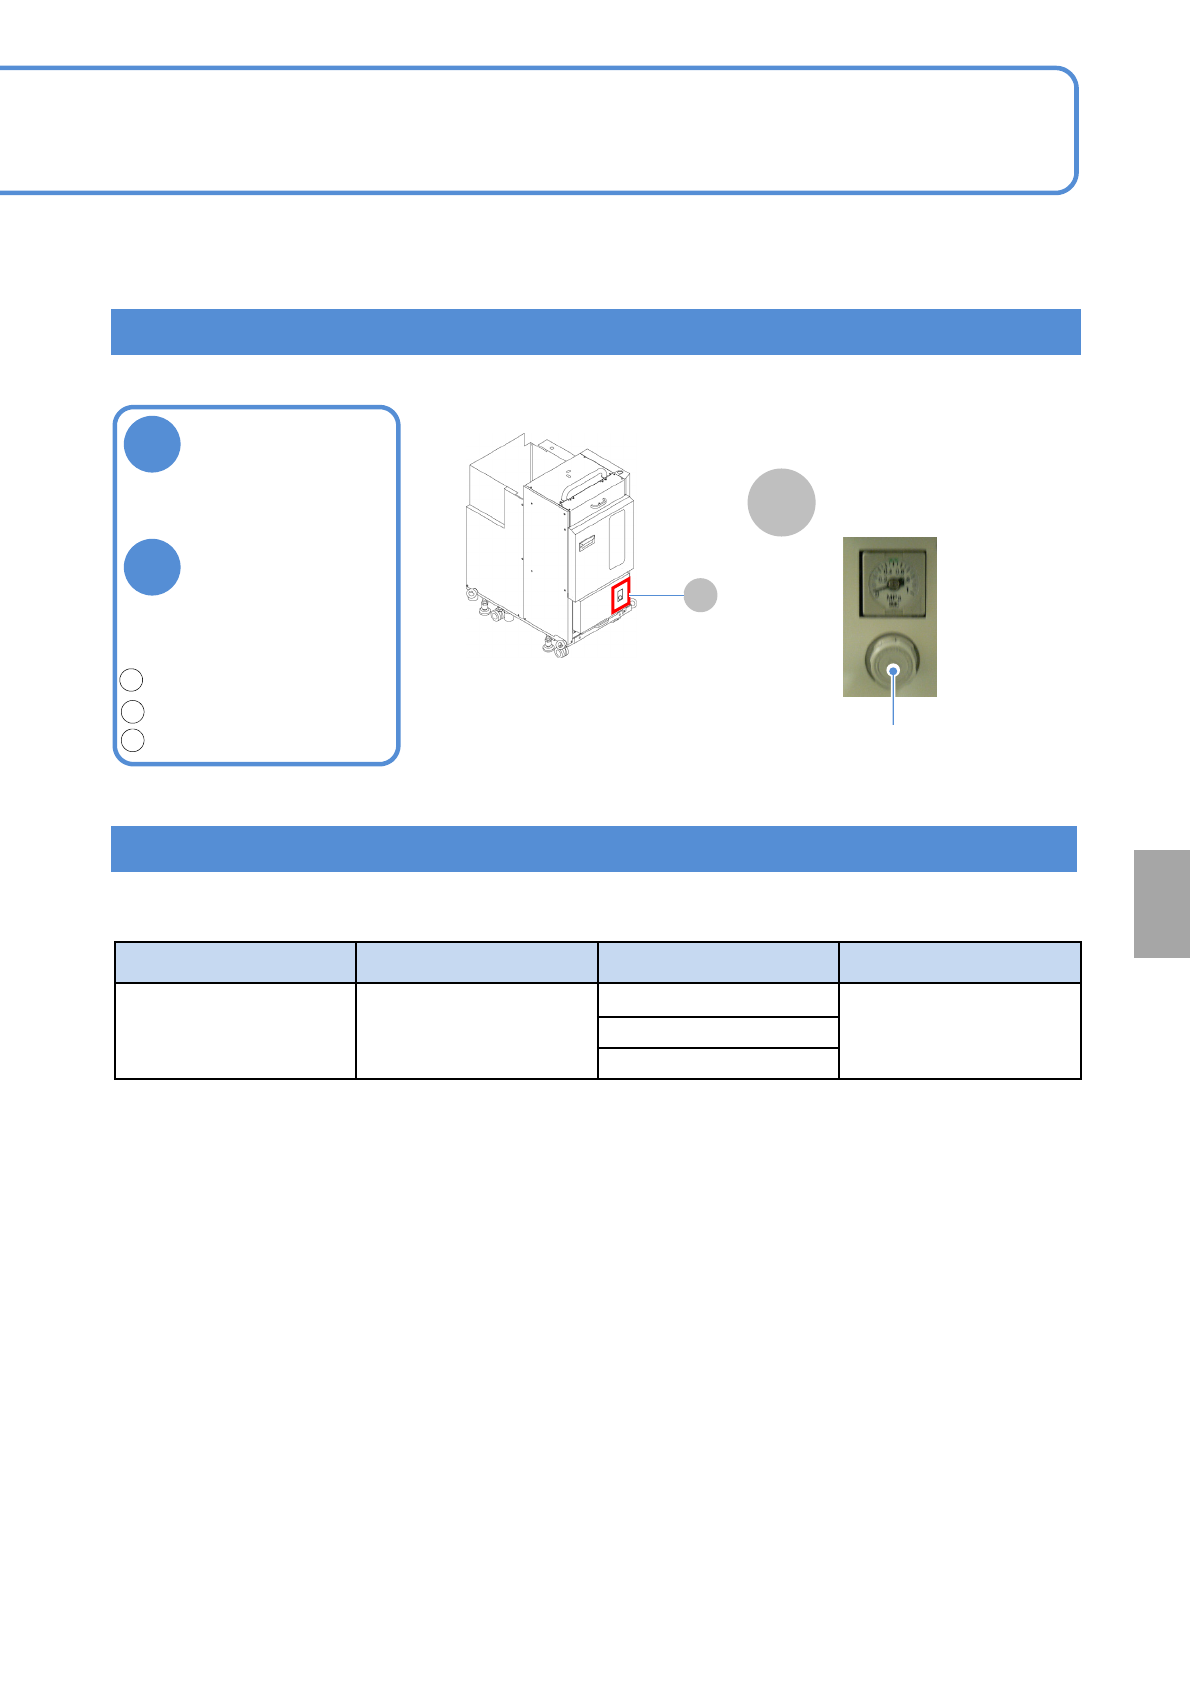
Checking the air pressure
A
A
1
2
Check the air
pressure
●Air pressure:
0.30 to 0.35 MPa
If it is outside the
specified range,
adjust the air
pressure by
turning the
regulator knob
1
2
3
Regulator
■Single tray feeder
Air pressure gauge
Calibration
STEP Item Action Reference
STEP4 Tray
Pickup height
(→P.13-1-2、13-13)
Pickup position 1
Pickup position 2
If the tray feeder is removed or installed, calibration must be performed.
Unlock.(pull it forward)
Adjust the pressure.(rotate)
Lock.(push it rearward)