MAN00000772_SI-G200BB_SVCPDFA.pdf - 第121页
Install Tray Unit (Re-setup after tray unit moved) SEET 9/19 WKGB-10105-02 Installing Tray Unit (Re-setup after tray unit moved) 10 Adjust tray unit position and make the clearance 10 ± 0.2[mm] between end of tray rack a…

Install Tray Unit (Re-setup after tray unit moved)
SEET
8/19
WKGB-10105-02
Installing Tray Unit
(Re-setup after tray unit moved)
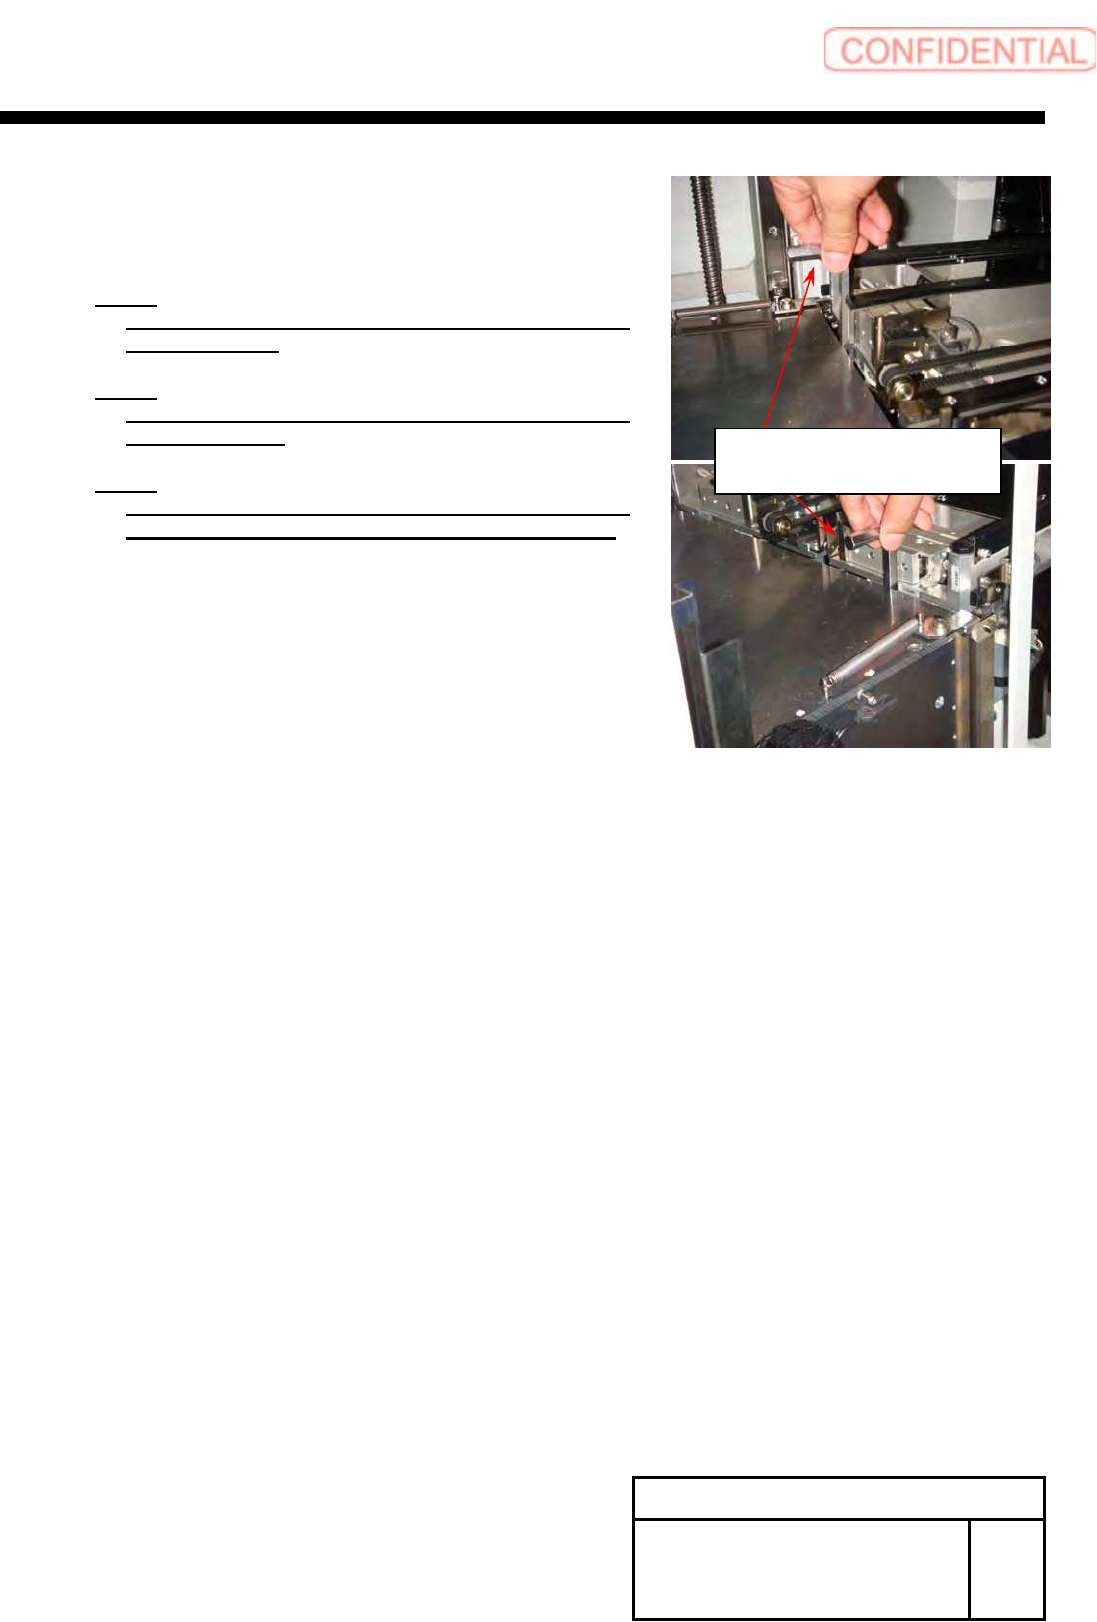
9 Move the top plate of the lower tray rack
to the about same height of S axis frame
by use release switch of VL-axis brake.
NOTE:
At this time, please confirm the shutter does
not collision to shutter roller and shutter close
sensor.
If you can see the collision shutter and shutter
close sensor, change the position of shutter
close sensor temporary to avoid collision. You
can change the position, if loosen the screw of
sensor bracket.
Please re-adjustment it, after docking with
machine,
If you can see the collision shutter and shutter
roller, change the position of shutter roller
temporary to avoid collision.
Install Tray Unit (Re-setup after tray unit moved)
SEET
9/19
WKGB-10105-02
Installing Tray Unit
(Re-setup after tray unit moved)
10 Adjust tray unit position and make the
clearance 10
±0.2[mm] between end of
tray rack and s-axis frame.
NOTE:
At this time, confirm the mount bracket fixation
screw is loose.
NOTE:
Need to confirm the clearance of right side and left
side of tray rack.
NOTE:
At this time, confirm each roller position. If roller
can not open shutter, please change roller position.
Example:
Using Hex-Wrench(10[mm])

Install Tray Unit (Re-setup after tray unit moved)
SEET
10/19
WKGB-10105-02
Installing Tray Unit
(Re-setup after tray unit moved)
11 Adjust and confirm the straight of the
tray rack and S axis unit.
1. Move the concave part of the side plate of tray rack to
the same height of S axis rail.
2. Open shutter by the hand, and check straight side plate
of tray rack and pallet guide of S-axis.
3. If it is not straight, do fine adjust position of tray unit.
Base side
Tray unit S axis unit