MAN00000772_SI-G200BB_SVCPDFA.pdf - 第678页
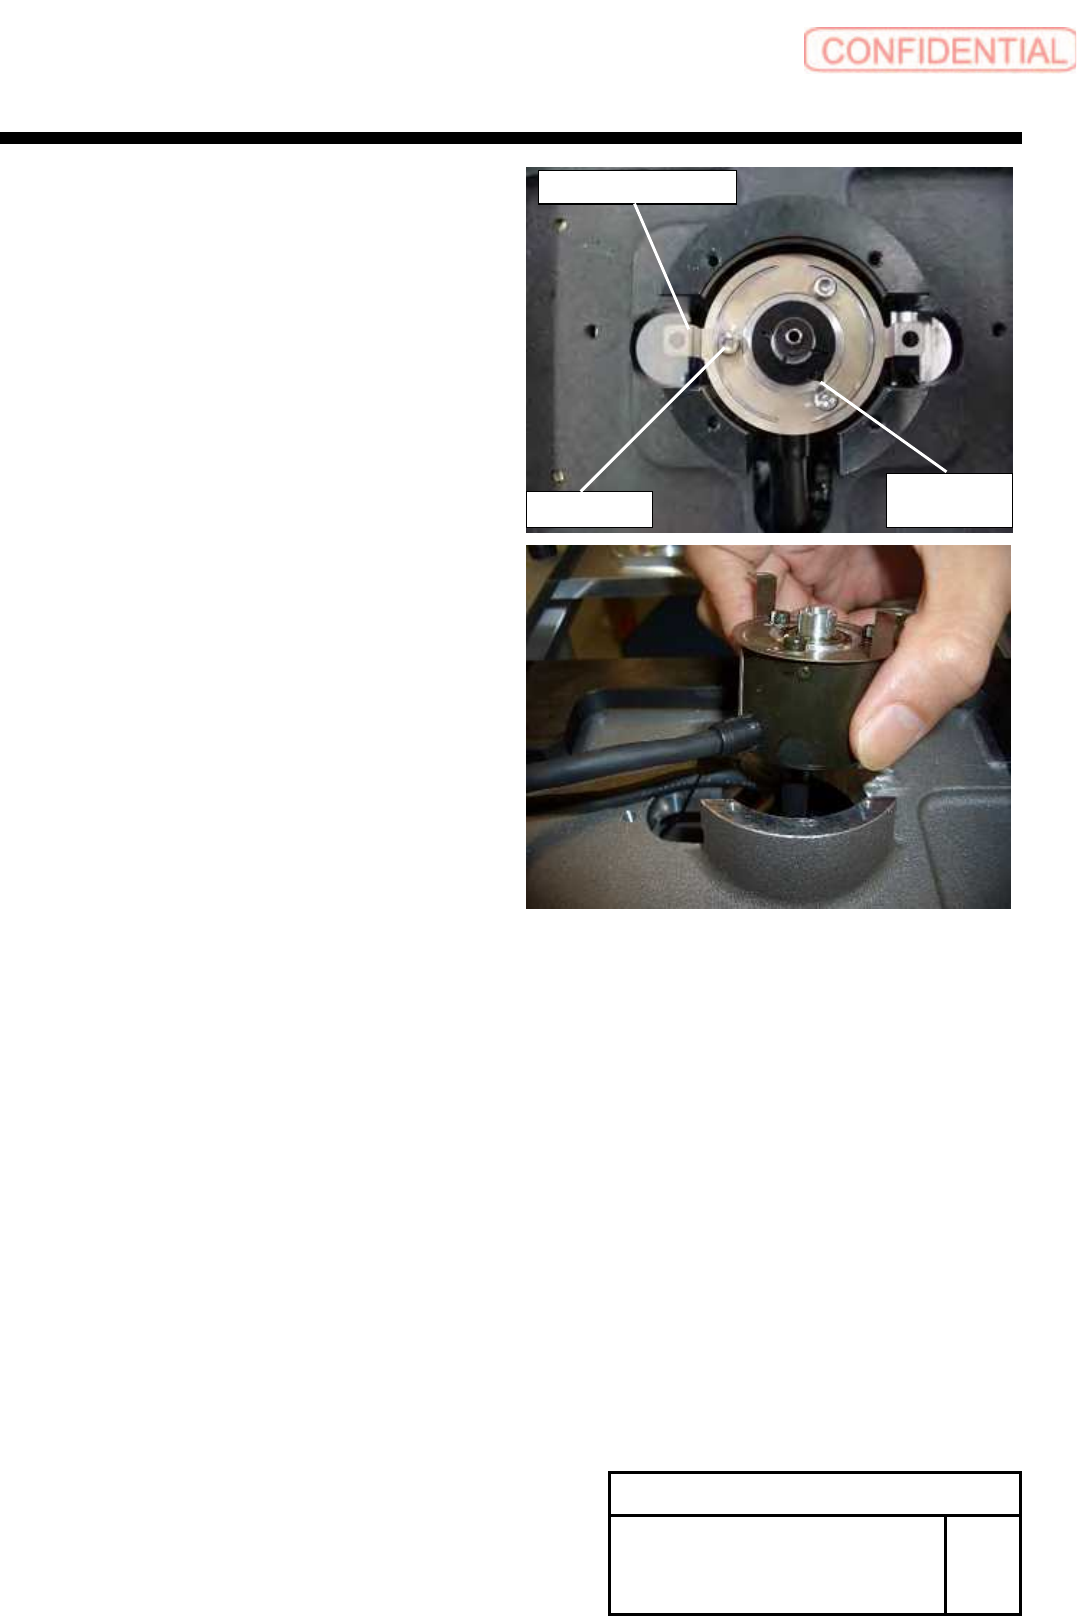
Chan ge Pro cedu re for Ro tary En co der 6 Remov e the screws (3-C3x 3, 3-W3), and remo v e the Enc ode r Leaf Spr ing. 7 L oose n the screws (C2.5x 8), and r emo ve the Set Co llar. 8 Pull out and det ach the enc oder.…
Change Procedure for Rotary Encoder
3. Attach the bearing remove JIG.
Remove the encoder bearing holder by slowly.
POINT
Please wipe the adhesive off after detaching.
(Bearing Holder, Bearing and Spacer)
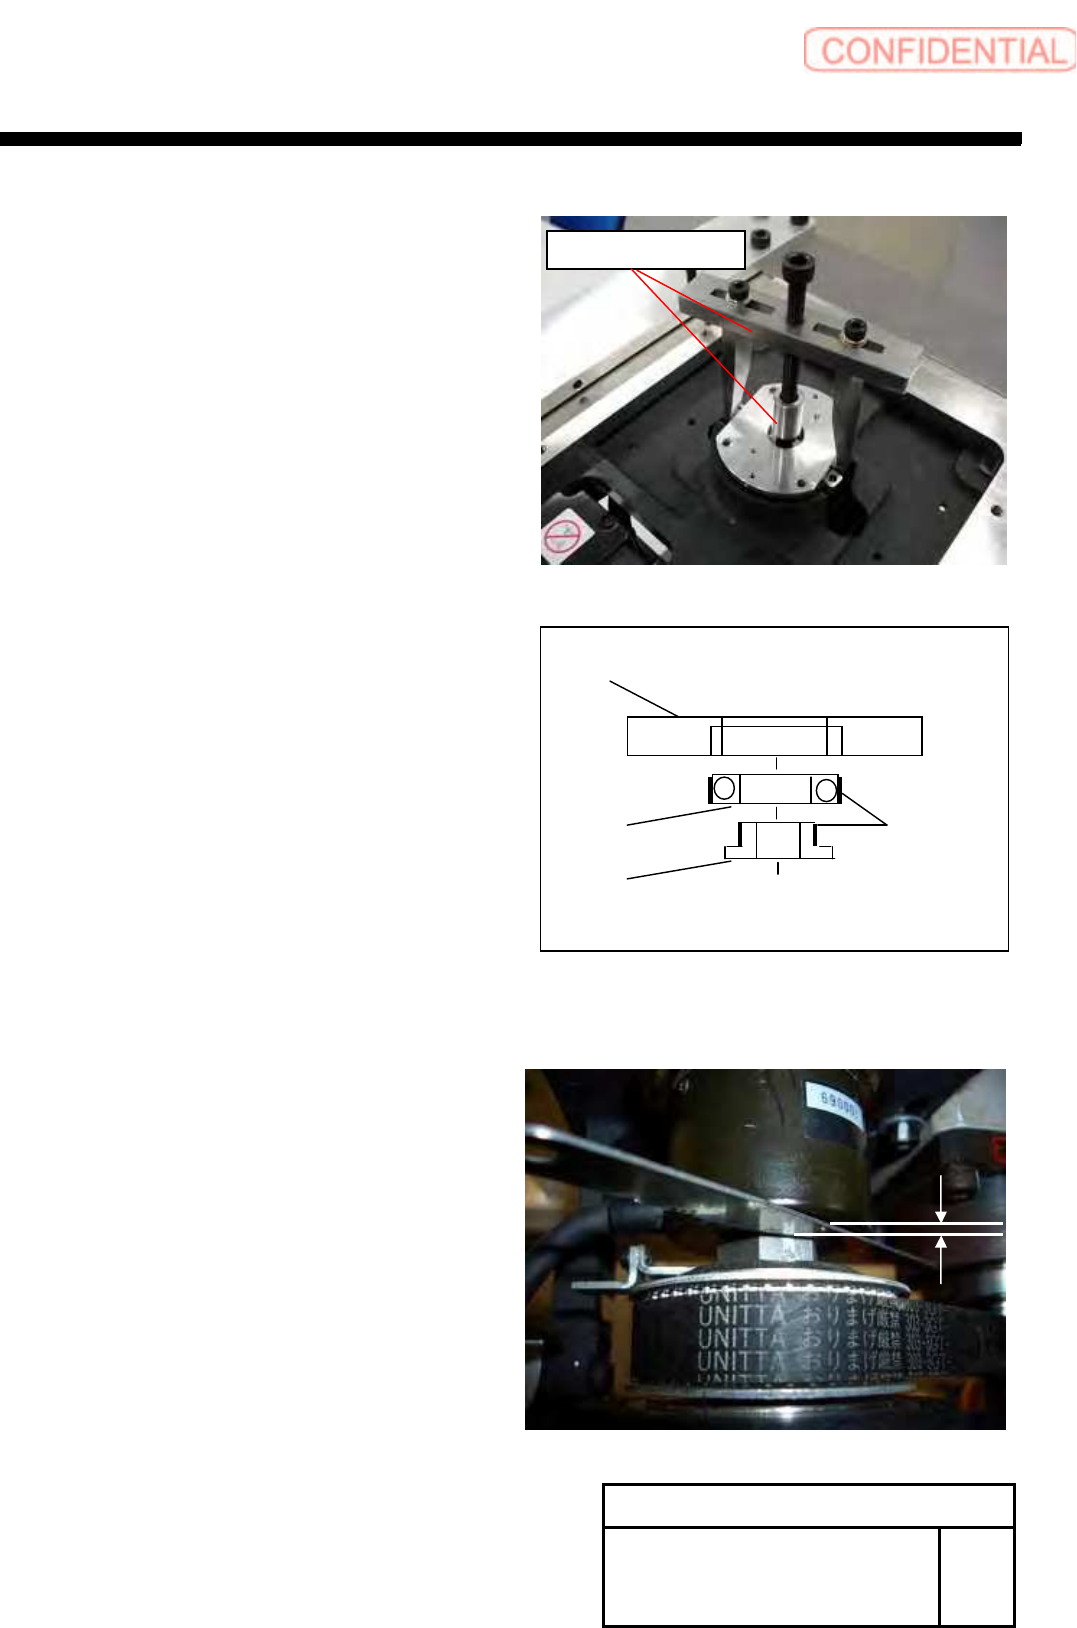
5 Confirm the installation position of Encoder.
POINT
Measure the gap between Encoder and nut.
This data use as install of the encoder.
Change Procedure for Rotary
Encoder
RPGB-10701-1
SEET
2/5
Bearing
Encoder Bearing Holder
Spacer
Locktite
601
Bearing Remove JIG
Change Procedure for Rotary Encoder
6
Remove the screws (3-C3x3, 3-W3), and remove
the Encoder Leaf Spring.
7 Loosen the screws (C2.5x8), and remove the Set Collar.
8 Pull out and detach the encoder.
Change Procedure for Rotary
Encoder
RPGB-10701-1
SEET
3/5
Set Collar
C2.5x8
C3x3,W3
Change Procedure for Rotary Encoder
[Reassembly]
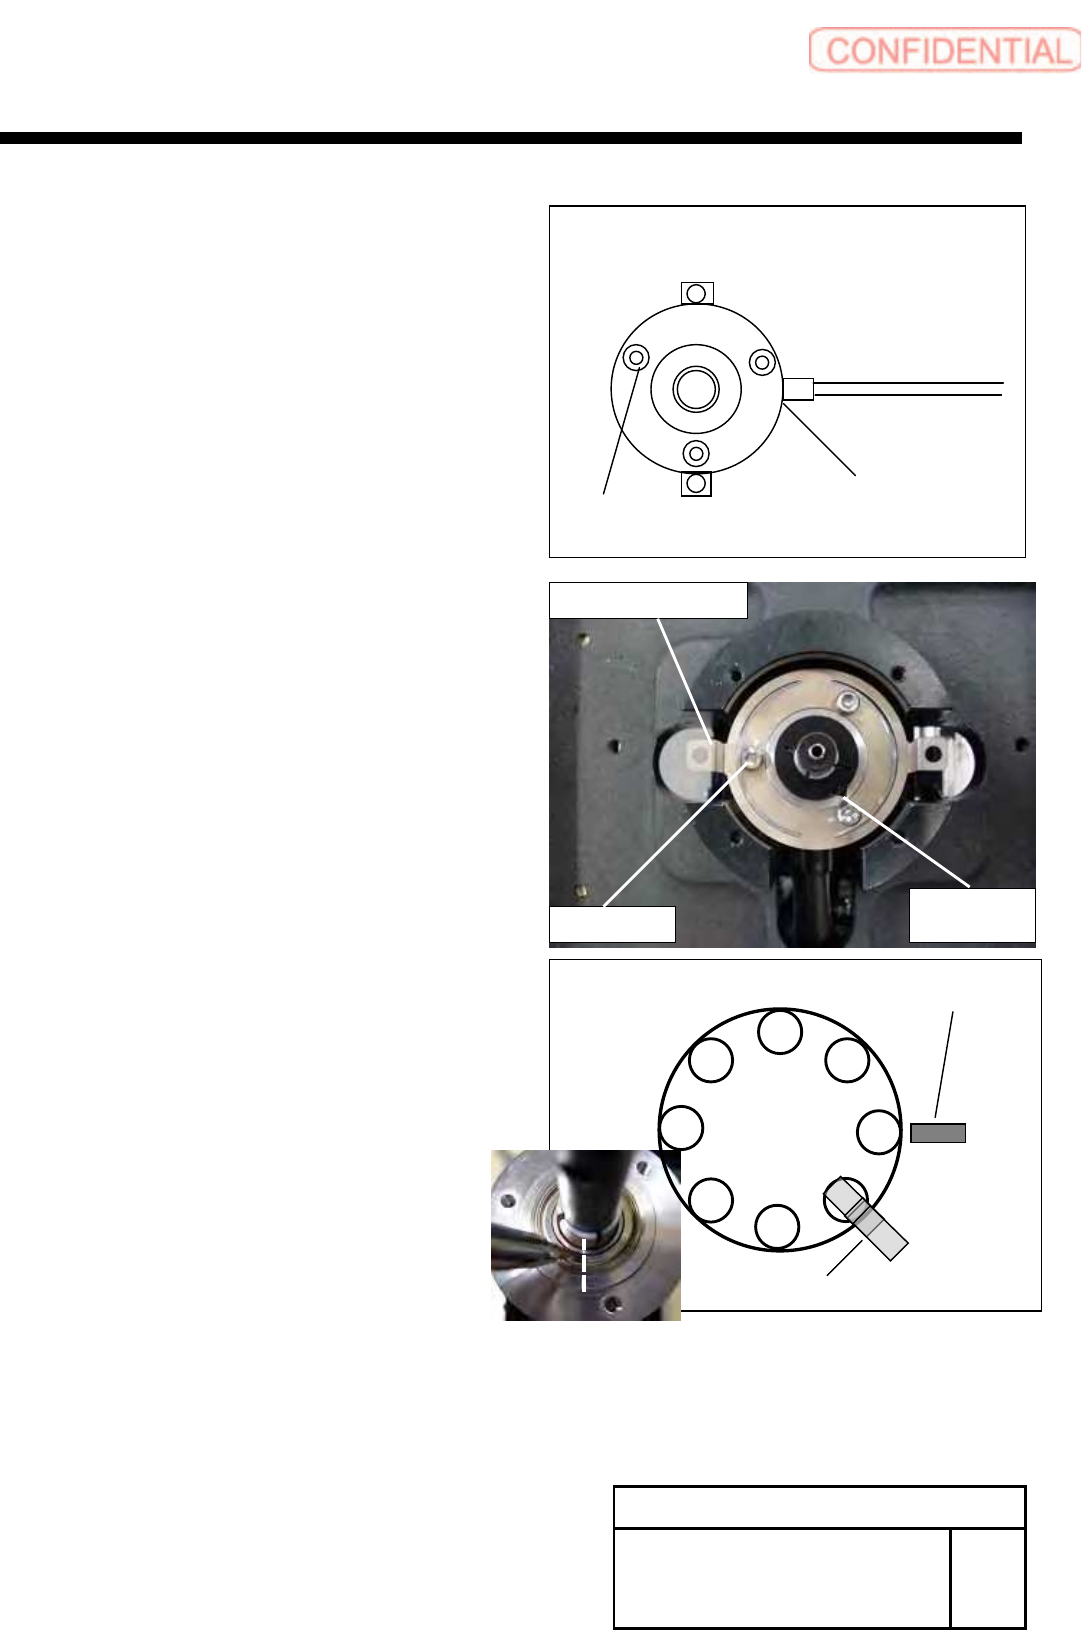
9 Attach the Encoder Leaf Spring to the
New encoder with screws (3-C3x3, 3-W3).
10
Attach the encoder to the axis without stress to
the cable, and temporarily attach the set collar.
POINT
Insert it carefully in the direction of the Set collar.
The flat side should be attached on the upper side.
11
Adjust the position of RT axis and Z phase of the encoder.
1. Rotate the RT axis, adjust the No.2 shaft position to the
under the RT ORG sensor.
2.Adjust the Z phase position (marking-off line) of the encoder.
12 Adjust the gap between encoder and nut.
(measured by item 5)
Confirm the item 11 again.
Tighten the screw (C2.5x8), fix the encoder by set collar.
Change Procedure for Rotary
Encoder
RPGB-10701-1
SEET
4 /5
Cable Position
Installation
Position
C3
x
3
W3
Set Collar
C2.5×8
C3x3,W3
Encoder Leaf Spring
RT Dog
RT ORG Sensor
1
8
7
6
5
4
3
2