ASM贴片机CPP头半年保养 - 第55页
21 6-monthly CPx+TH Appendix: Maintain the Pressure Regulator Valve (PRV) 10 min 1 / 7 CAUTION!Refer to safety instructions in user manual before commencing Mainten- ance NOTICE! ESD guidelines are to be followed Tool: …
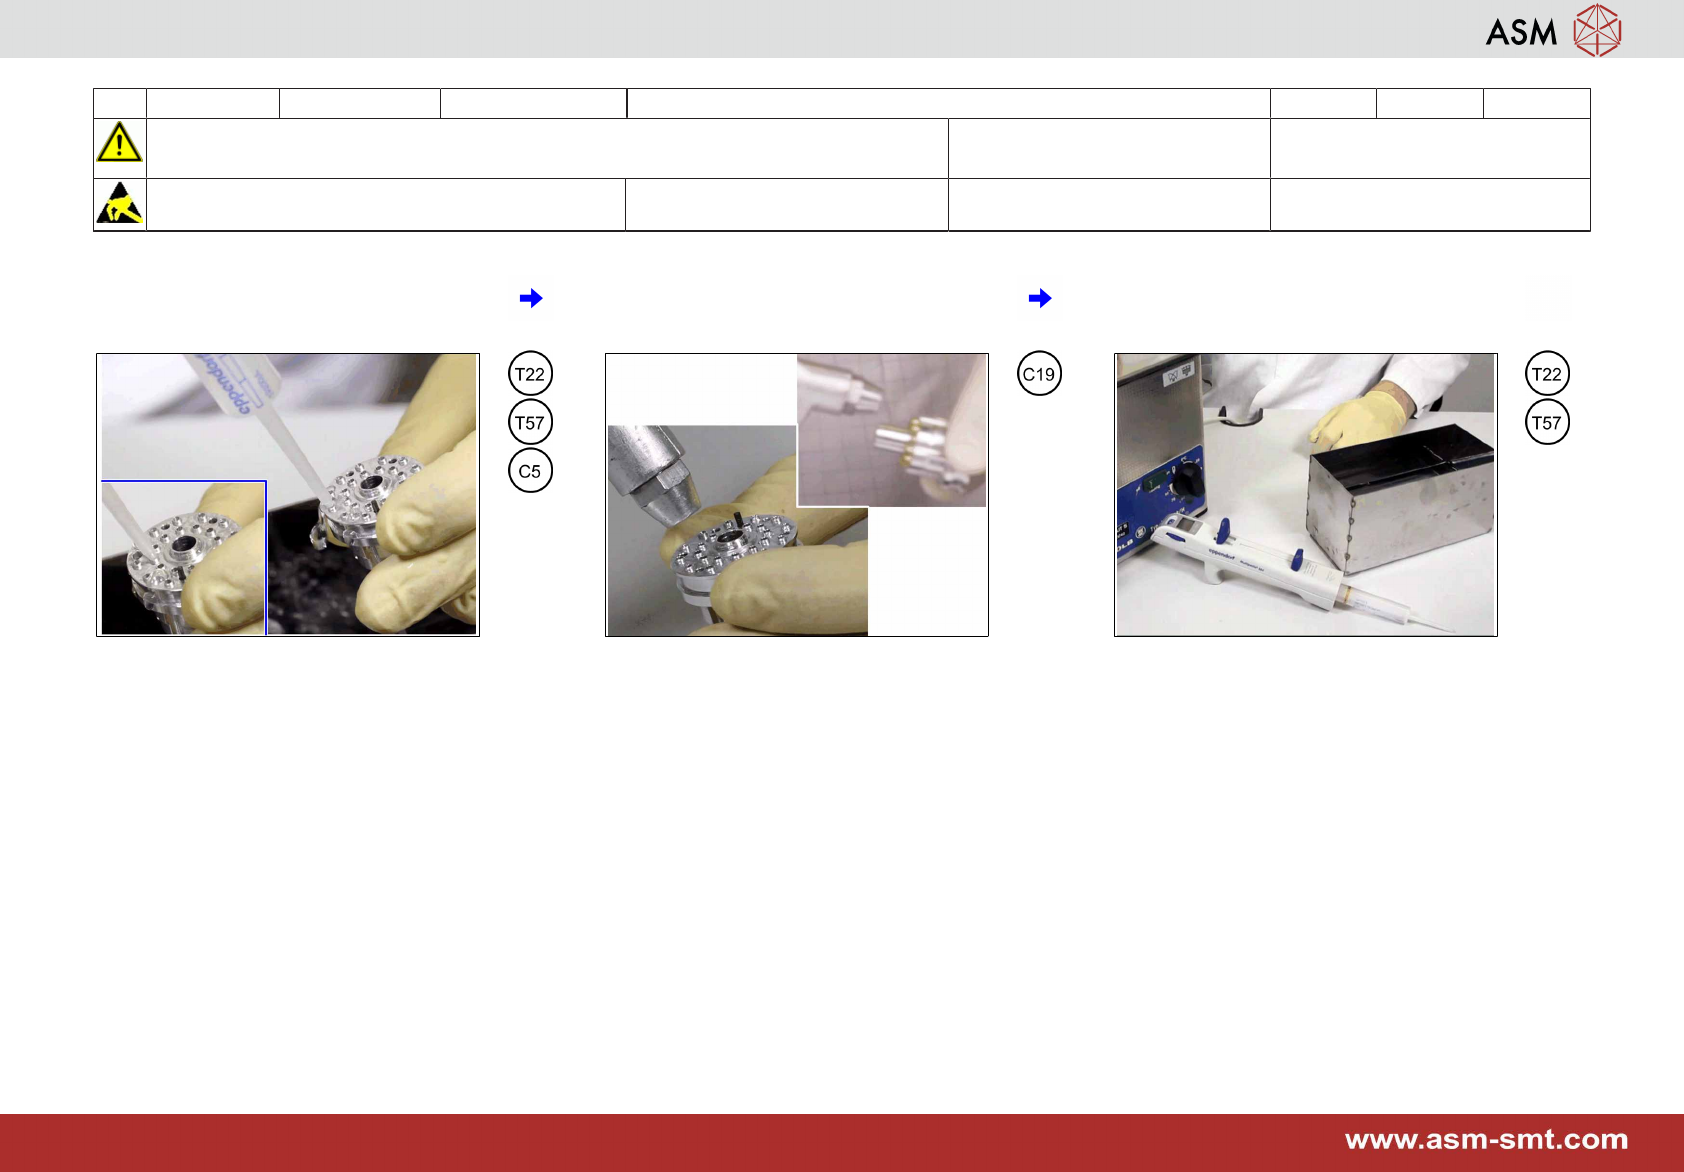
20 6-monthly CPP Appendix: Maintain the holding circuit 45 min 2 / 2
CAUTION!Refer to safety instructions in user manual before commencing Mainten-
ance
NOTICE! ESD guidelines are to be followed Tool:
T22, T38, T57, T92
Wear Part:
W29
Consumables:
C5, C19, C22, C24, C31, C45
7 Rinse then holes from the bottom starting
with the outer holes using a complete
filling.
8 Dry the outer holes from top and from the
bottom. Ensure to keep a distance and be
careful not to hit the index pin.
9 Clean-up the multipette. See "Appendix:
Clean-up the multipette".
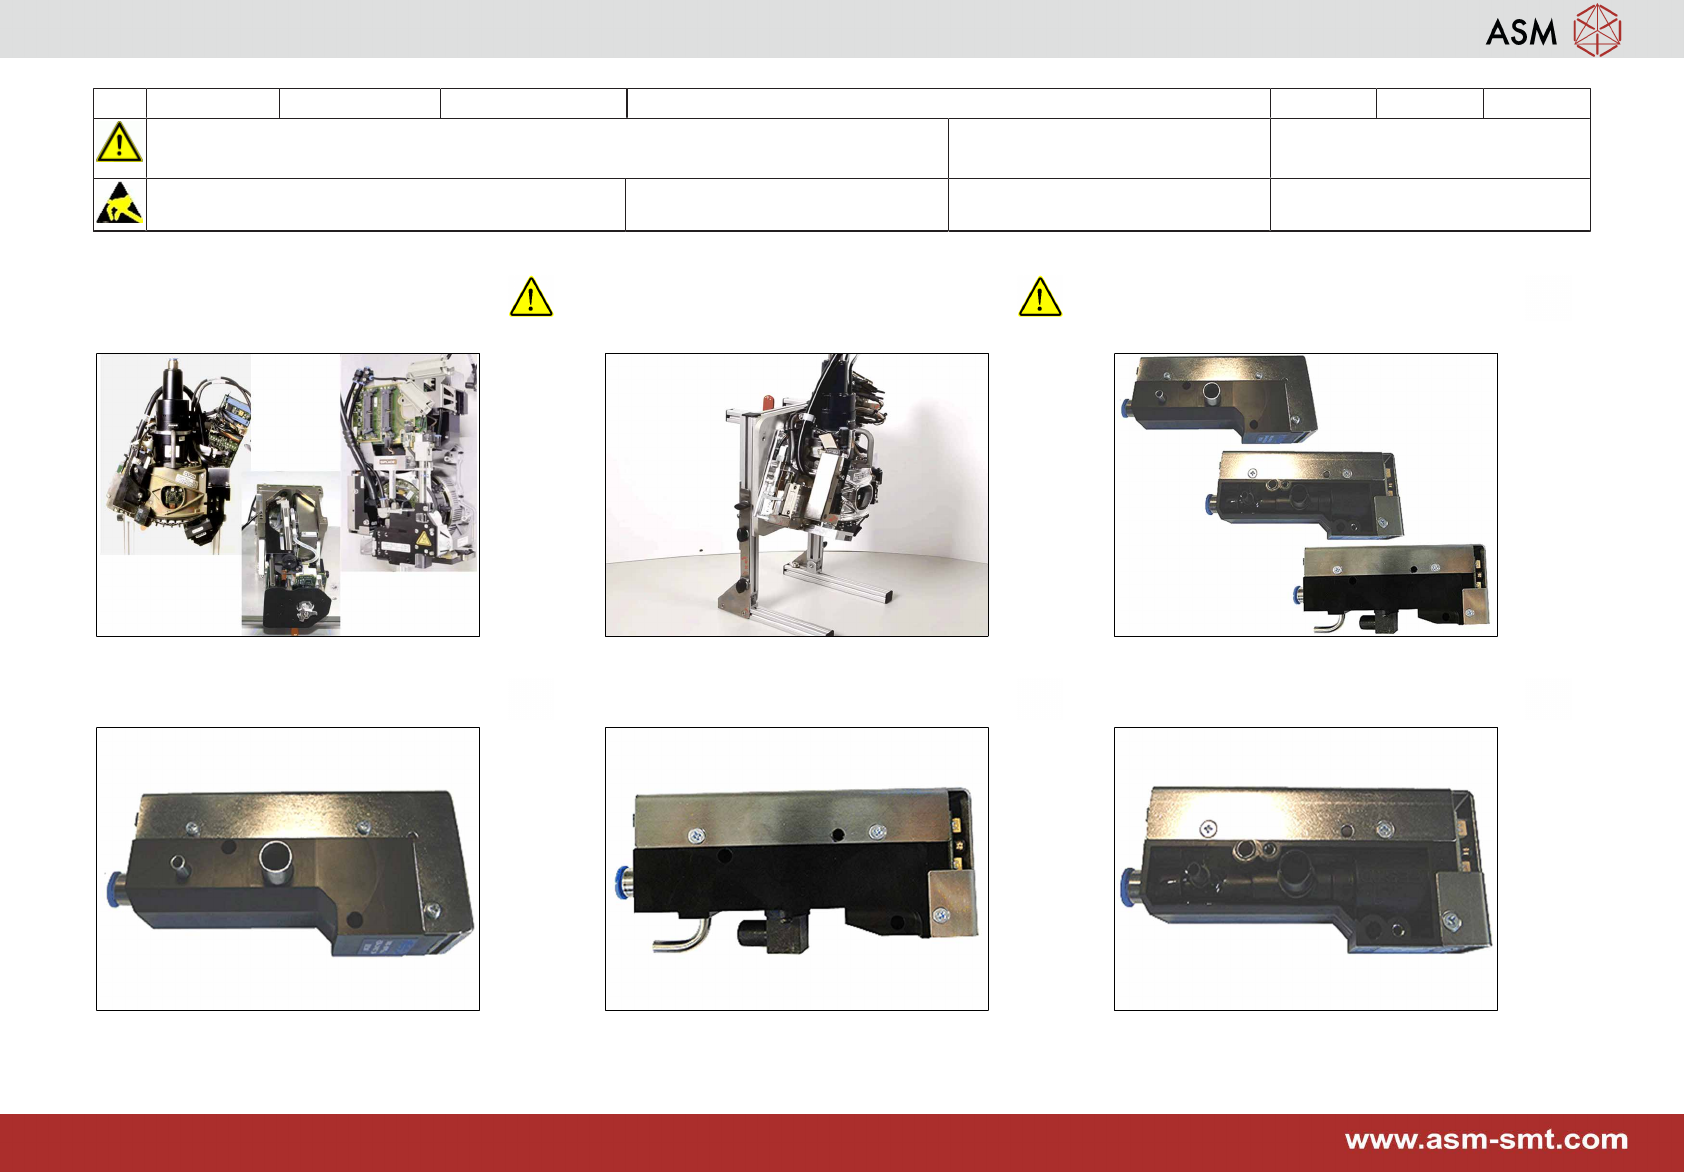
21 6-monthly CPx+TH Appendix: Maintain the Pressure Regulator Valve (PRV) 10 min 1 / 7
CAUTION!Refer to safety instructions in user manual before commencing Mainten-
ance
NOTICE! ESD guidelines are to be followed Tool:
T44, T46, T53, T69, T80
Wear Part:
W28, W42, W45, W46
Consumables:
C3, C5, C11, C19, C22
1 Maintenance is required for PRVs moun-
ted to C&P20, C&P20 A, CPP and TH
only.
2 The PRV introduced with the C&P20 P is
not to be cleaned. Otherwise the built in
protection membrane can be damaged.
3 Although the housing of the PRV used in
C&P20, C&P20 A, CPP and TH looks dif-
ferent all maintenance steps are the same.
4 PRV at C&P20 A! 5 PRV at CPP! 6 PRV at TwinHead!

21 6-monthly CPx+TH Appendix: Maintain the Pressure Regulator Valve (PRV) 10 min 2 / 7
CAUTION!Refer to safety instructions in user manual before commencing Mainten-
ance
NOTICE! ESD guidelines are to be followed Tool:
T44, T46, T53, T69, T80
Wear Part:
W28, W42, W45, W46
Consumables:
C3, C5, C11, C19, C22
7 Remove the 3 screws, lift up the cover (1)
and carefully remove it from the housing
(2).
8 Open the 3 screws (1) at the short PCB.
Don't remove the screw in the middle (2).
9 Open the 2 screws at the long PCB.
10 Lift up the long PCB and take out the two
plastic jackets.
11 Carefully loosen the PCB by sliding in a
screw driver between PCB and foil (1) and
remove it from the housing (2). Be careful
not to damage the foil.
12 Remove the O-ring for the vacuum sensor.