00197483-02_VD_SIPLACE-OIB-3.3_EN.pdf - 第27页
Version Descripti on SIPLAC E OI B 3.3 04/2014 E dition 27 13.2 Re - inde xing the O bject IDs in OIB, when SI PLACE Pro perf ormed the re - indexing For cus tomer s which are u sing lar ge databas es in SIPLAC E Pro it …
Version Description
SIPLACE OIB 3.3 04/2014 Edition
26
Delete checkpoint files
To delete checkpoint files:
Caution: Incorrectly editing the registry might severely damage your system. Before making changes to
the registry, you should back up any valued data.
→
Open Microsoft Windows Explorer, and then browse to your storage directory. This directory is typically
located under C:\Windows\System32\msmq\storage.
→
Delete the following files: MQInSeqs.lg1, MQInSeqs.lg2, and QMLog file.
→
Open Registry Editor. To open Registry Editor, click Start. In the search box, type regedit, and then
press ENTER.
→
Browse to HKEY_LOCAL_MACHINE\SOFTWARE\Microsoft\MSMQ\Parameters, and then click
Parameters.
→
On the Edit menu, point to New, and then click DWORD (32-bit) Value.
→
In the Name field, enter "LogDataCreated," and then ensure that the value is set to 0.
→
Close Registry Editor.
Restart the MSMQ Service
To restart the MSMQ Service:
→
Open the Services console. To open Services, click Start. In the search box, type services.msc, and
then press ENTER.
→
Right-click Message Queuing, and then click Restart. You must restart all the dependent services, as
well.
Verify
Verify that the MSMQ Service is installed and running.
To perform this procedure, you must have membership in Administrators, or you must have been
delegated the appropriate authority.
To verify that the MSMQ Service is installed and running:
→
Open the Services snap-in. To open Services, click Start. In the search box, type services.msc, and
then press ENTER.
→
Locate the Message Queuing service, and then confirm that the value in the Status column is Started.
→
For further confirmation, run a test application that uses the Active Directory features that you require.
Version Description
SIPLACE OIB 3.3 04/2014 Edition
27
13.2 Re-indexing the Object IDs in OIB, when SIPLACE Pro performed the
re-indexing
For customers which are using large databases in SIPLACE Pro it can happen that the internal Object ID
counter can exceed the upper limit. Therefore a check has been added in SIPLACE Pro to perform a re-
indexing in the database. This functionality is available for SIPLACE Pro 9.3 and higher and SIPLACE OIB
2.5 and higher.
Background
The SIPLACE OIB Line Control Adapter stores the Configuration Manager references to the SIPLACE Pro
Databases with each download. This information is normally consistent, because the object ids will not
change inside SIPLACE Pro. When the re-mapping is performed to reuse formerly used Ids of already
deleted objects in SIPLACE Pro these references will break. Therefore the remapping in the SIPLACE OIB
database has to be performed.
Caution
If several instances of a SIPLACE Pro server are installed in a factory these procedure applies
to each installation separately. The adjustments in OIB must be performed for each SIPLACE
Pro installation separately when necessary.
Perform re-indexing in SIPLACE Pro
→
SIPLACE Pro checks during the installation, either update or maintenance if the threshold for issuing a
warning or forced re-indexing has been reached. The installation will perform the re-indexing and
create a file at the end. This file will be the input for the OIB re-indexing.
→
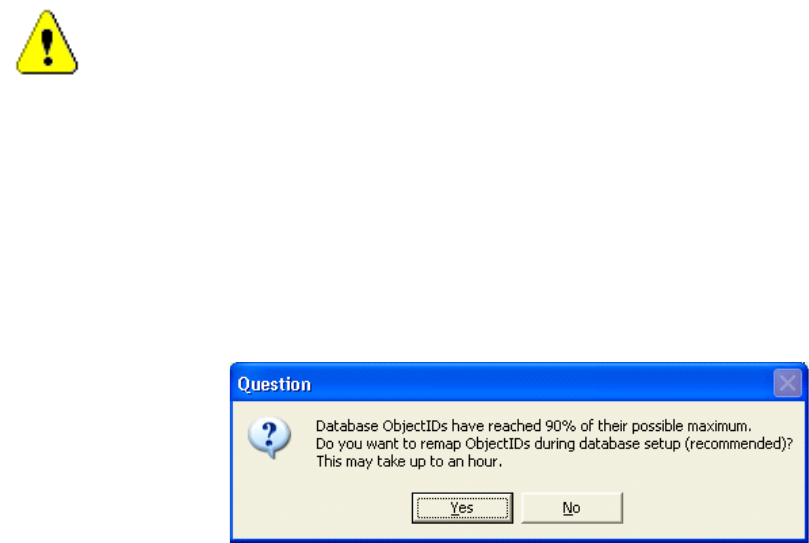
If the SIPLACE Pro database allocates 70% - 80% of the available indices then the waning dialog pops
up. The customer can still skip the re-indexing.
Version Description
SIPLACE OIB 3.3 04/2014 Edition
28
→
→
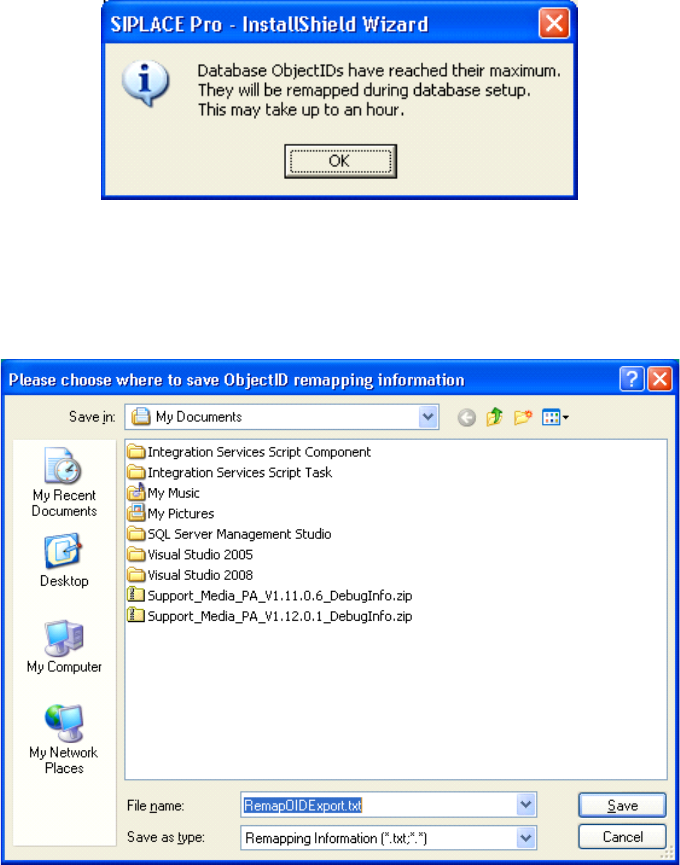
If the SIPLACE Pro database allocates over 80% of the available indices the re-indexing is required
and the customer will be informed with the above dialog.
→
The installation will ask for a filename and path where you want to save the remapping information.
After that the installation will continue and perform the re-indexing, which might take some time.