00196845-02_AI_Vakuumpumpe_SXDX4_X-Serie-S_de_en - 第115页
Maintenance 4.1.4 Performing Maintenance Ta sks Maintenance Tasks for Vacuum Pump Vacuum Pump Vakuumpumpe 115 4.1.4 4 . 1 . 4 P e r f o r m in g M a in t e n a n c e T a s k s Performing Maintenance Tasks SXDX4 X3 4iS 4.…

Maintenance
Maintenance Tasks for Vacuum Pump 4.1.2 Preparatory Steps
114 Vacuum Pump Vakuumpumpe
4.1.2
4.1.2 Preparatory Steps
Preparatory Steps
► Switch off the machine and secure it to prevent unauthorized reactivation. Observe the instructions
in section "1.2 Preparatory Work..." [ ➙ 72].
► Interrupt the compressed air supply to the machine.
► Dismantle the waste slide. Read the service manual for your machine first.
SXDX4 X34iS
4.1.3
4.1.3 Recommended maintenance intervals
Recommended maintenance intervals
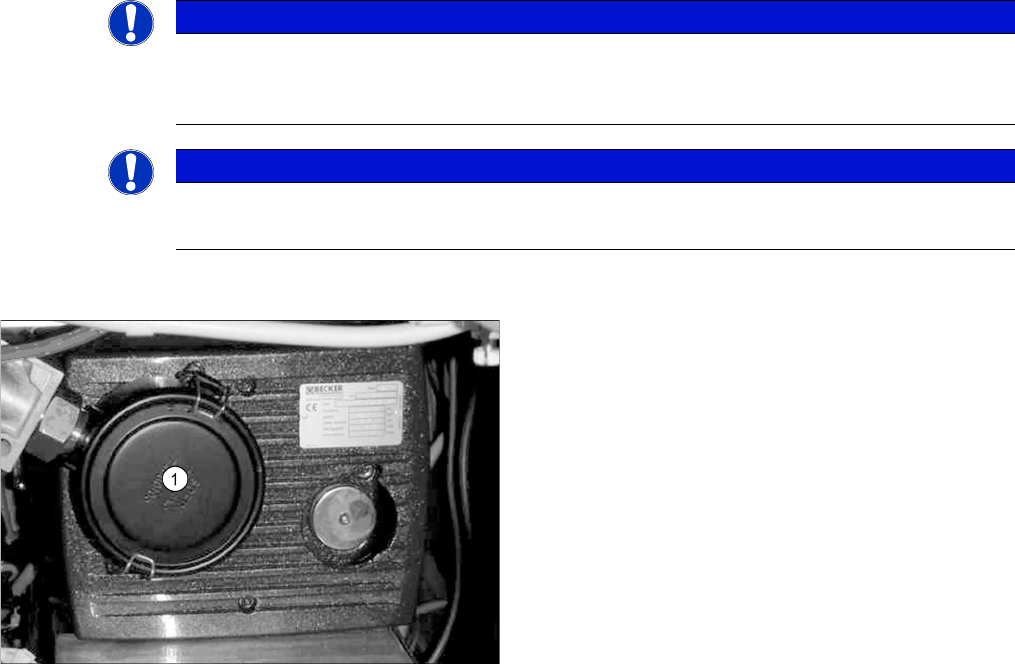
► Dismantle the cover plate (1) incl. the fan over the
vacuum pump.
CAUTION!
Make sure you do not damage any cables and hoses.
CAUTION
Loosened vacuum pump
It is possible to remove the vacuum pump from the machine but it is not necessary.
For a better access, however, it may be useful to loosen the vacuum pump and pull it a bit to
the front within the machine. Also read the Assembly Instructions for the vacuum pump.
► Make sure that the vacuum pump cannot fall out of the machine.
Maintenance inter-
val
Spare part Task
Every 6 months Filter insert [03077677-xx] Check the filter insert and replace if necessary.
NOTICE
Working life
The filter insert has a working life of at minimum 7500 hours up to 25000 hours. For more infor-
mation about the product life, refer to the manufacturer's documentation (see http://www.beck-
er-international.com – Vacuum pump rotary vane pumps, dry running, type VX4.25)
Maintenance
4.1.4 Performing Maintenance Tasks Maintenance Tasks for Vacuum Pump
Vacuum Pump Vakuumpumpe 115
4.1.4
4.1.4 Performing Maintenance Tasks
Performing Maintenance Tasks
SXDX4 X34iS
4.1.4.1
4.1.4.1 Checking/Replacing the Filter Insert
Checking/Replacing the Filter Insert
NOTICE
Observe the manufacturer's instructions
► For more information about maintenance intervals and about how to perform the individual
maintenance tasks, read the manufacturer's instructions for your vacuum pump.
NOTICE
Observe the assembly instructions
► Also read the "Assembly instructions for the vacuum pump SX4/DX4" [00196845-xx].
► Open the edgewise retaining clamp of the filter casing
(1) and remove the cap.
► Remove the vacuum filter.
► Check the vacuum filter and replace it if necessary
(filter insert [03077677-xx]).
Maintenance
Maintenance Tasks for C&P20/A/M Head 4.2.1 Checking/Replacing the Vacuum-Conducting Parts
116 Vacuum Pump Vakuumpumpe
4.2
4.2 Maintenance Tasks for C&P20/A/M Head
Maintenance Tasks for C&P20/A/M Head
4.2.1
4.2.1 Checking/Replacing the Vacuum-Conducting Parts
Checking/Replacing the Vacuum-Conducting Parts
Checking the Silencer (for compressed air operation)
CAUTION
Do not get the heads mixed up!
C&P20 head maintenance differs from maintenance for the C&P20 A, C&P20 M and C&P20 P
heads.
Maintenance of the C&P20 A, C&P20 M and C&P 20 P heads is identical.
Any differences will be explicitly indicated.
Unless otherwise specified, all references made apply equally to the C&P20, C&P20 A, C&P20
M and C&P20 P head.
NOTICE
Check segments , camera optic
► When checking, pay particular attention to the segments which were noticeable during the
vacuum test.
► Make sure that you do not damage or contaminate the camera lens system.
NOTICE
Silencer or reflecting ring
A reflecting ring is fitted in place of the silencer for vacuum pump operation.
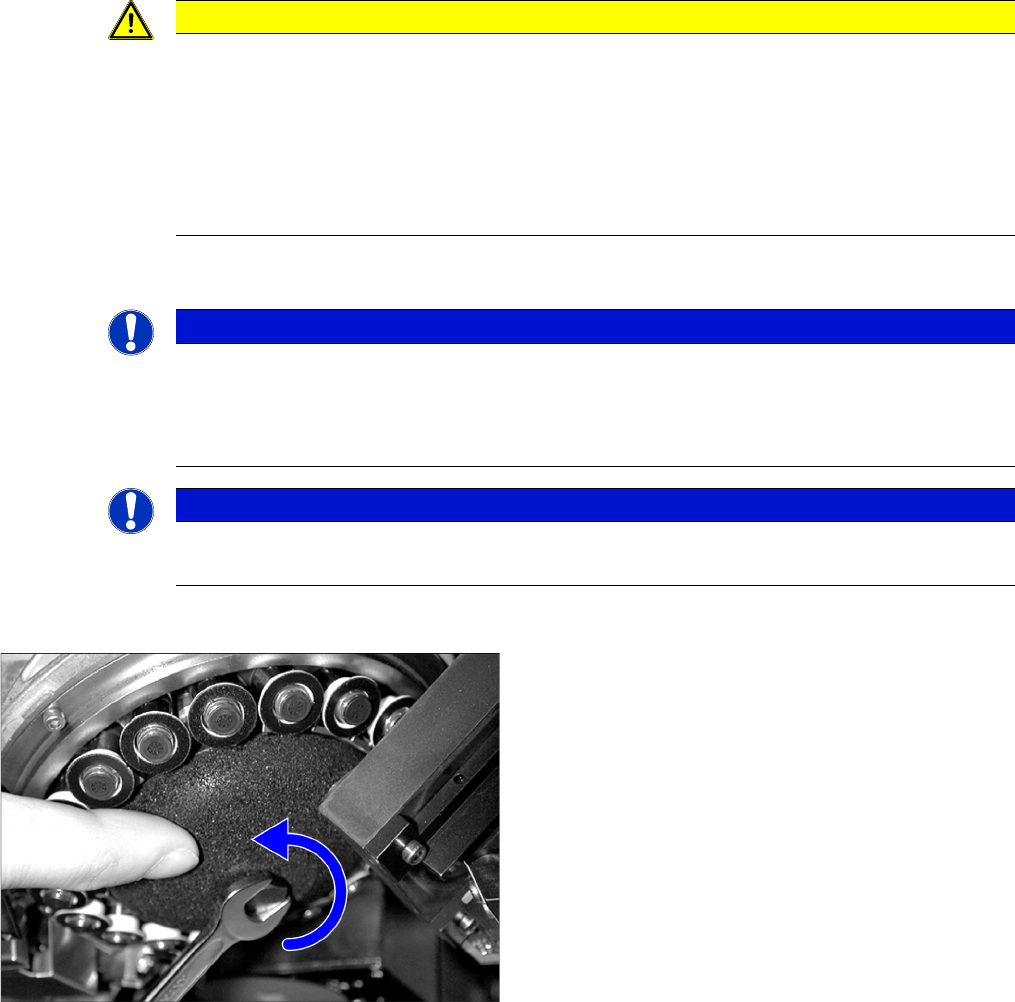
► Dismantle the silencer. To do this, loosen the screw
fastening the silencer and carefully lever the silencer
out.
► Check the silencer for contamination and replace, if
necessary.
Hand-tighten the screw fastening the silencer.