Portal_Manual_1.2.1_Rev_H-1.pdf - 第21页
Portal PVA Revisio n H ( 2018 ) 21 of 93 6 Manual Mo de The optio ns shown in Po rtal de pend on th e workce ll configur ation . Refer to your machine specific manuals and appendices for more information. Fig ure 8 : Man…
Portal
PVA
Revision H (2018)
20 of 93
7. All system messages will be shown in the Messages From Controller window.
8. The Linked display shows the machine “heartbeat”. This indicator will blink
while the PC is connected to the workcell, but NOT while the machine is in an
error state.
Figure 5: Linked
9. To change the User, select Cycle stop and select the User at the bottom of the
window.
Figure 6: User
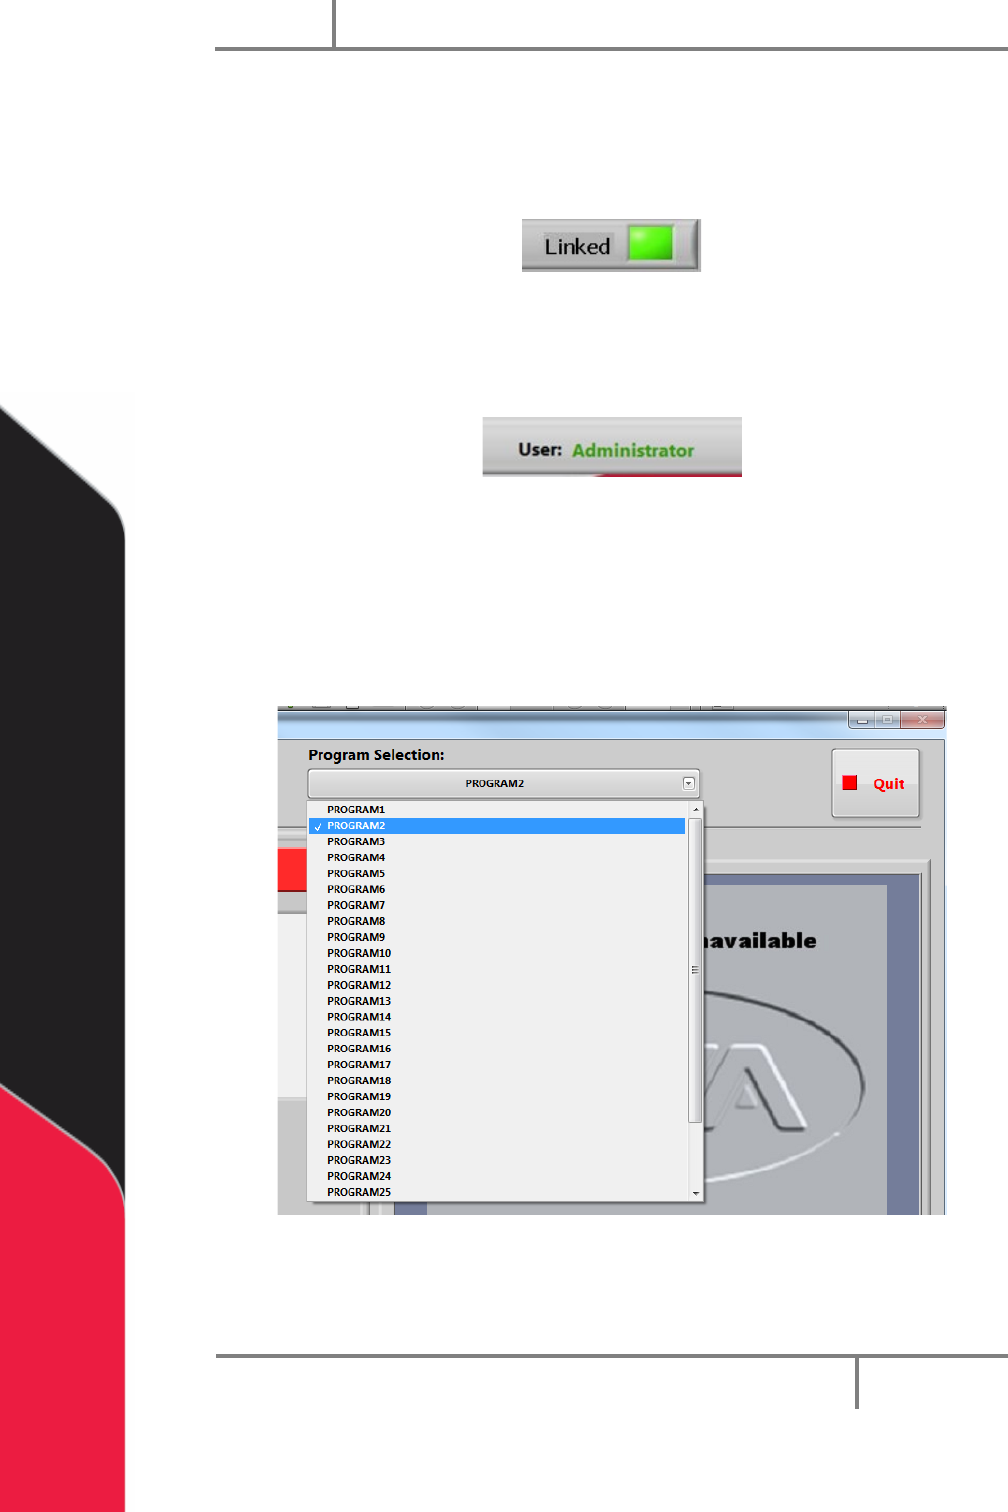
5.2 Program Selection
The active program can be changed at any time with the Program Selection drop-down
menu. Path programs are downloaded to the motion controller with the PathMaster®
software.
Figure 7: Program Selection
Portal
PVA
Revision H (2018)
21 of 93
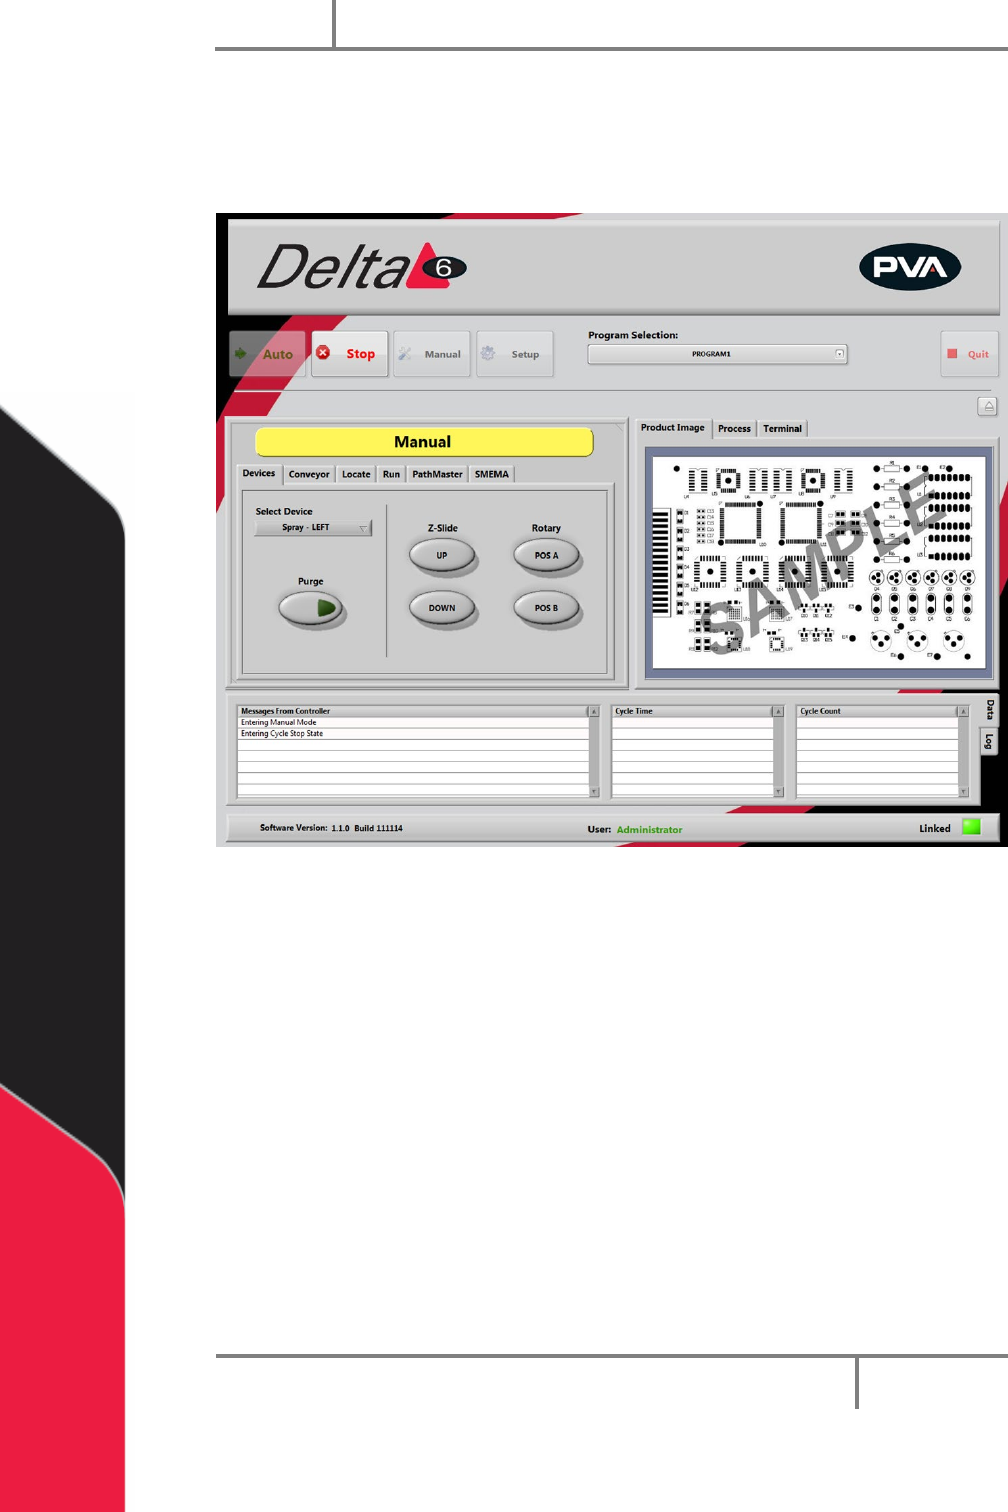
6 Manual Mode
The options shown in Portal depend on the workcell configuration. Refer to your
machine specific manuals and appendices for more information.
Figure 8: Manual Mode
In manual mode the operator has manual control of all devices on the workcell. There
are tabs in manual mode that are used for different Portal functions. A trackball can be
used to move the axes, operate the devices, and teach positions to PathMaster®. Only
qualified personnel should operate the machine in manual mode.
You can program a path with the PathMaster® software when in manual mode in Portal.
For more information refer to the separate PathMaster® manual.
• Select “Stop” to leave Manual mode and return to Cycle Stop.
The options that most workcells have are shown in the sections that follow.
Portal
PVA
Revision H (2018)
22 of 93
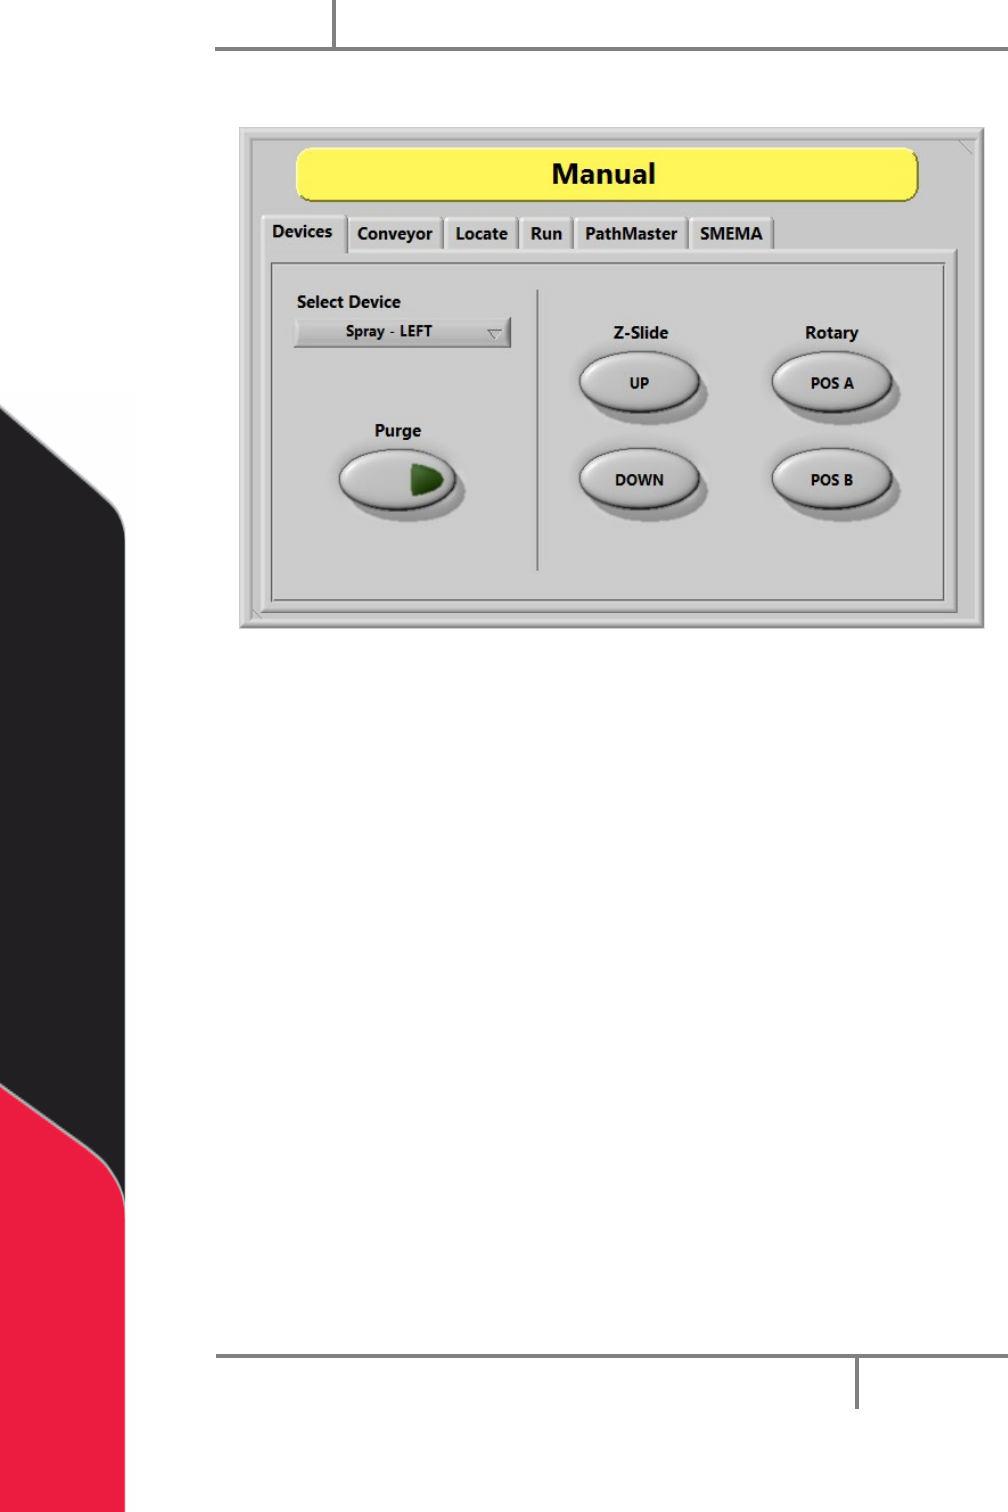
6.1 Device Selection
Figure 9: Device Selection, Manual Mode
Workcells with devices have Device Selection mode. Select the active head or valve from
the drop-down menu under the “Devices” tab. The pneumatics Z-slide(s) and rotary(s)
(if equipped) can be operated with the applicable buttons.
NOTE: When you program or operate the workcell, do not use the valve to
move components or boards. Precision Valve & Automation is not responsible
for damages caused from operating the valves incorrectly.
1. Select the “Devices” tab.
2. Select a device from the Select Device drop down menu.
3. Select “Purge” to operate the valve selected. The valve will purge until you
release the “Purge” button so it is no longer selected.
4. Select Z-Slide “UP” or “Down” to raise or lower the pneumatic Z-slide for the
active head.
5. Select Rotary “POS A” or “POS B” to put the rotary in the home position
(Default, A), or the auxiliary position (B).