OM-1078-002.pdf - 第98页
*6 [Nozzle Set/Reset] Button When pressed, this button opens the "Nozzle Set/Reset" window . The "Nozzle Set/Reset" window enables the cycle movement for opening or closing the nozzle stocker and atta…

(a) When each section is not set up and a teaching opera-
tion is performed, note that the offset values may not
be taught correctly.
(b) Before performing a teaching operation, be sure to zero
all beams.
*2 Fdr. No. Tray Set
Set the feeder No. to be taught.
When the [Fdr. No.] button is pressed, the "Feeder No. Set" sheet
appears.
Refer to "5.3.6 "Feeder No. Set" Sheet" for details.
*3 "Position" Group Box
The following buttons are provided in this group box.
[Center 1-Pt.] Button
When the [ENABLE] button on the operation panel is pressed in 2
seconds after this button and the [ON] button (entitled "MOVE"), the
P.E.C. recognition camera moves to the component center position
(Design Position + Feeder (B) Offset) of the pertinent feeder, mak-
ing it possible to capture an image.
Proceed to the operation of the pointing device and execute the
manual alignment operation.
[1Point] and [2Point] Buttons
These buttons are used to align the component with 2 diagonally-
located points.
Use this function when the maximum outside dimensions of the
component exceed "10 × 10 mm" (when the "Recognition" window
cannot cover the whole image of the component).
*4 Mode Selection Buttons
Various actions can be selected.
The following buttons are provided.
[All Beam (Incl. NC Axis) Heads Zero] Button
When this button is pressed, all X/Y beams are zeroed.
When the [ENABLE] button on the operation panel is pressed in 2
seconds after this button and the [ON] button (entitled "MOVE"), the
zeroing operation starts.
[Teach Pick-Up Pos. [Comp. Center Pos.]] Button
The corresponding sheet makes it possible to perform a teaching
operation to align the component center with the nozzle center.
*5 Offset Values
Displayed are the current values and the adjusted ones after teach-
ing.
0311-002 2-24
AHI01EGP
5.3 "TEACHING" Window (Submenu)
Note
*6 [Nozzle Set/Reset] Button
When pressed, this button opens the "Nozzle Set/Reset" window.
The "Nozzle Set/Reset" window enables the cycle movement for
opening or closing the nozzle stocker and attaching or storing a
vacuum nozzle through manual operation.
Refer to "4.3 "Nozzle Change" Tab" in "Section 6" (the instruction
manual (Vol. 2) of the main machine) for details.
*7 [Tray Unit Adj.] Button
When this button is pressed, the "Tray Unit Adj." sheet appears.
The "Tray Unit Adj." tab sheet enables the manual ascending or de-
scending operations for the elevator and a cycle of traverse drawout
and storage operation.
Refer to "5.3.7 "Tray Unit Adj." Sheet" for details.
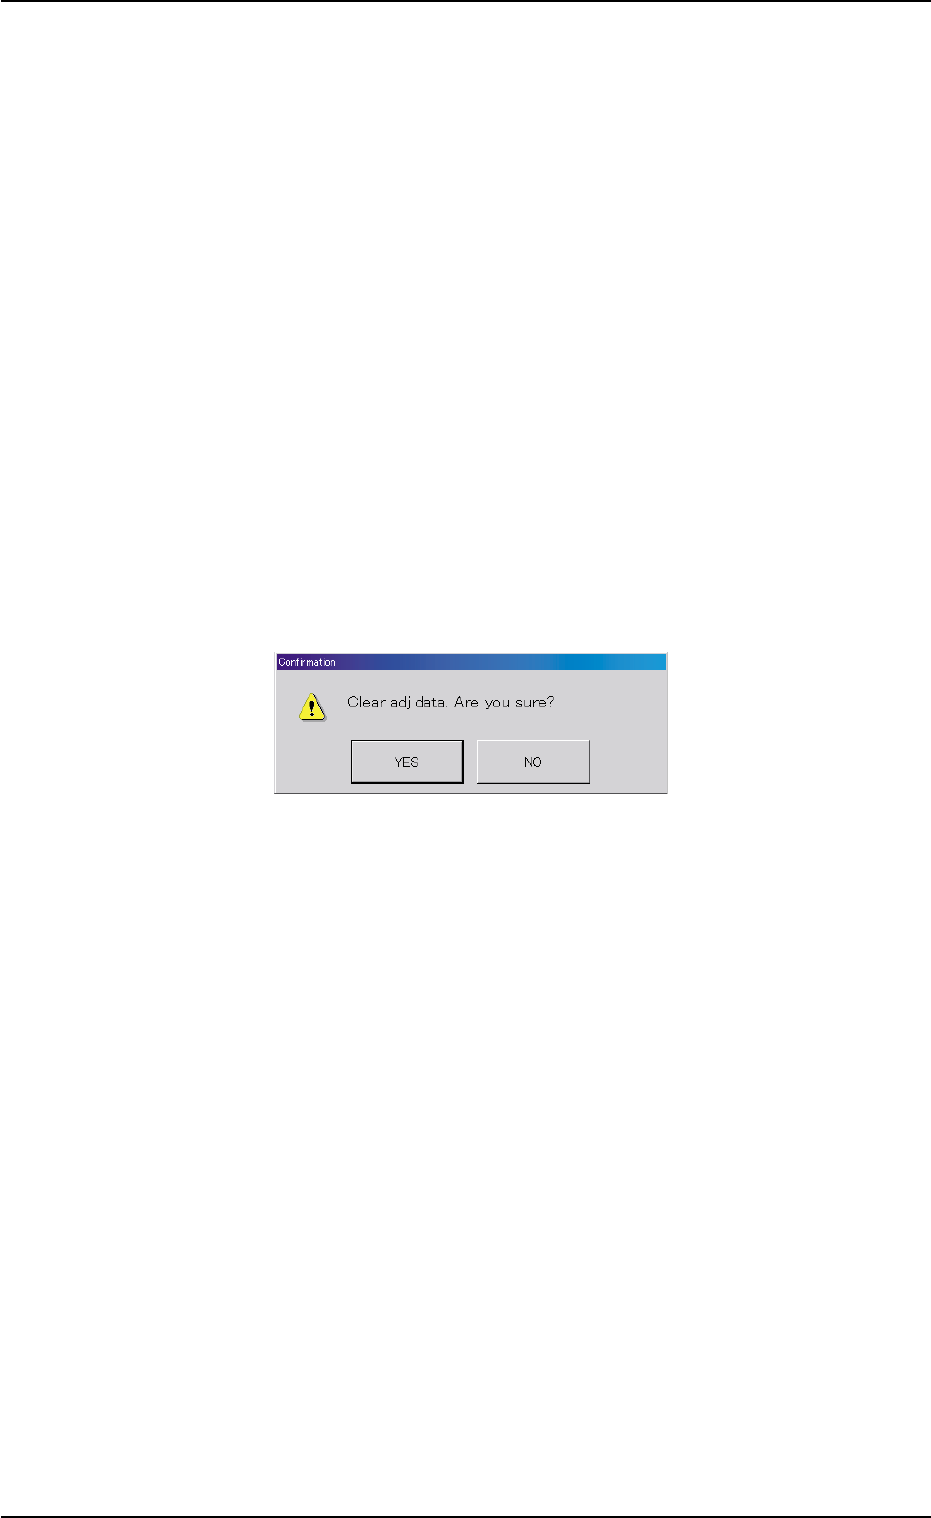
*8 [Clear Adj.] Button
When this button is pressed, the following "Confirmation" dialog box
opens.
Fig. B12
When the [YES] button is pressed, the adjusted values are cleared.
When the [NO] button is pressed, the adjusted values are not cleared.
*9 [Cancel] Button
When pressed, this button cancels the results of the teaching op-
eration without reflecting them on the offset data.
0311-002 2-25
AHI01EGP
5.3 "TEACHING" Window (Submenu)

*10 [End] Button
When this button is pressed, the following "Confirmation" dialog box
opens.
Fig. B13
When the [YES] button is pressed, the results of the teaching op-
eration are reflected on the offset data and the dialog box closes.
When the [NO] button is pressed, the dialog box closes without re-
flecting the results of the teaching operation on the offset data.
*11 "Control Switch" Group Box
When the [ENABLE] button on the operation panel is pressed in 2
seconds after one of the mode selection buttons (*4) and the [ON]
button (entitled "MOVE"), the selected action takes place.
*12 [Return] Button
When this button is pressed, the "Pick-Up Location" tab sheet ap-
pears.
0204-001 2-26
AHI01EGP
5.3 "TEACHING" Window (Submenu)