OM-1078-002.pdf - 第99页
*10 [End] Button When this button is pressed, the following "Confirmation" dialog box opens. Fig. B13 When the [YES] button is pressed, the results of the teaching op- eration are reflected on the offset data a…
*6 [Nozzle Set/Reset] Button
When pressed, this button opens the "Nozzle Set/Reset" window.
The "Nozzle Set/Reset" window enables the cycle movement for
opening or closing the nozzle stocker and attaching or storing a
vacuum nozzle through manual operation.
Refer to "4.3 "Nozzle Change" Tab" in "Section 6" (the instruction
manual (Vol. 2) of the main machine) for details.
*7 [Tray Unit Adj.] Button
When this button is pressed, the "Tray Unit Adj." sheet appears.
The "Tray Unit Adj." tab sheet enables the manual ascending or de-
scending operations for the elevator and a cycle of traverse drawout
and storage operation.
Refer to "5.3.7 "Tray Unit Adj." Sheet" for details.
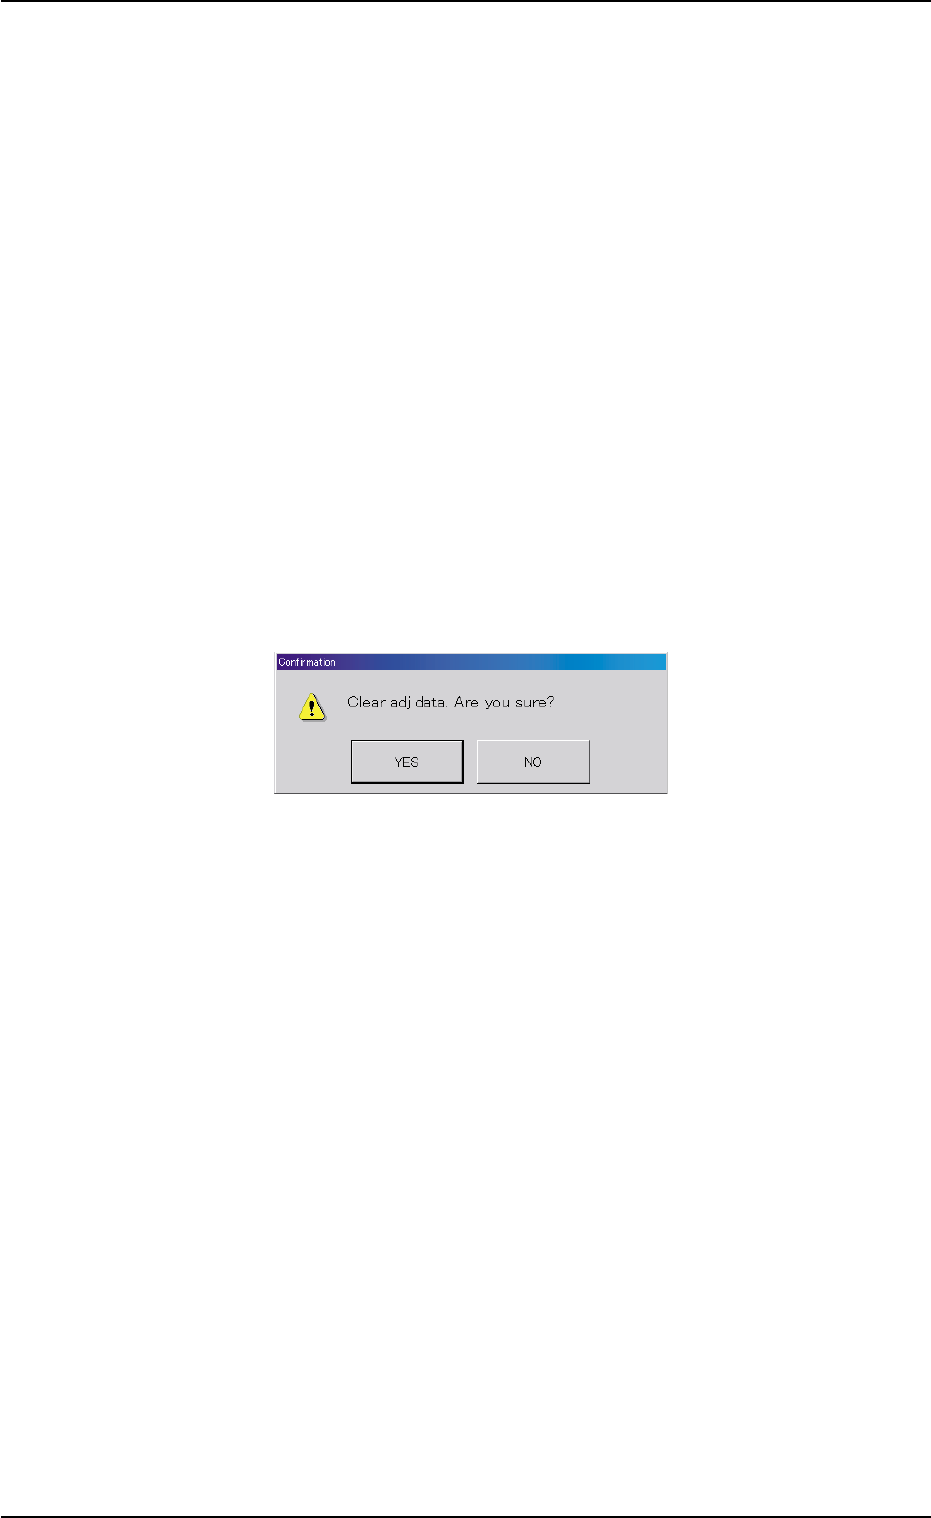
*8 [Clear Adj.] Button
When this button is pressed, the following "Confirmation" dialog box
opens.
Fig. B12
When the [YES] button is pressed, the adjusted values are cleared.
When the [NO] button is pressed, the adjusted values are not cleared.
*9 [Cancel] Button
When pressed, this button cancels the results of the teaching op-
eration without reflecting them on the offset data.
0311-002 2-25
AHI01EGP
5.3 "TEACHING" Window (Submenu)

*10 [End] Button
When this button is pressed, the following "Confirmation" dialog box
opens.
Fig. B13
When the [YES] button is pressed, the results of the teaching op-
eration are reflected on the offset data and the dialog box closes.
When the [NO] button is pressed, the dialog box closes without re-
flecting the results of the teaching operation on the offset data.
*11 "Control Switch" Group Box
When the [ENABLE] button on the operation panel is pressed in 2
seconds after one of the mode selection buttons (*4) and the [ON]
button (entitled "MOVE"), the selected action takes place.
*12 [Return] Button
When this button is pressed, the "Pick-Up Location" tab sheet ap-
pears.
0204-001 2-26
AHI01EGP
5.3 "TEACHING" Window (Submenu)
• Teaching Operation for Alignment of Component Center with
Vacuum Nozzle Center
Perform this teaching operation when no regulation is given to the
shape of components and positioning should be made simply to the
component center.
The teaching operation must be performed with "All Beam
Zero" being displayed.
(1) Follow the teaching procedure below to perform the teaching op-
eration on the component center position.
Teaching Procedure
Select the [Tray Teach Pick-Up Pos. [Comp. Center Pos.] button in Fig. B10.
Selection of Head
Setting of Objective Feeder No. for Teaching
Refer to "5.3.6 "Feeder No. Set" Sheet" for details.
Select the [Center 1-Pt.], [1Point], or [2Point] button in "Position" group box
according to the component size.
Select the [Teach Pick-Up Pos. [Comp. Center Pos.]] button.
Press the [ENABLE] button on the operation panel in 2 seconds after the
[ON] button (entitled "MOVE").
The placement head moves to the objective
feeder position for teaching and the image of the pick-up
position is captured by the P.E.C. camera.
In the case of "Center 1-Pt.", the graphic alignment with
the designeted nozzle is made together to facilitate the
manual alignment operation with the pointing device.
Positioning Operation with Pointing Device
Refer to "Pointing Device Operation" (described later) for
details.
Selection of [End] Button
Selection of [YES] Button in "Confirmation" Dialog Box for Replacement of
Offset Data
Fig. B14
0311-002 2-27
AHI01EGP
5.3 "TEACHING" Window (Submenu)
Note