TR7500E_Manual_en_v28 - 第110页
C h a p t e r 2 M a nu a l B a r i n t r o d u ce T R 7500 U S E R M A N U AL 1 03 ( 1) R ea l t i m e i m a g e – S h o w t h e i m a g e t h a t ca m e r a g e t r i g h t n o w . Y o u s h ou l d s e l e c t [ G r a b…
Chapter 2 Manual Bar introduce
TR7500 USER MANUAL
102
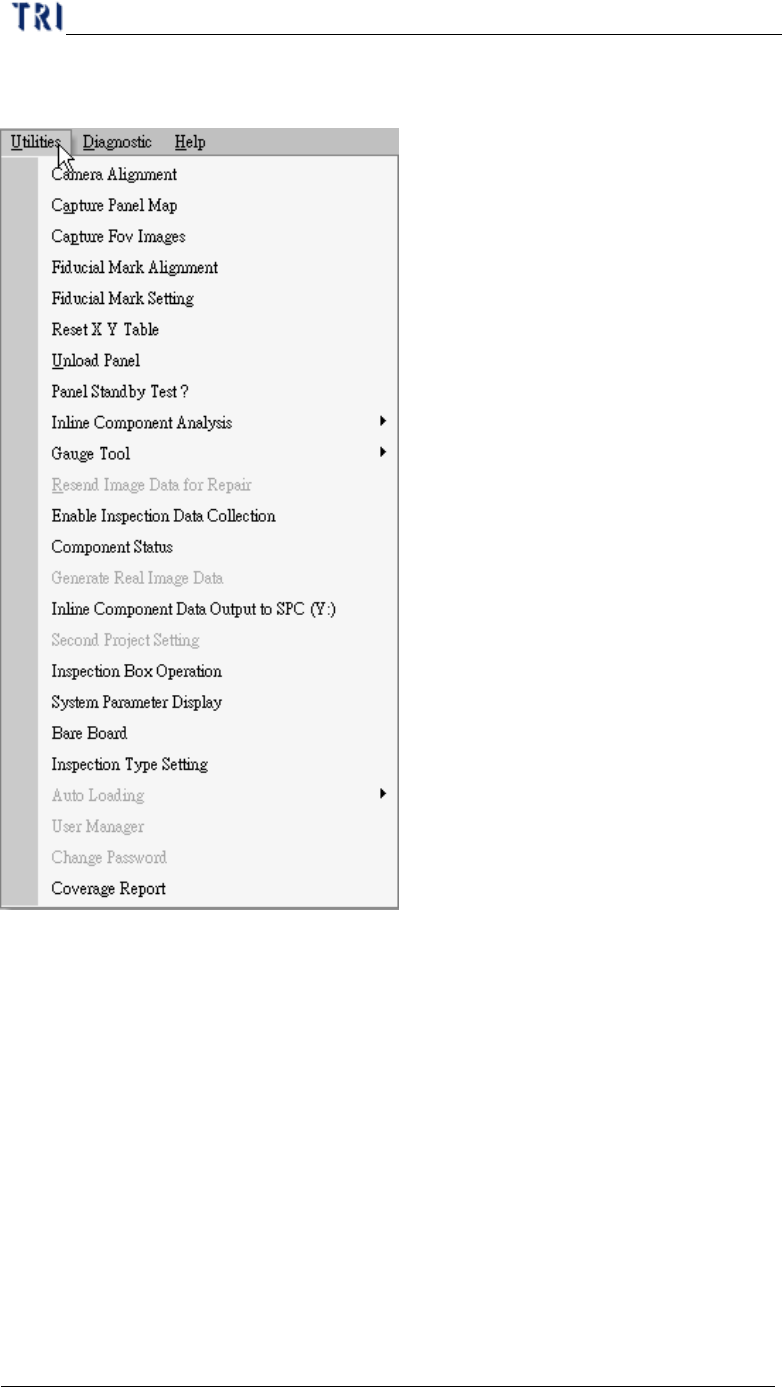
7. Utilities
7.1. Camera Alignment
l You can do camera or lighting alignment or move X-Y table to grab real time
image here.

Chapter 2 Manual Bar introduce
TR7500 USER MANUAL
103
(1) Real time image – Show the image that camera get right now. You should select
[Grabbing] first.
(2) Show the coordinates and gray level of what mouse point.
(3) Camera Selection
l Light Up – Press to show [Lighting Control dialog]. You can adjust the light
here. If you select grabbing color image the lighting can’t be changed.
l Color/Mono– You can select two kinds of image gray or color.
l Red/Green/Blue – You can select the RGB weighting to display.
l Cam0 – Select the top camera to grab image.
l Grabbing – Check to start to get image.
(4) Alignment area
l Alignment – Select to show the cross line on image.
1
2
3
4
5

Chapter 2 Manual Bar introduce
TR7500 USER MANUAL
104
l The other functions are selected for camera alignment.
(5) Others
l SaveImage – Press the button to save the current image at the folder where
the project is saved in. If you don’t open the project the image will be saved
in [C:\AOI] folder.
l Cancel – Close the window.
l OK – Close the window and save settings.
7.2. Capture Panel Map
l You can recapture the panel map by selecting the item. The map file will be
saving in the folder where the project is saved in. The file names are “Model
Name.bmp”(backup file “Map.bmp”) and “Model Name_2X2.bmp”(backup file
“Map2X2.bmp”).