TR7500E_Manual_en_v28 - 第257页
C h a p t e r 4 T r a i n d i a l og f u n c t i on T R 7500 U S E R M A N U AL 2 50 6 . 4 . W a r p S e tt i n g 6.4.1. S e t w a r p / D e l w a r p l S e t a [ W a r p ] f o r t h e c u rr e n t F O V . M o v e t h e …
Chapter 4 Train dialog function
TR7500 USER MANUAL
249
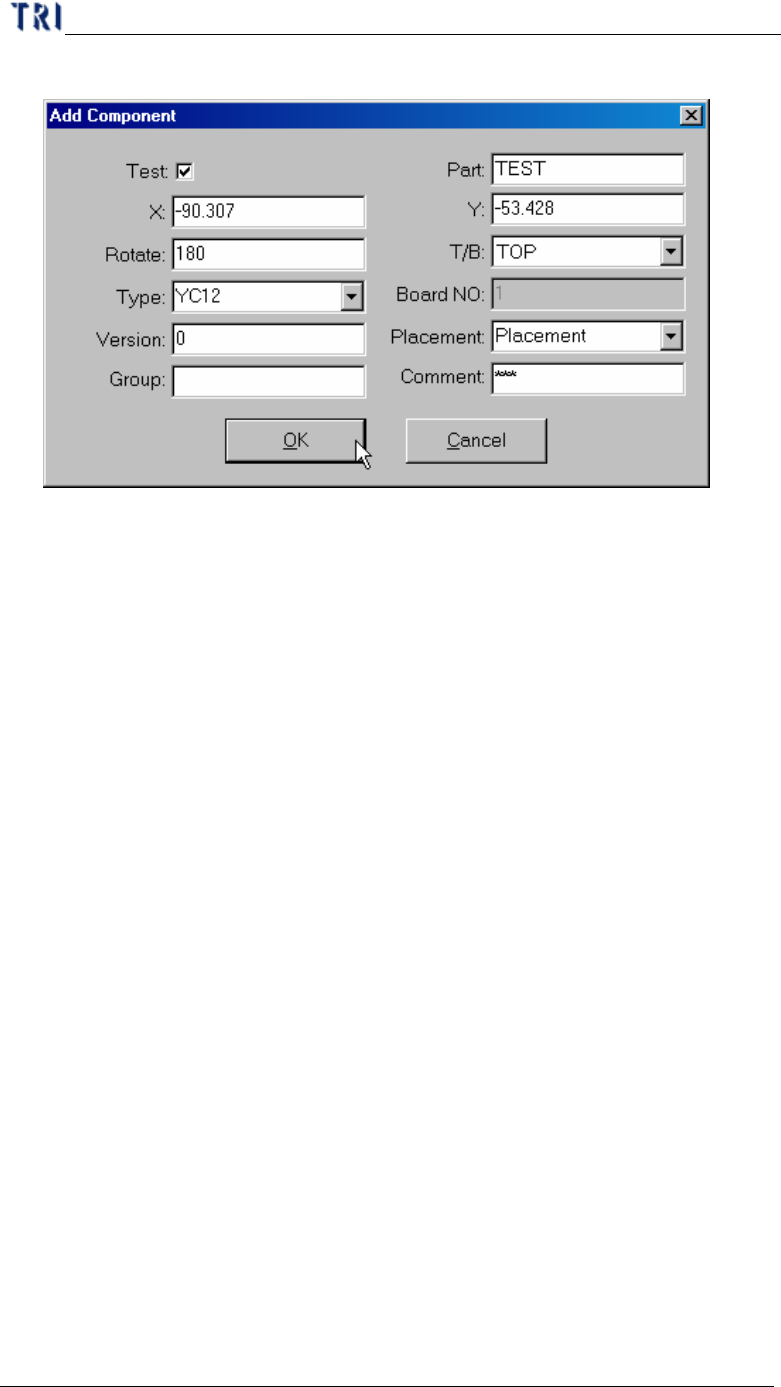
and Y axis coordinate
Step3. Press [OK] to finish the setting.
Step4. Press [Merge] to merge the library.
Step5. Capture the FOV images again.
Step6. Enter [Train] dialog to edit the component.
6.3.2. Reset Win.
l Reset the size and position of multi-function window.
Chapter 4 Train dialog function
TR7500 USER MANUAL
250
6.4. Warp Setting
6.4.1. Setwarp/Delwarp
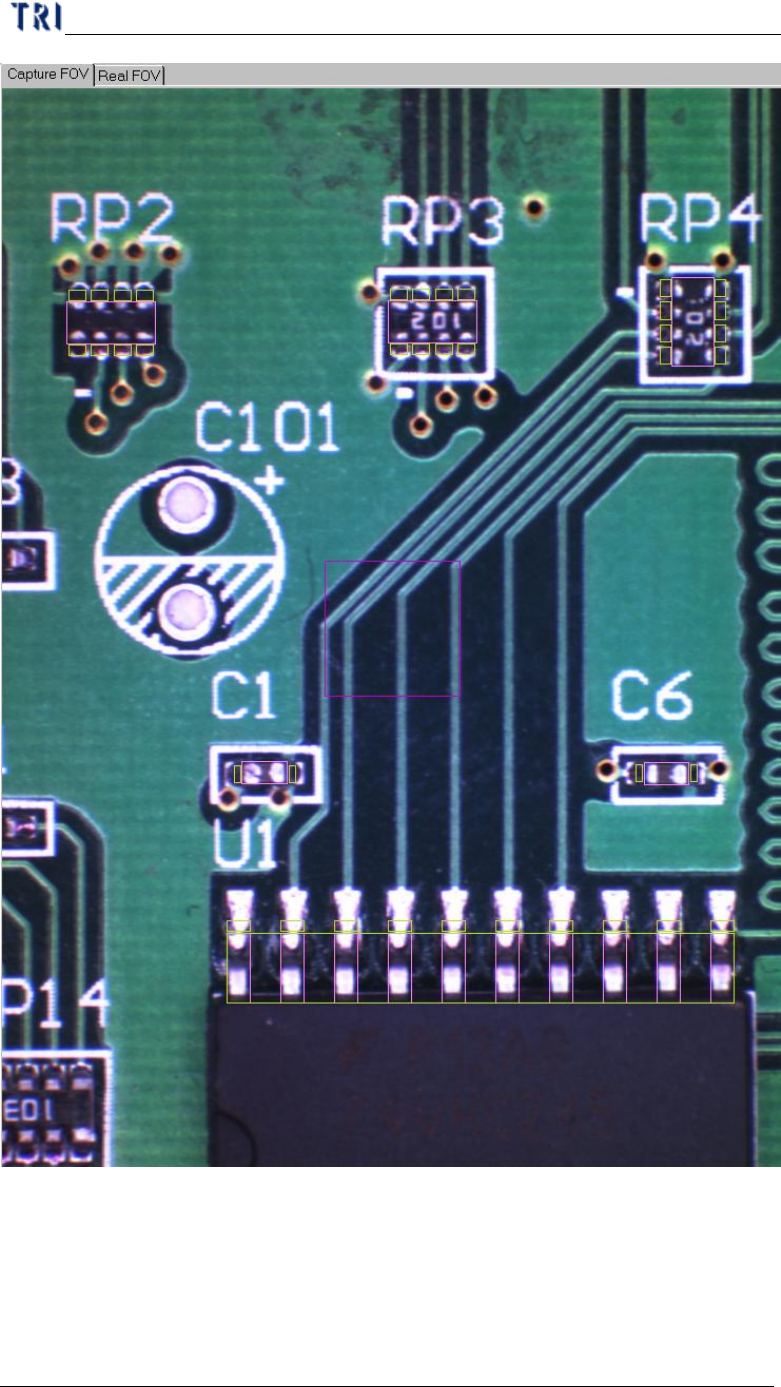
l Set a [Warp] for the current FOV. Move the multi-function window to the
suitable position and adjust the size. Then press [Setwarp] to set a warp window.
Chapter 4 Train dialog function
TR7500 USER MANUAL
251
When you select the check box the [Warp] will be inspected with method 1;
when you don’t select the check box the [Warp] will be inspected with method 2.
l You can select only one [Warp] for a FOV. When the [Warp] has set the character
on the button will be changed as [Delwarp]. You can select [Delwarp] to delete
the [Warp].
l Setting Steps
Step1. Adjust the position and size for multi-function window to suit the
objective.
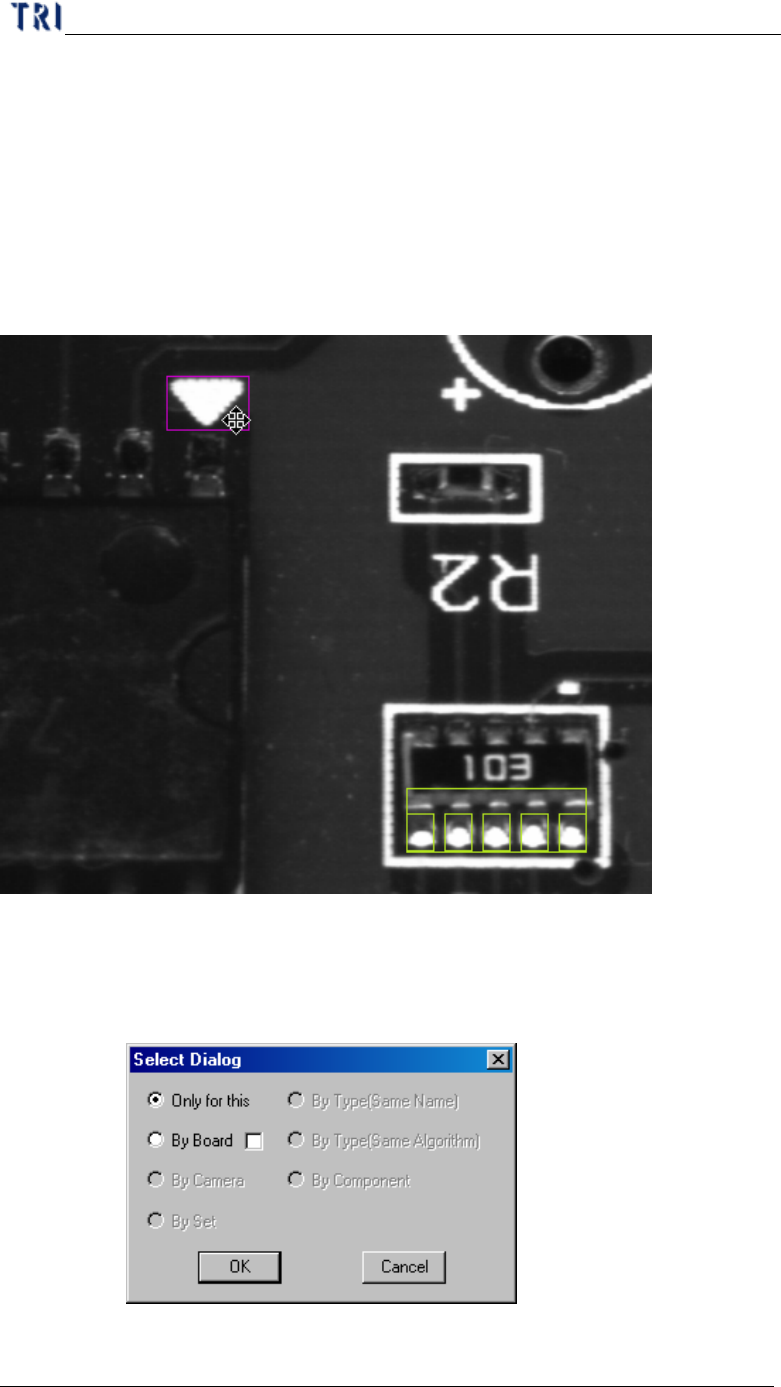
Step2. Select the copy rules. [By Board] means copy the setting to relative
multi-board FOVs. Selecting the check box means the inspection boxes
will be moved a relative distance according the [Warp] position when
copy the [Warp] to other multi-boards.
Step3. When finishing setting there is a warp on FOV image and a