2OM-1088-002.pdf - 第338页
Tg0699-PM-D2 6. Monthly Maintenance 0207-001 Chapter 3 1-19 Z-Axis Guide Bushing Clean the Bushing with an oiled rag. Note : Remove waste thread if any . Clean the guide using the following procedure. Rear Reference : Pr…
Tg0699-PM-D2
6. Monthly Maintenance
0207-001 Chapter 3 1-18
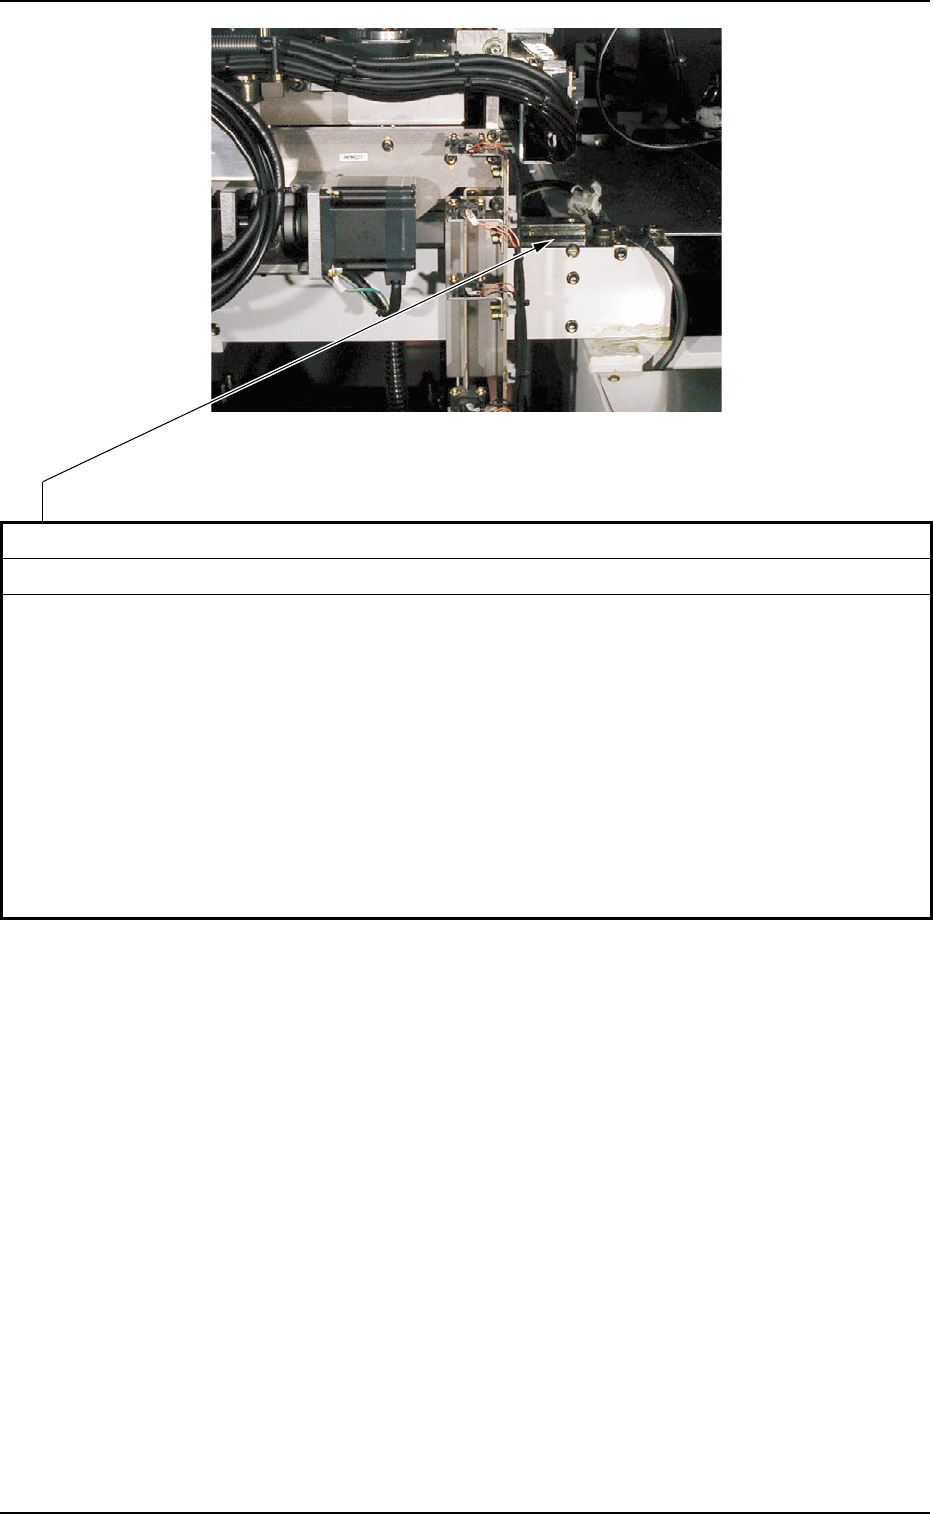
X-Axis Linear Guide
Clean the guide with an oiled rag.
Note : Remove waste thread if any.
Clean the guide using the following procedure.
1. Press the "Table Section" tab on the "MNL OPN." submenu window in the "SPECIAL SEL"
menu.
2. Press the [Table Up (Trans - Retrt. - Correct - Prn.Pos.)] button to lift the table.
3. Starting from the front side, clean the linear guides located on the right and left at the front
and rear sides of the machine.
4. Press the [Chg. Pos. Move (Start)] button on the "Cleaning Chg." tab on the "Setup"
submenu window in the "AUTO OPN" menu to secure the working space.
5. Starting from the rear side, clean the linear guide located in the center at the rear side of
the machine.
Cleaning
Fig. 5A20 Table Section
Tg0699-PM-D2
6. Monthly Maintenance
0207-001 Chapter 3 1-19
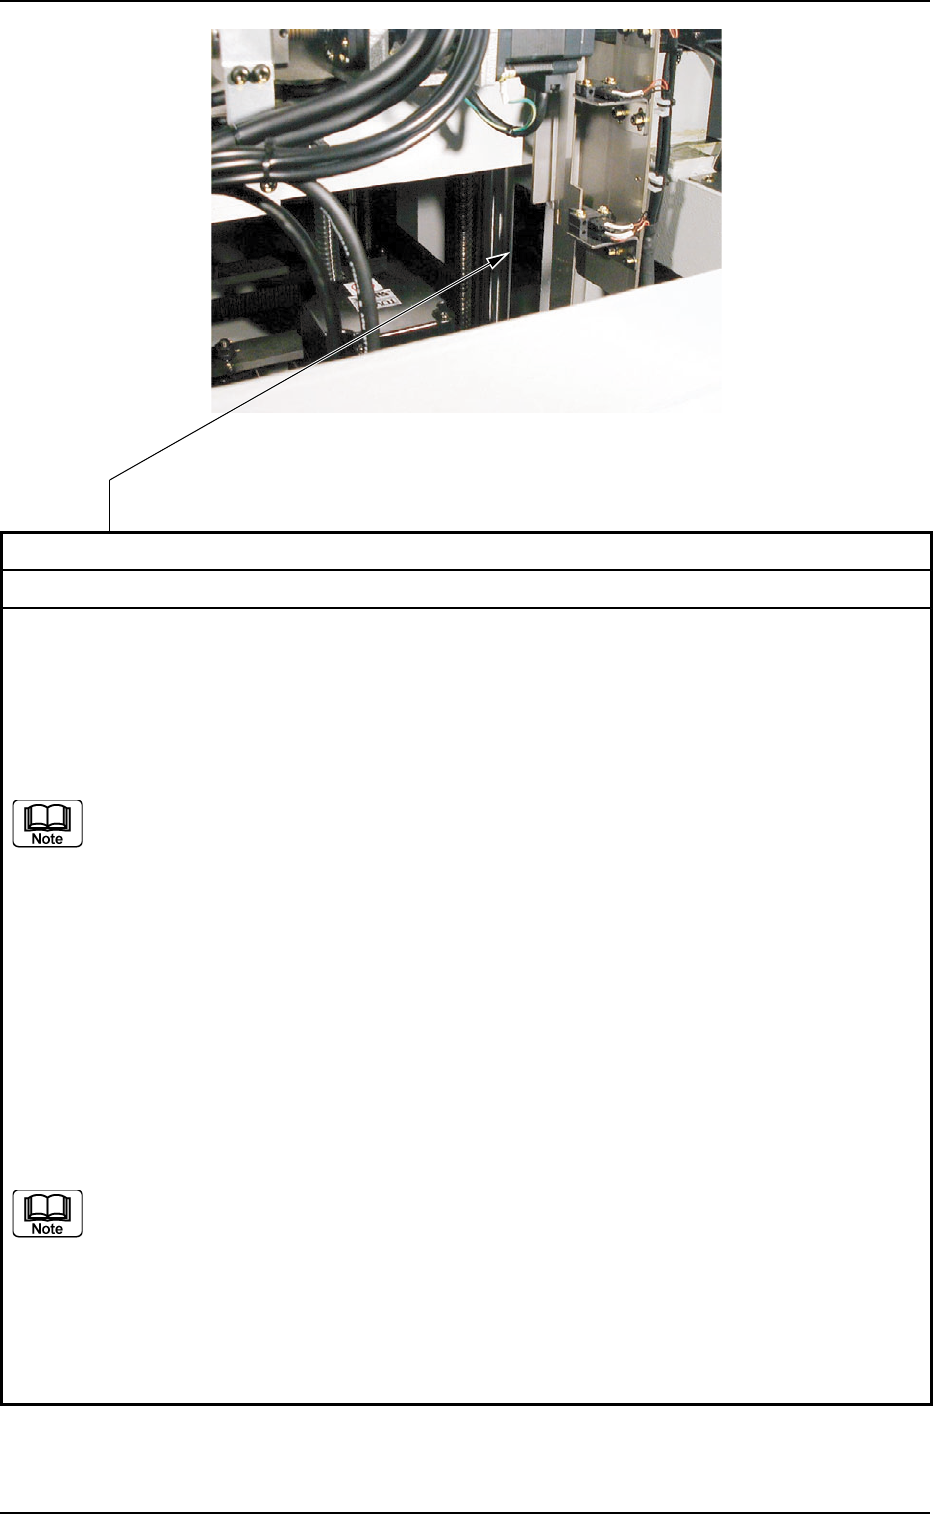
Z-Axis Guide Bushing
Clean the Bushing with an oiled rag.
Note : Remove waste thread if any.
Clean the guide using the following procedure.
Rear Reference :
Press the [Table Up (Trans - Retrt. - Correct - Prn.Pos.)] button on the "Table Section" tab on
the "MNL OPN" submenu window in the "SPECIAL SEL." menu to lift the table. Then, clean
the bushing starting from the front side, using a brush.
(a) For the guide bushing section upper than the flange, press the [PCB Backup
UP/DOWN (Origin - Start - End)] button on the "MNL OPN" submenu window in
the "SPECIAL SEL." menu to lift the PCB backup jig section and clean it.
(b) For the guide bushing section lower than the flange, press the [PCB Backup
UP/DOWN (Origin - Start - End)] button on the "MNL OPN" submenu window in
the "SPECIAL SEL." menu to lower the PCB backup jig section and clean it.
Front Reference :
Press the [Table Up] button on the "Table Section" tab on the "MNL OPN" submenu window in
the "SPECIAL SEL." menu to lift the table and clean the bushing using a brush.
• Starting from the front side, clean the guide bushings on the right and left at the front side of
the machine.
• Starting from the rear side, clean the guide bushings at the center on the rear side.
Secure the working space by pressing the [Chg. Pos. Move (Start)] button on the "Cleaning
Chg." tab on the "PRODUCT CHG." submenu window in the "AUTO OPN" menu, and then
clean the guide bushing.
(a) For the guide bush section upper than the flange, press the [PCB Backup
UP/DOWN (Origin - Start - End)] button on the "Table Section" tab on the "MNL
OPN" submenu window in the "SPECIAL SEL." menu to lift the PCB backup jig
section and clean it.
(b) For the guide bush section lower than the flange, press the [PCB Backup
UP/DOWN (Origin - Start - End)] button on the "Table Section" tab on the "MNL
OPN" submenu window in the "SPECIAL SEL." menu to lower the PCB backup
jig section and clean it.
Cleaning
Fig. 5A21 Table Section
Tg0699-PM-D2
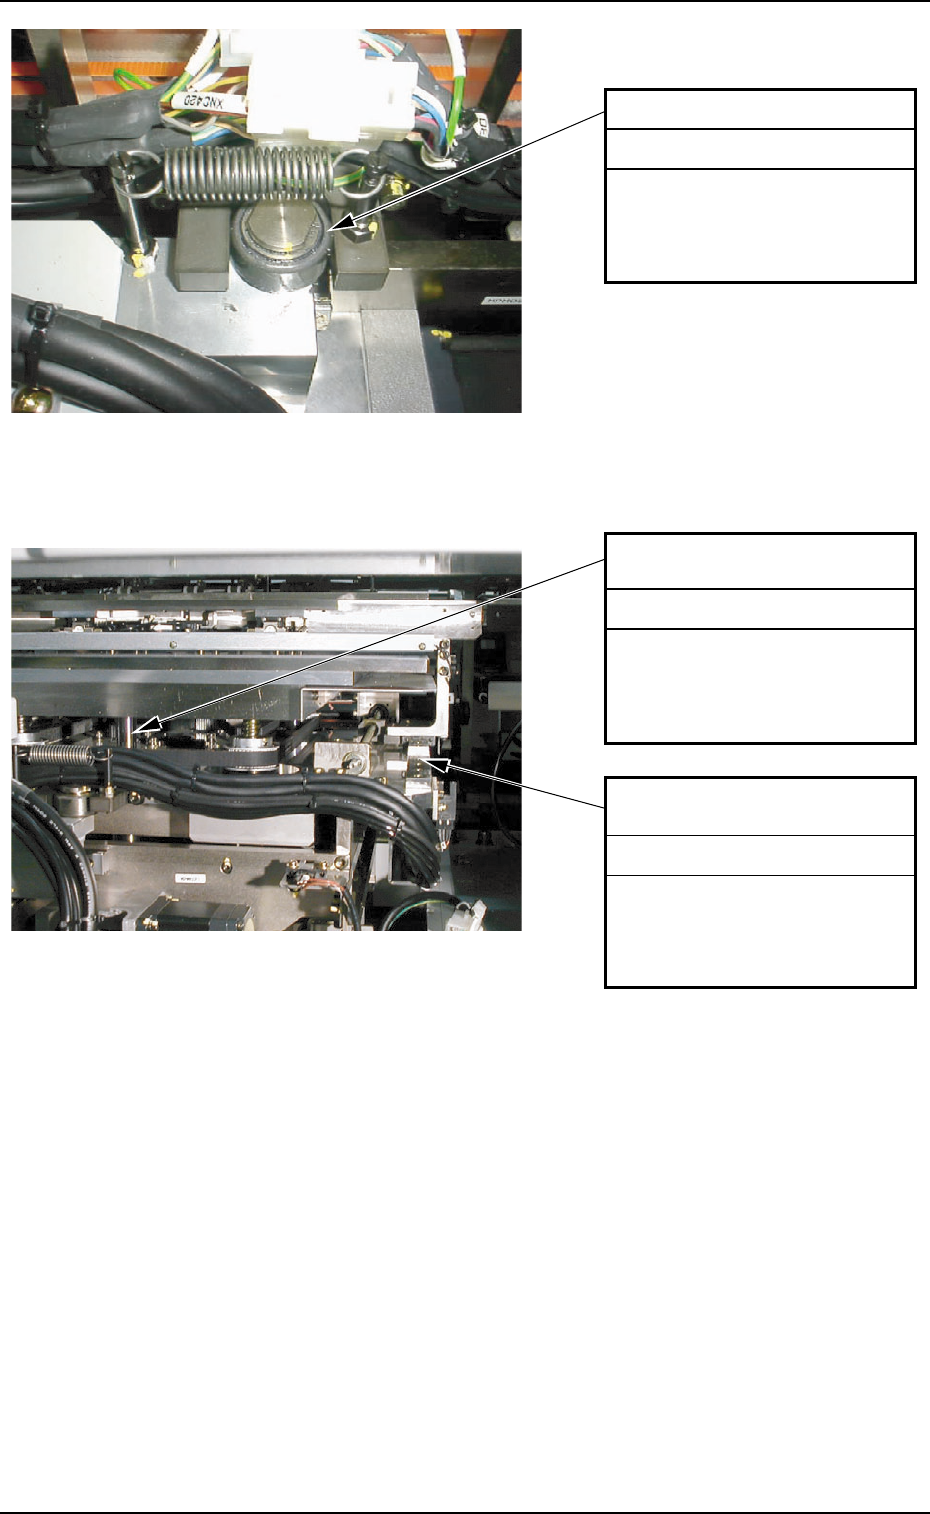
Buckup Table Z-Axis Guide
Bushing
Clean the guide bushing
with an oiled rag.
Note : Remove waste thread
if any.
Cleaning
Linear Guide for Chute
Width Adjustment
Clean the guide with an
oiled rag.
Note : Remove waste thread
if any.
Cleaning
Fig. 5A22 Table Section
6. Monthly Maintenance
Fig. 5A23 P.C.B. Chuck Section
0207-001 Chapter 3 1-20
θ-Axis Linear Guide
Clean the guide with an
oiled rag.
Note : Remove waste thread
if any.
Cleaning