Technical_reference - 第101页
Technical Service Manual 101 Revision Dat e: August 2004 Remove the two saf ety clips from the pin holding the actuator pis ton to the brack et. Rem ove the piston pin holding the actuator piston to the br ack et. The in…
Technical Service Manual 100 Revision Date: August 2004
ACTUATOR REMOVE AND REPLACE PROCEDURES
Removing the actuator assembly when the actuator has failed in the open position:
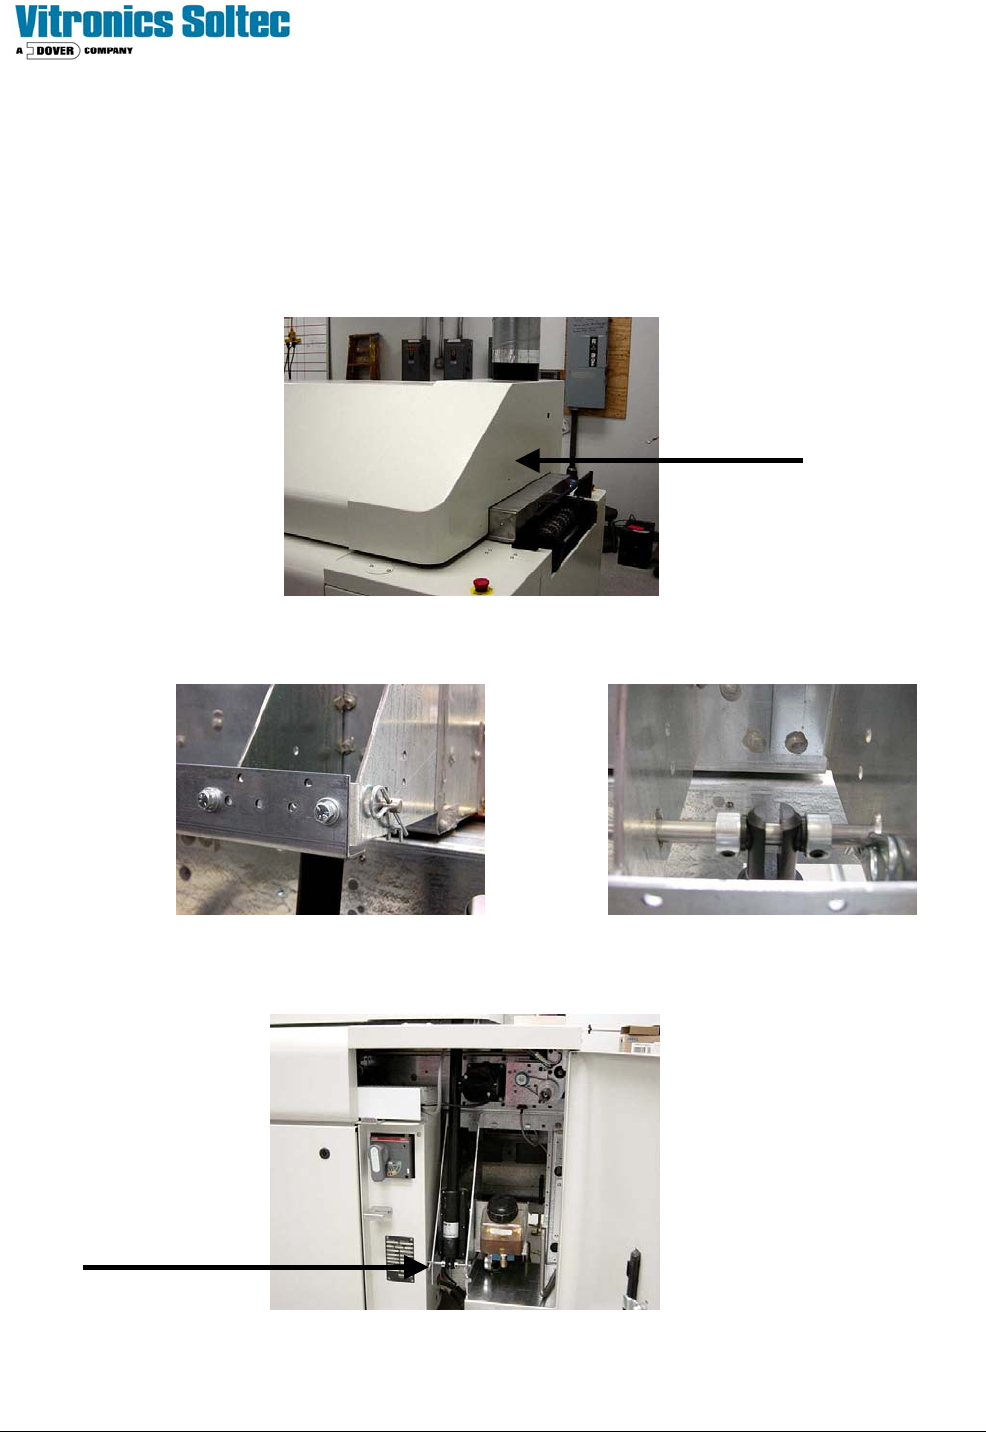
Stack wooden blocks/boards under the hood (where the actuator is connected to the hood), to keep the hood open when
the actuator is removed. Be careful to make the stack of wood stable.
Remove the bonnet bridge sheet metal piece on the end of the oven where the actuator will be changed.
Remove the two safety clips from the pin holding the actuator piston to the bracket. Remove the piston pin holding the
actuator piston to the bracket. You may need to exert some pressure on the inner hood assembly to remove the pin.
The body of the actuator is accessed through the equipment cabinets on each end of the oven.
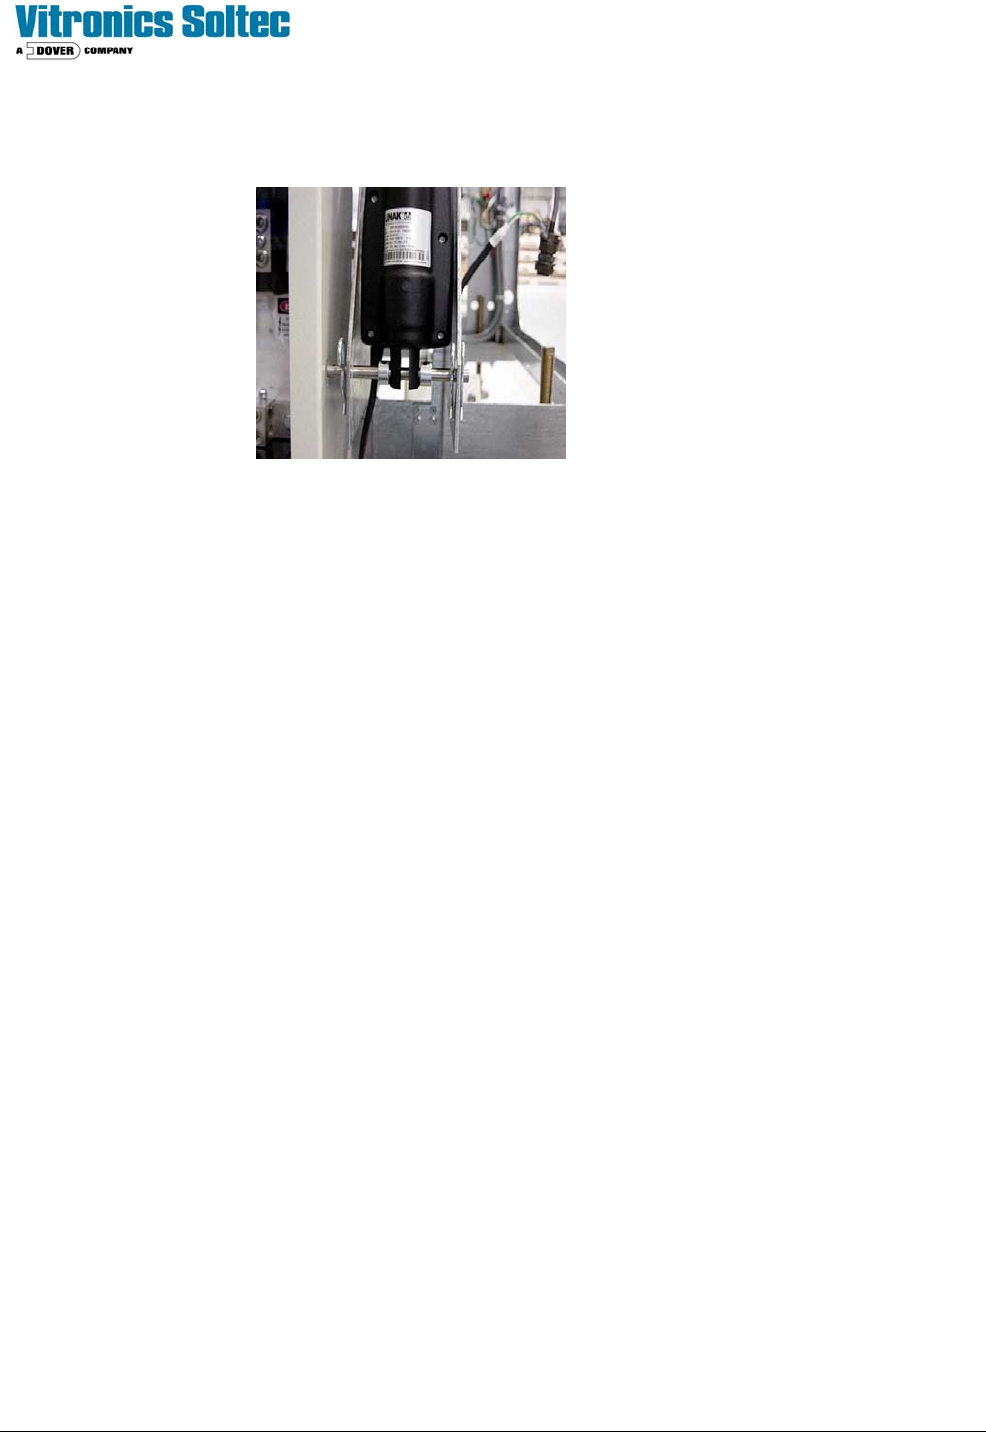
Unplug the actuator from the control box and remove the actuator
cable with the actuator.
Technical Service Manual 101 Revision Date: August 2004
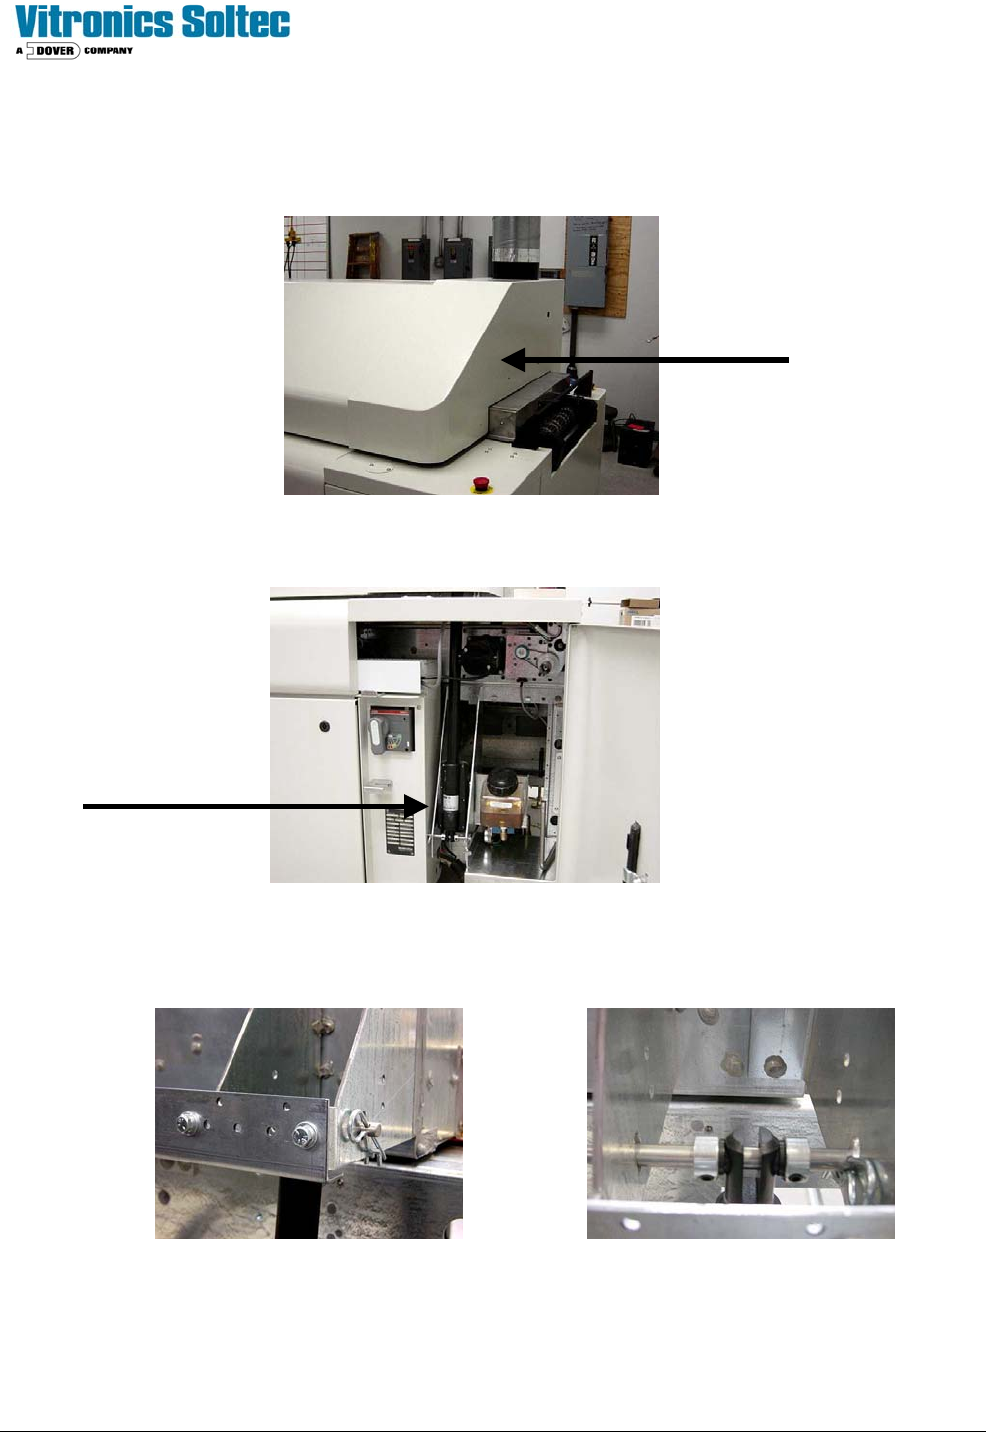
Remove the two safety clips from the pin holding the actuator piston to the bracket. Remove the piston pin holding the
actuator piston to the bracket.
The installation procedure is the reverse if the removal procedure.
Technical Service Manual 102 Revision Date: August 2004
REPLACING THE ACTUATOR ASSEMBLY WITH THE BONNET IN THE CLOSED POSITION:
Remove the bonnet bridge sheet metal piece on the end of the oven where the actuator will be changed.
The body of the actuator is accessed through the equipment cabinets on each end of the oven.
Carefully raise the actuator and position it in its frame location. Use the mounting pin to lock the piston in place in the
bracket. As you are pushing the mounting pin into place, install the locking shaft collars on each side of the piston.
Replace the two safety clips on the mounting pin. Let the actuator hang from the mounting pin.
Carefully position the actuator so that the holes for the actuator pivot pin are aligned with the holes in the side of the
actuator sheet metal. Insert the actuator pivot pin. As you are pushing the mounting pin into place, install the locking
shaft collars on each side of the piston. Replace the two safety clips on the mounting pin. Let the actuator hang from the