Nordson_EFD_RV_Series_Operating_Manual - 第20页
RV Series Automated Dispensing Systems 20 www.nordsonefd.com info@nordsonefd.com +1-401-431-7000 Sales and service of Nordson EFD dispensing systems are available worldwide. Pr epare the W ork Surface or Fixtur e Plate P…
RV Series Automated Dispensing Systems
19www.nordsonefd.com info@nordsonefd.com +1-401-431-7000 Sales and service of Nordson EFD dispensing systems are available worldwide.
Position the Robot and Install and Connect Components (continued)
Applicability Item
Components to Install
or Connect
Installation Tasks
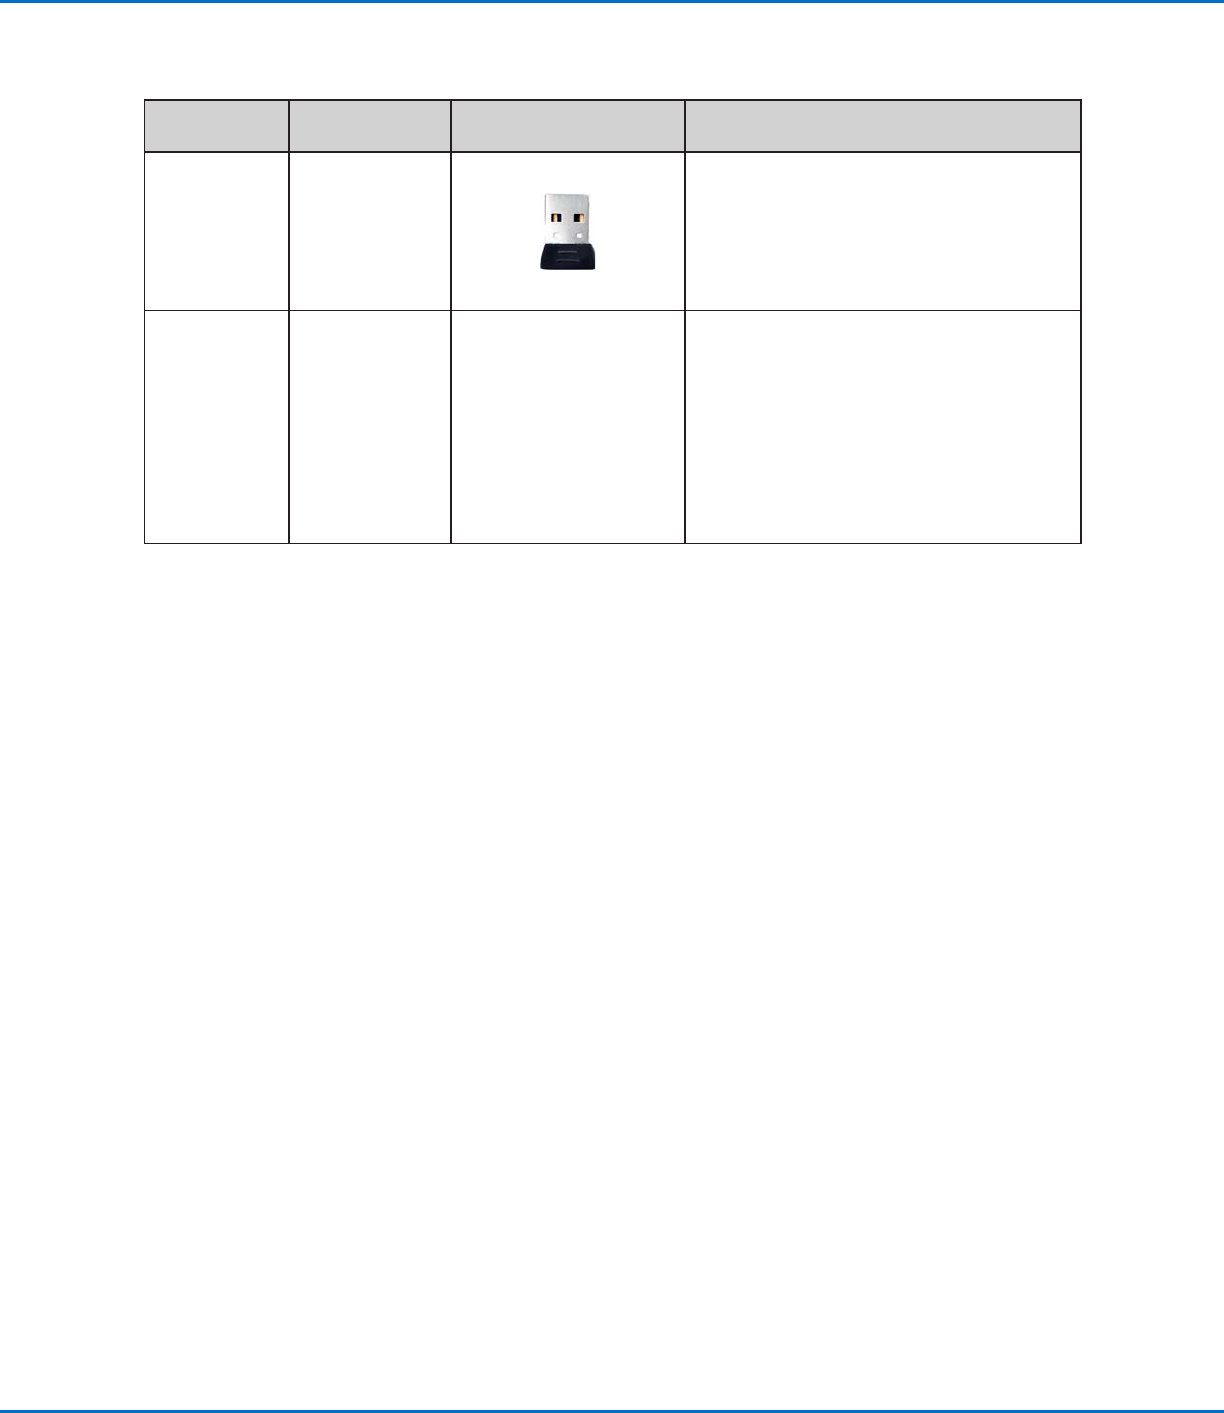
All models Monitor,
keyboard, and
mouse (not
shown); dongle
for wireless
keyboard and
mouse
Connect the monitor.
Connect the wireless keyboard and mouse
dongle to USB 4 on the DispenseMotion
controller.
All models Dispenser
components
As applicable
Mount the syringe barrel or dispensing
valve holder (as applicable) on the Zaxis;
choose mounting holes that allow a
maximum workpiece clearance but also
allow the dispensing tip to reach all areas
on the workpiece where dispensing is
required.
Refer to the dispensing equipment manuals
for all other dispensing system installation
steps.
RV Series Automated Dispensing Systems
20 www.nordsonefd.com info@nordsonefd.com +1-401-431-7000 Sales and service of Nordson EFD dispensing systems are available worldwide.
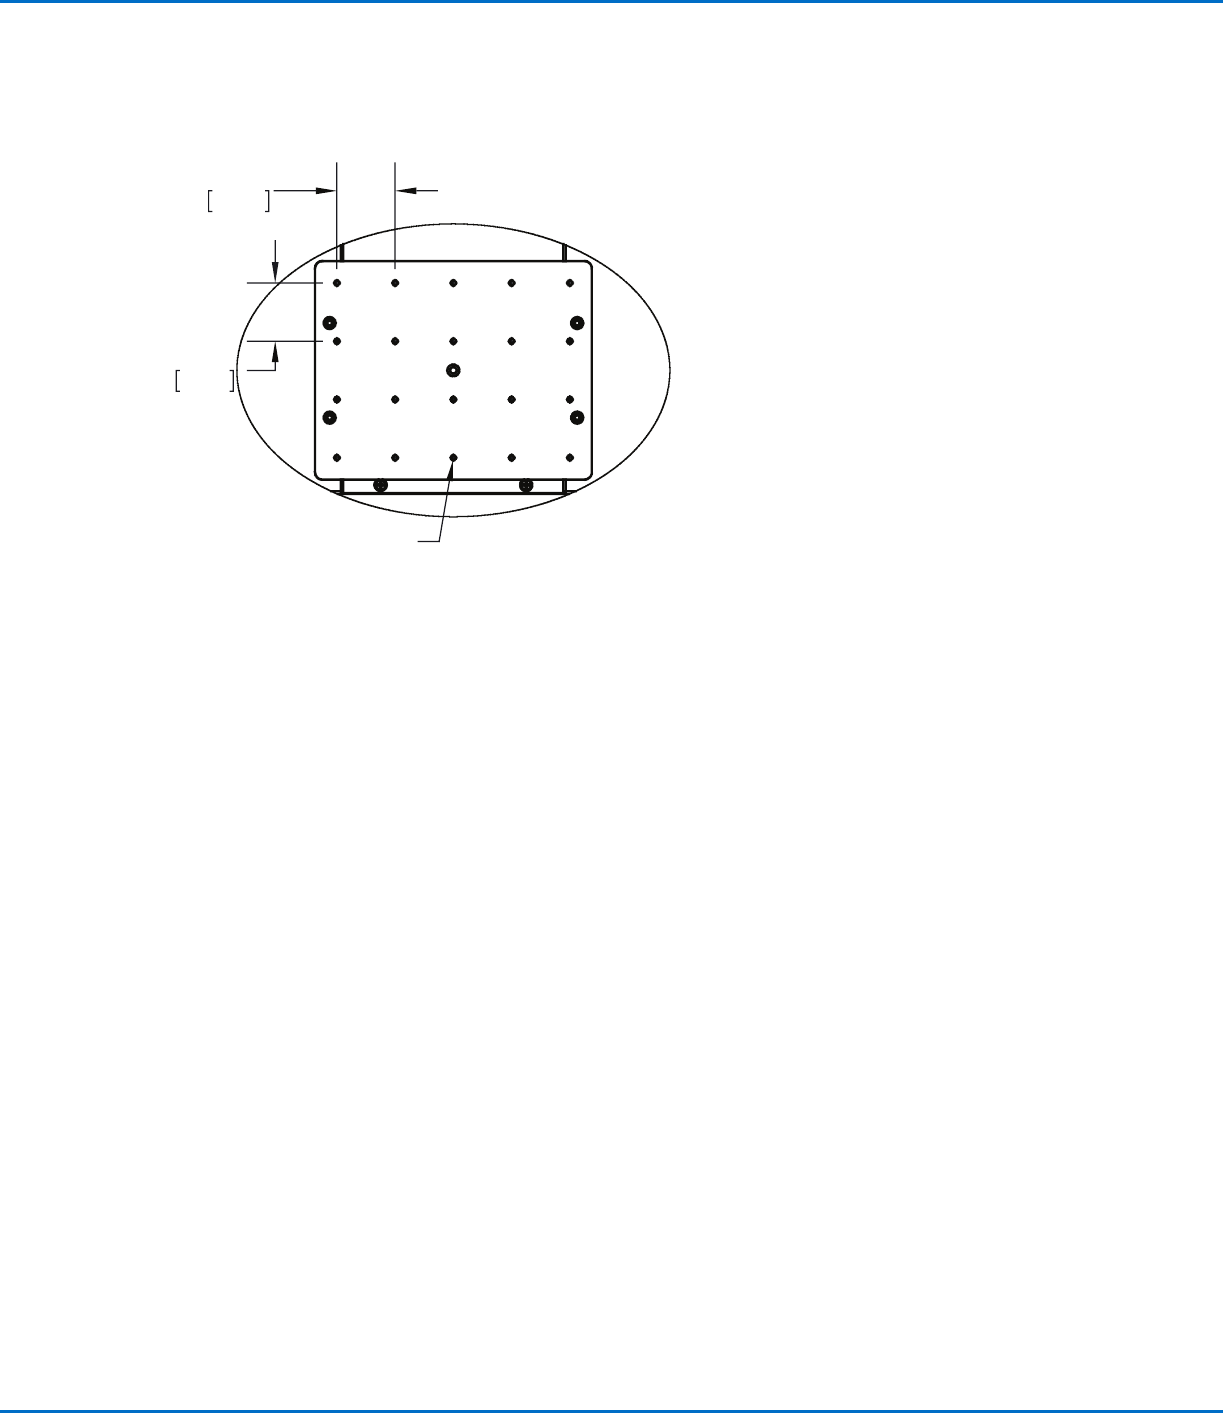
Prepare the Work Surface or Fixture Plate
Prepare the robot work surface or fixture plate for secure placement of the workpiece. Refer to “Fixture Plates” on
page92 for fixture plate part numbers. A fixture plate mounting hole template is provided below.
Connect Inputs / Outputs (Optional)
All automated dispensing systems provide 8 standard inputs and 8 standard outputs. Connect input / output
wiring to the I/O PORT connection on the back of the robot. For a wiring diagram, refer to “I/O Port” on page96.
There are several ways to use the system inputs / outputs. Refer to “Setting Up Inputs / Outputs” on page58 for
additional information on inputs / outputs.
300 x 300, 400 x 400, or 600 x 600 fixture plate
1.57
40.00
1.57
40.00
M4X0.7 - 6H THRU ALL
RV Series Automated Dispensing Systems
21www.nordsonefd.com info@nordsonefd.com +1-401-431-7000 Sales and service of Nordson EFD dispensing systems are available worldwide.
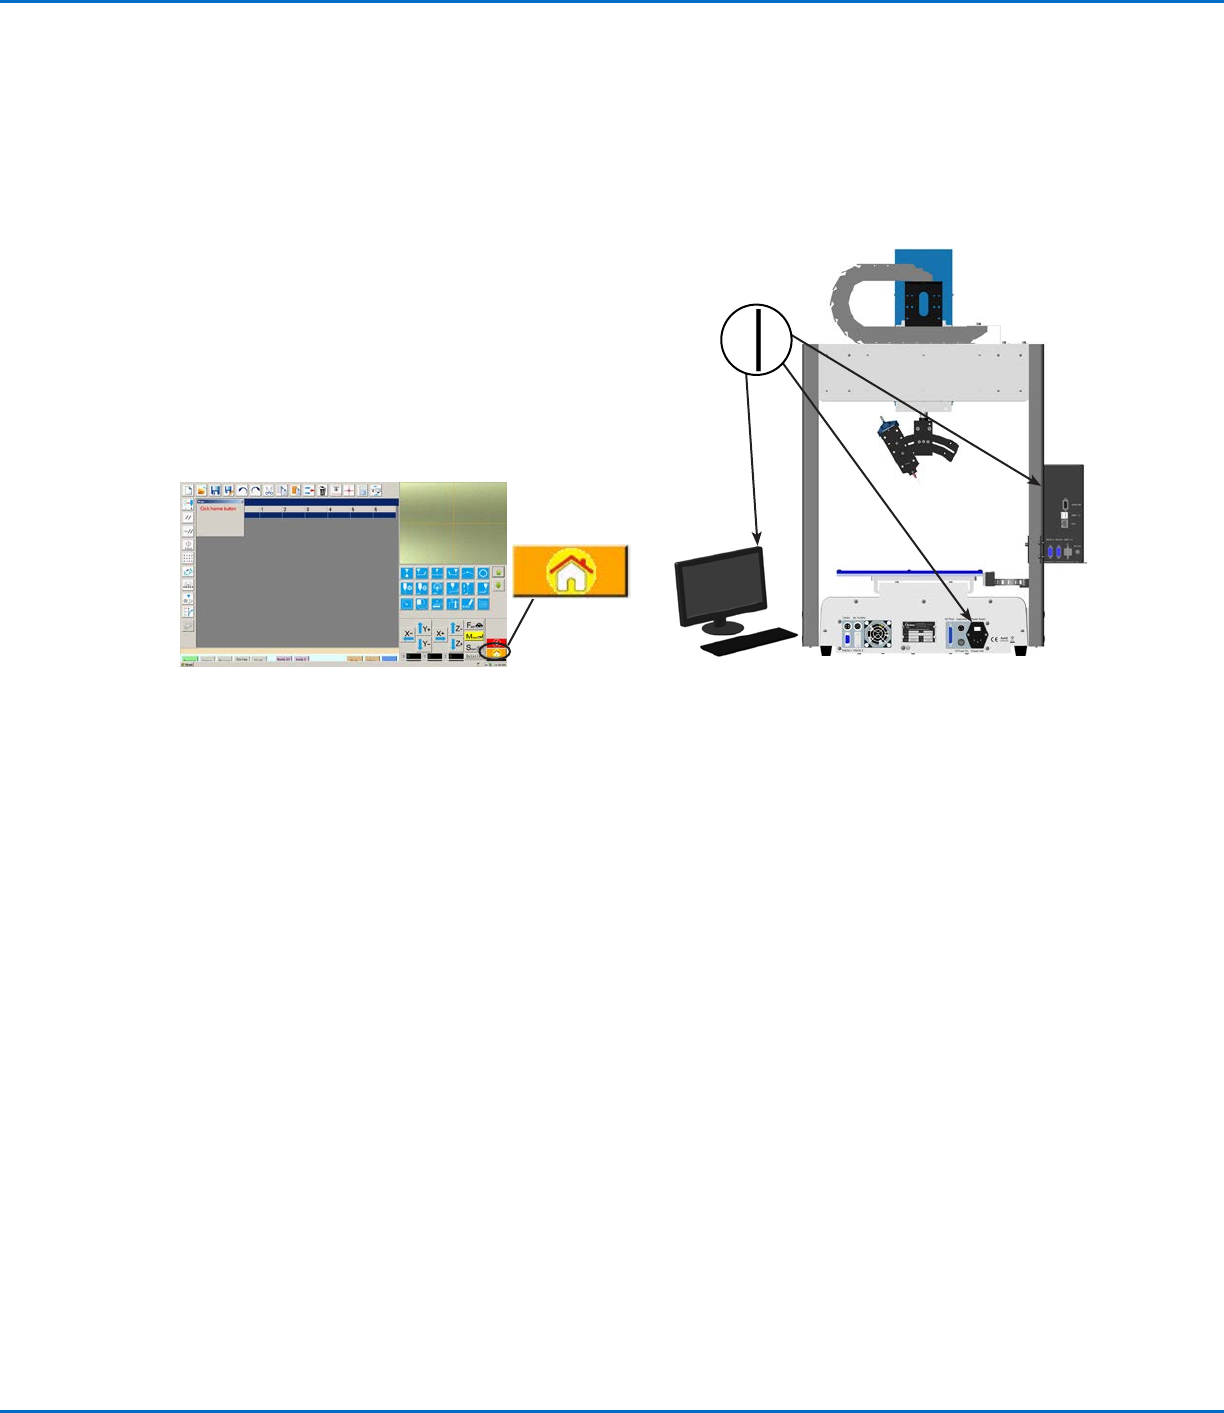
Power On the System
After the system is fully installed, including the dispensing system
components, switch on the system to verify the installation.
1. Make sure the following installation tasks are complete:
• All applicable system components are installed (refer to “Installation”
on page17).
• Input/output safety plug is installed (if applicable).
• EMERGENCY STOP button on the front panel of the robot
is not depressed.
2. Switch on the DispenseMotion controller, monitor, and
robot.
3. Double-click the DispenseMotion icon to open the
dispensing software.
4. Click HOME.
The robot moves the camera to the home position (0, 0, 0)
and the system is ready.
5. Enable the dispensing system, including the valve controller. Refer to
the dispensing equipment manuals as needed.
6. Refer to the following sections to set up the system and to create
programs for your applications:
• “Concepts” on page22
• “Overview of the DispenseMotion Software” on page25
• “Setup” on page41
• “Programming” on page62