JO-116-001_w.pdf - 第43页
2-6 JO-1 16 1 105-001 2. How to start and end the system 2. How to start and end the system 2.1 Starting the Program Procedure (1) Set the power switch of the electrical box to "ON" and start the personal compu…
2-5
JO-116
1105-001
1.2 Attachment of Micrometer
1.2.1 Replacement of Battery in Micrometer
Procedure
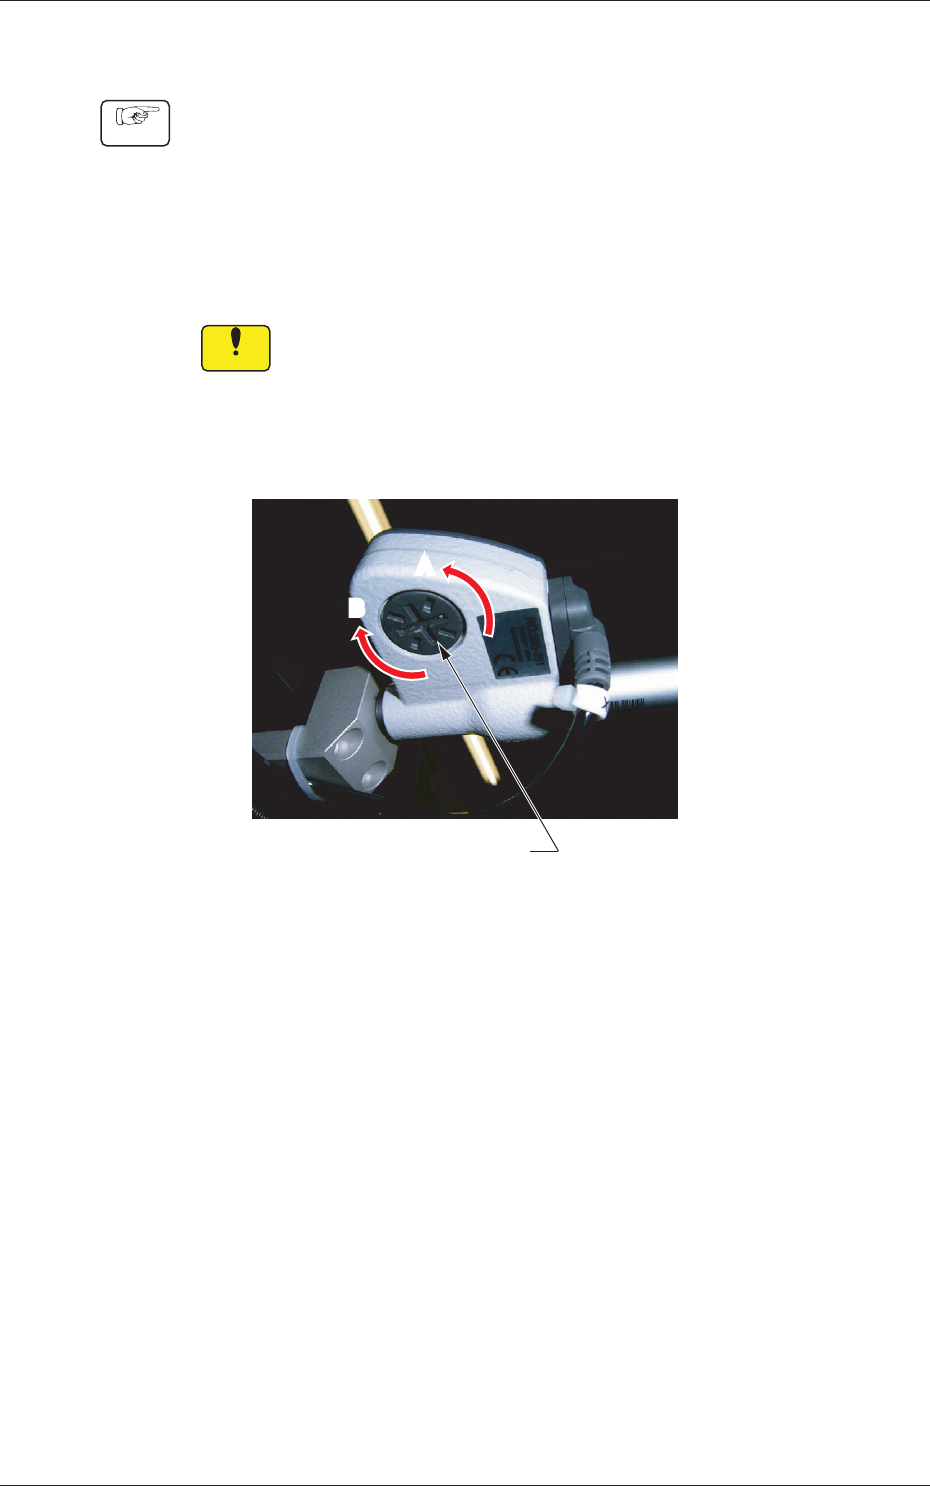
(1) Put a coin, etc., in the groove of the battery lid and turn it in the
A-marked direction (counterclockwise) in the gure below until
the lid comes off.
(2) Take out the old battery.
(3) Put a new battery and set the lid. After that, turn the lid in the
B-marked direction (clockwise) to secure.
Notice
(a) When the battery is reset, the reference position is cleared.
(b) SR44 (Silver Oxide Button Cell Battery) must be used.
(c) When an error display appears or an error message such as "No
Counting" is issued, remove the battery once and set it back in
place.
AA
B
B
Battery Lid
Fig. B6 Back Side of Micrometer
2-6
JO-116
1105-001
2. How to start and end the system
2. How to start and end the system
2.1 Starting the Program
Procedure
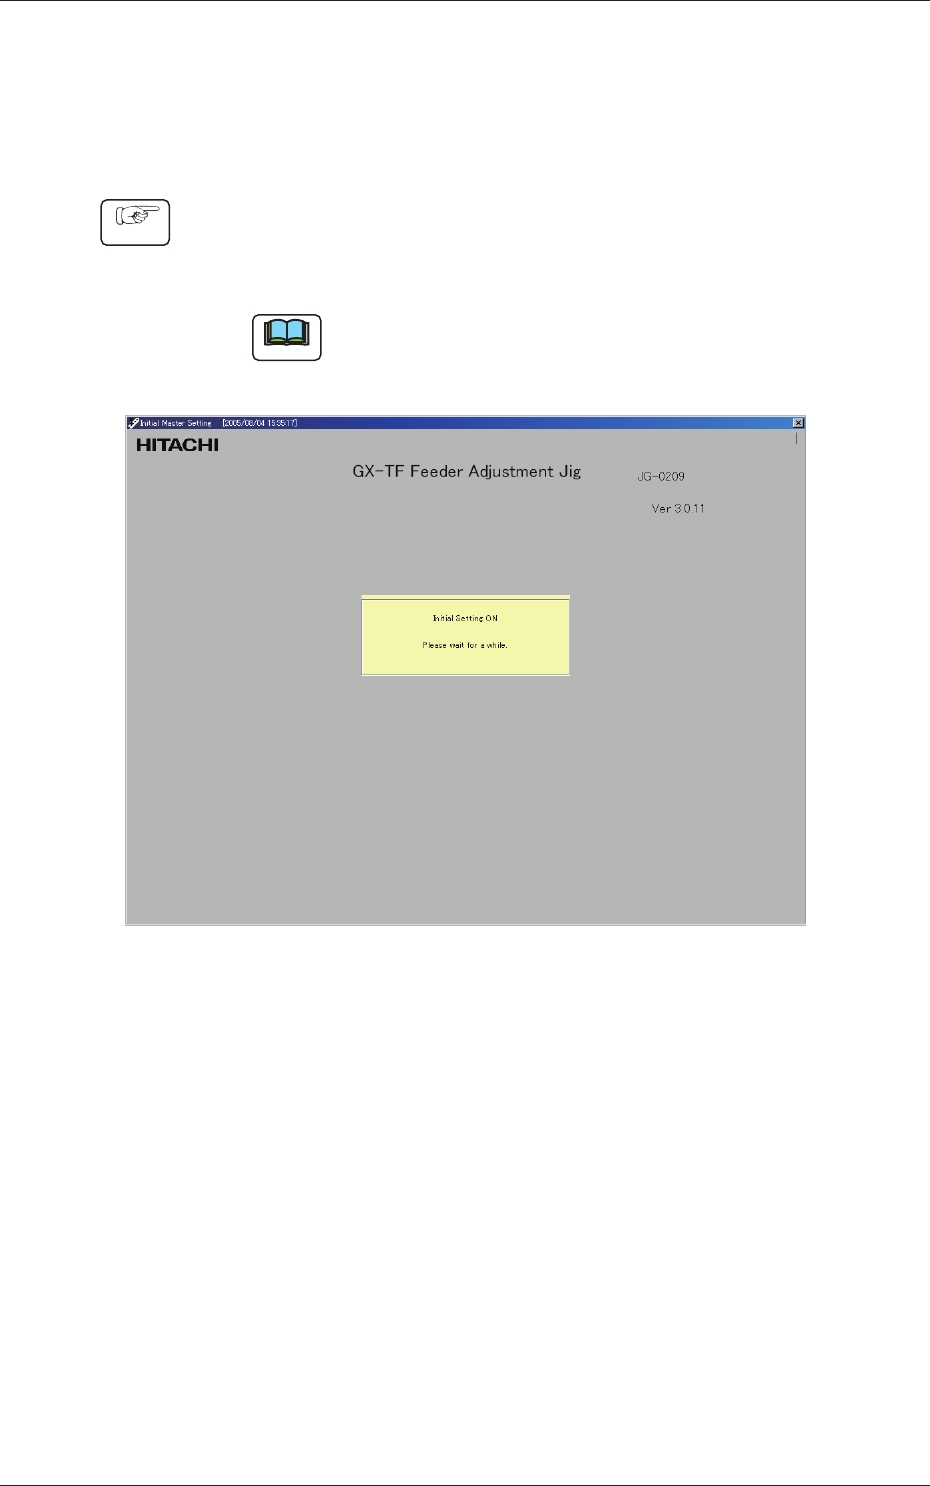
(1) Set the power switch of the electrical box to "ON" and start the
personal computer. The program starts up automatically and the
"Initial Master Setting" window opens.
Note
The displayed name of the feeder adjusting jig is different
from the actual one.
Fig. B7 "Initial Master Setting" Window
2-7
JO-116
1105-001
2.1 Starting the Program
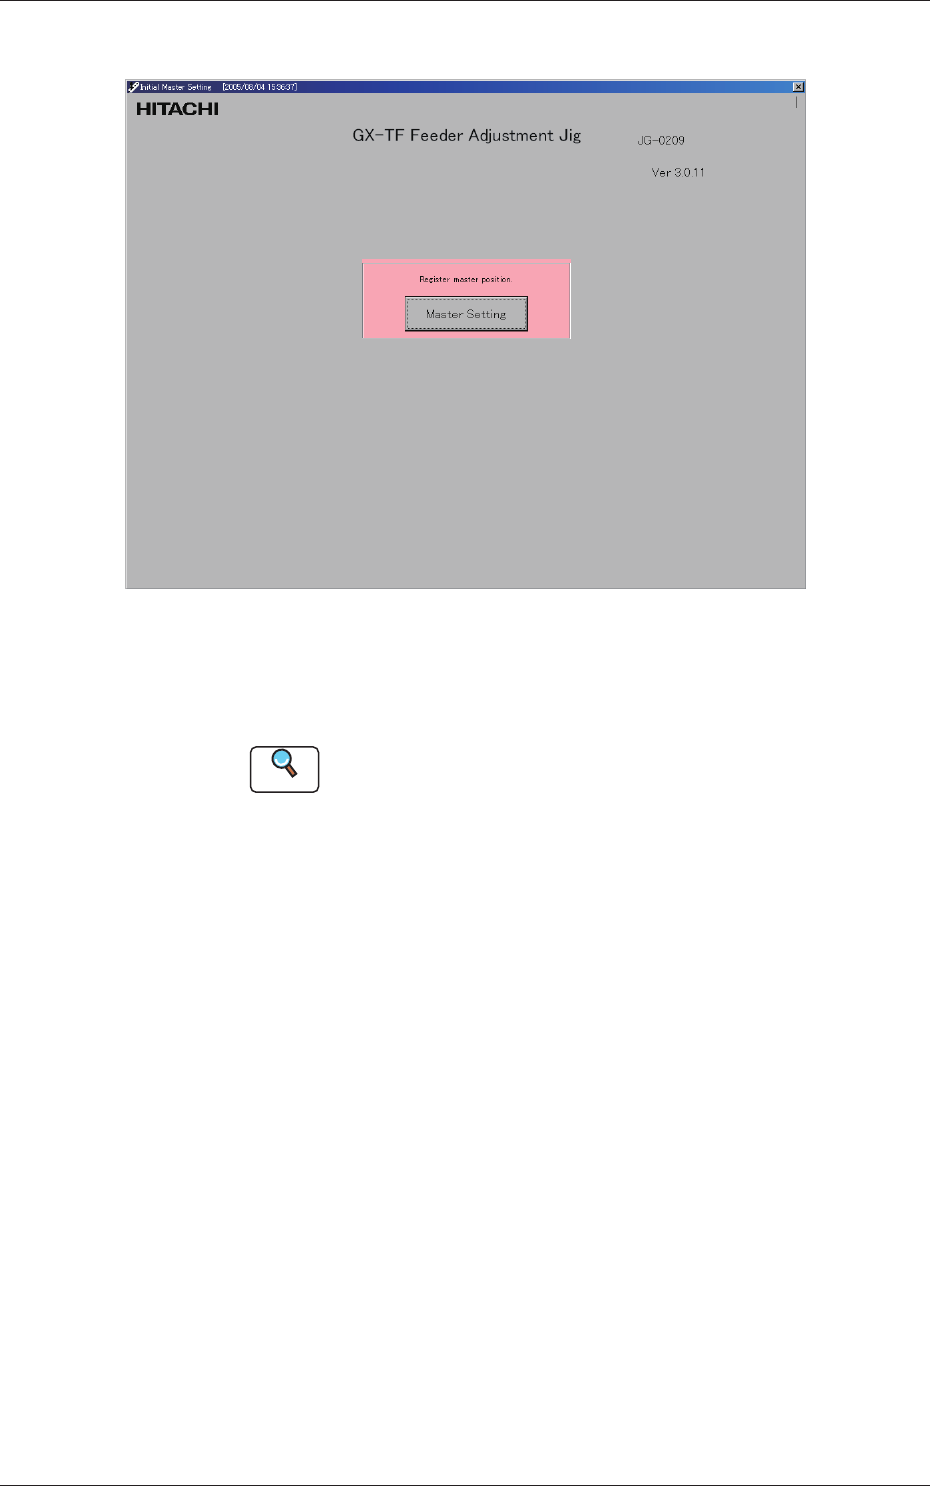
(2) After a few seconds, the [Master Setting] button appears.
Fig. B8
(3) Press the [Master Setting] button and proceed to the registration
of the master position (jig origin adjustment).
Reference
Refer to "1. Registration of Master Position (Jig Origin
Adjustment)" in "Section 4" for how to adjust the jig to the
origin position.