JO-116-001_w.pdf - 第90页
4-5 JO-1 16 1. Registration of Master Position (Jig Origin Adjustment) 1 105-001 (6) Press the [Return] button in the "Master Setting" window . (7) The following message appears in the "Initial Master Sett…
4-4
JO-116
1. Registration of Master Position (Jig Origin Adjustment)
1105-001
Note
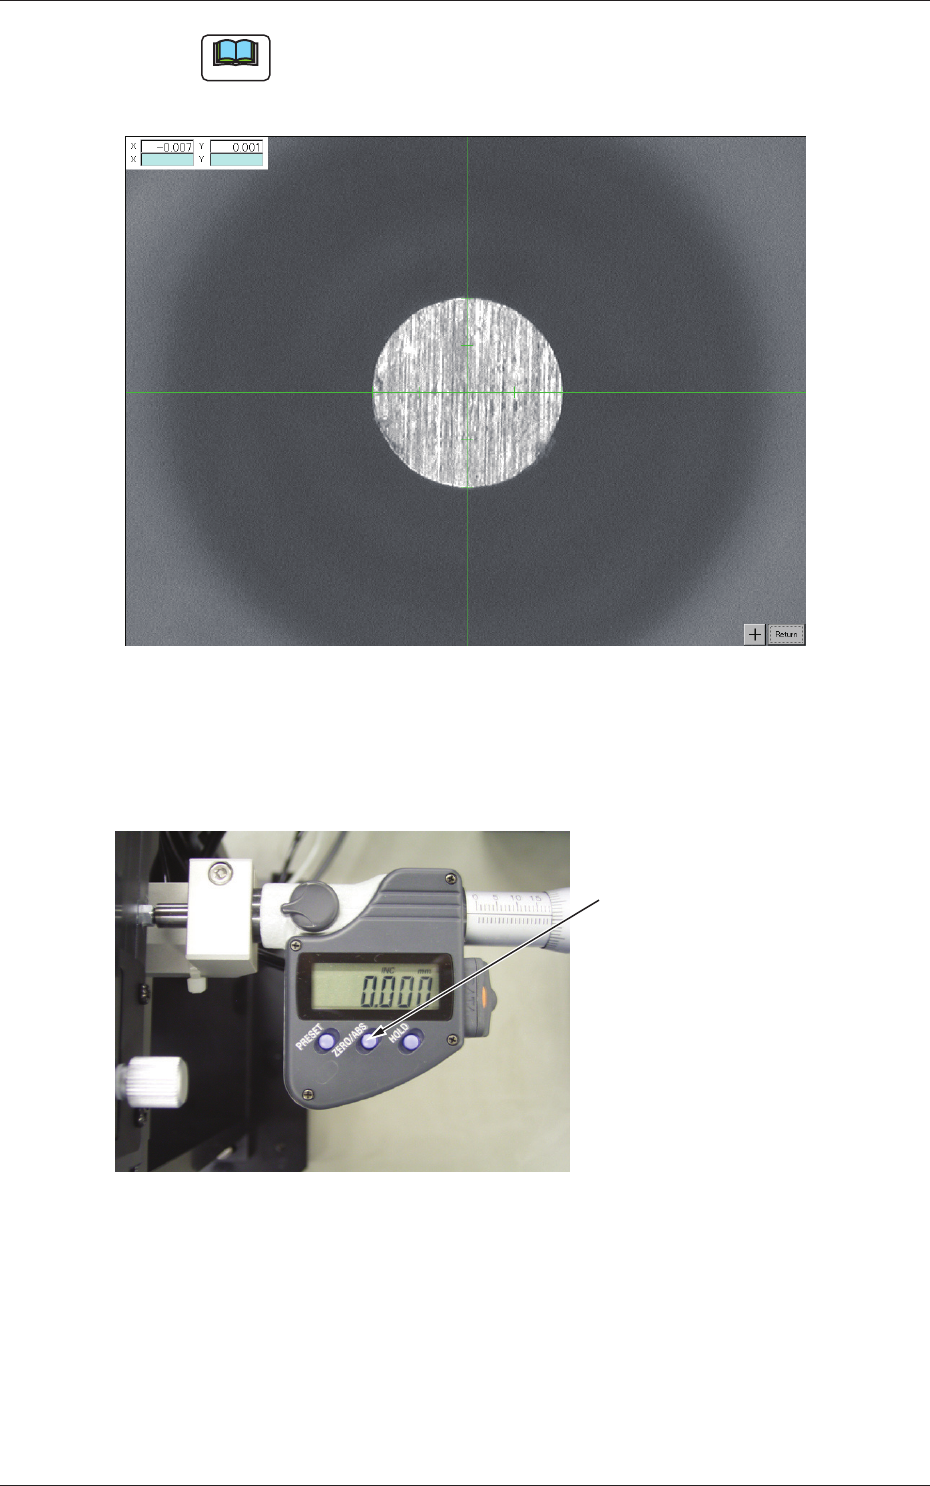
To enlarge the image, press the [Enlarge] button in the "Master
Setting" window.
To get the original size, press the [Return] button.
Fig. D5
(5) Press the "ZERO/ABS" switch of the micrometer to reset the
indicated value of the micrometer head to "0.000".
"ZERO/ABS" Switch
Fig. D6 Micrometer
4-5
JO-116
1. Registration of Master Position (Jig Origin Adjustment)
1105-001
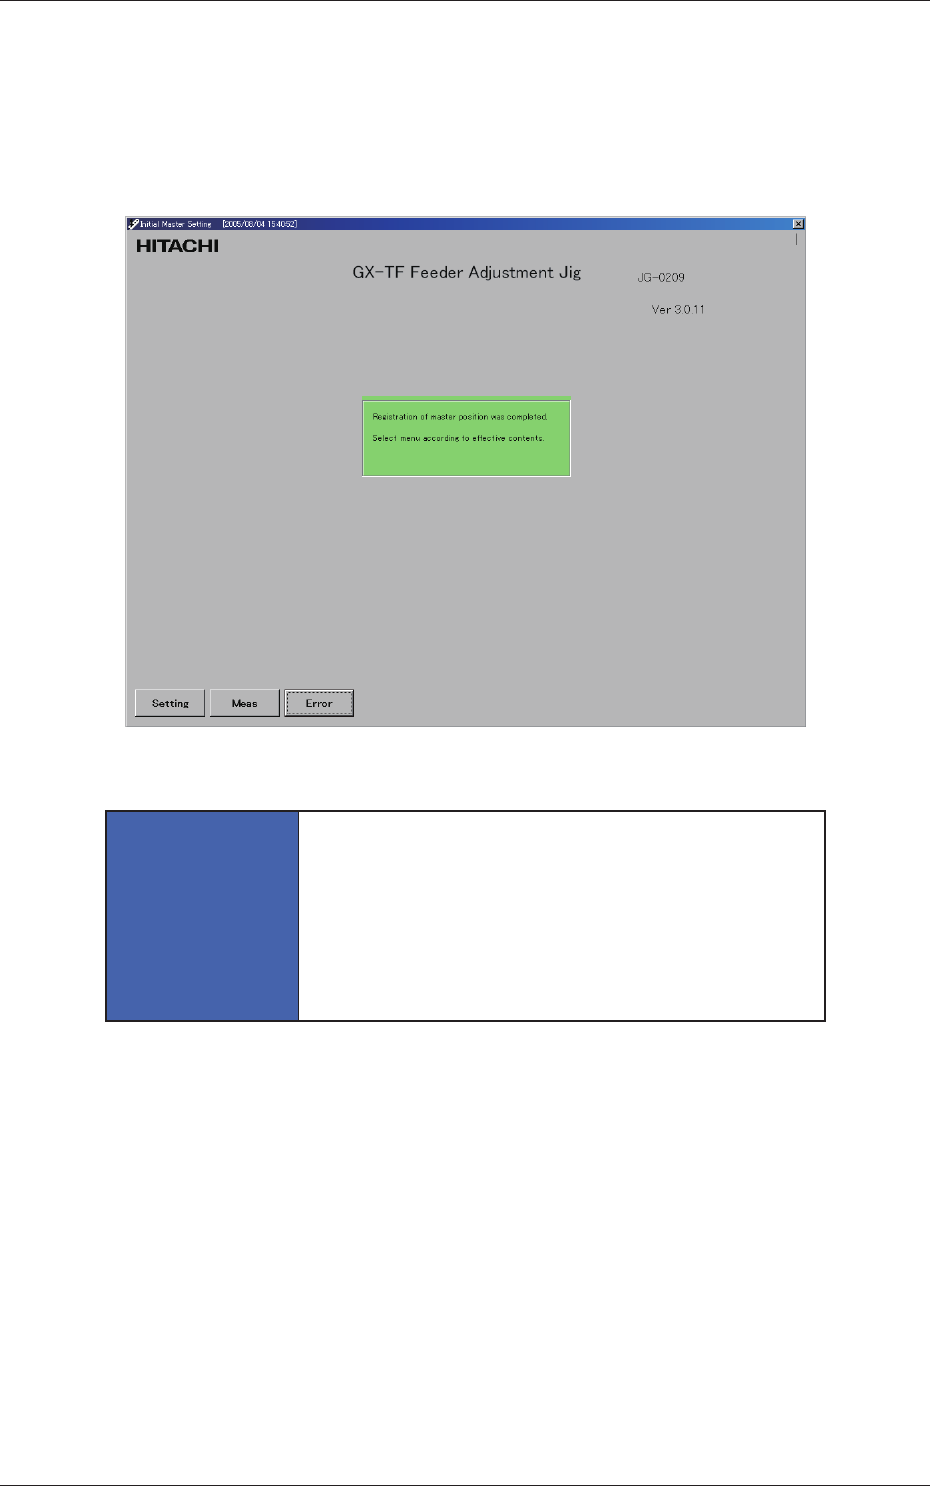
(6) Press the [Return] button in the "Master Setting" window.
(7) The following message appears in the "Initial Master Setting"
window, indicating that the registration of the master position is
completed.
Detach the jig origin master from the jig.
Fig. D7
NOTICE
Be sure to slowly lift the jig origin master to detach
from the jig.
Otherwise, the jig origin master will come off
abruptly and collide with the camera used to
capture an image of the jig origin. The camera may
be damaged.
4-6
JO-116
2. Feeder Measurement
1105-001
2. Feeder Measurement
Notice
No feeder measurement can be performed unless the registration
(jig origin adjustment) of the master position is completed.
Procedure
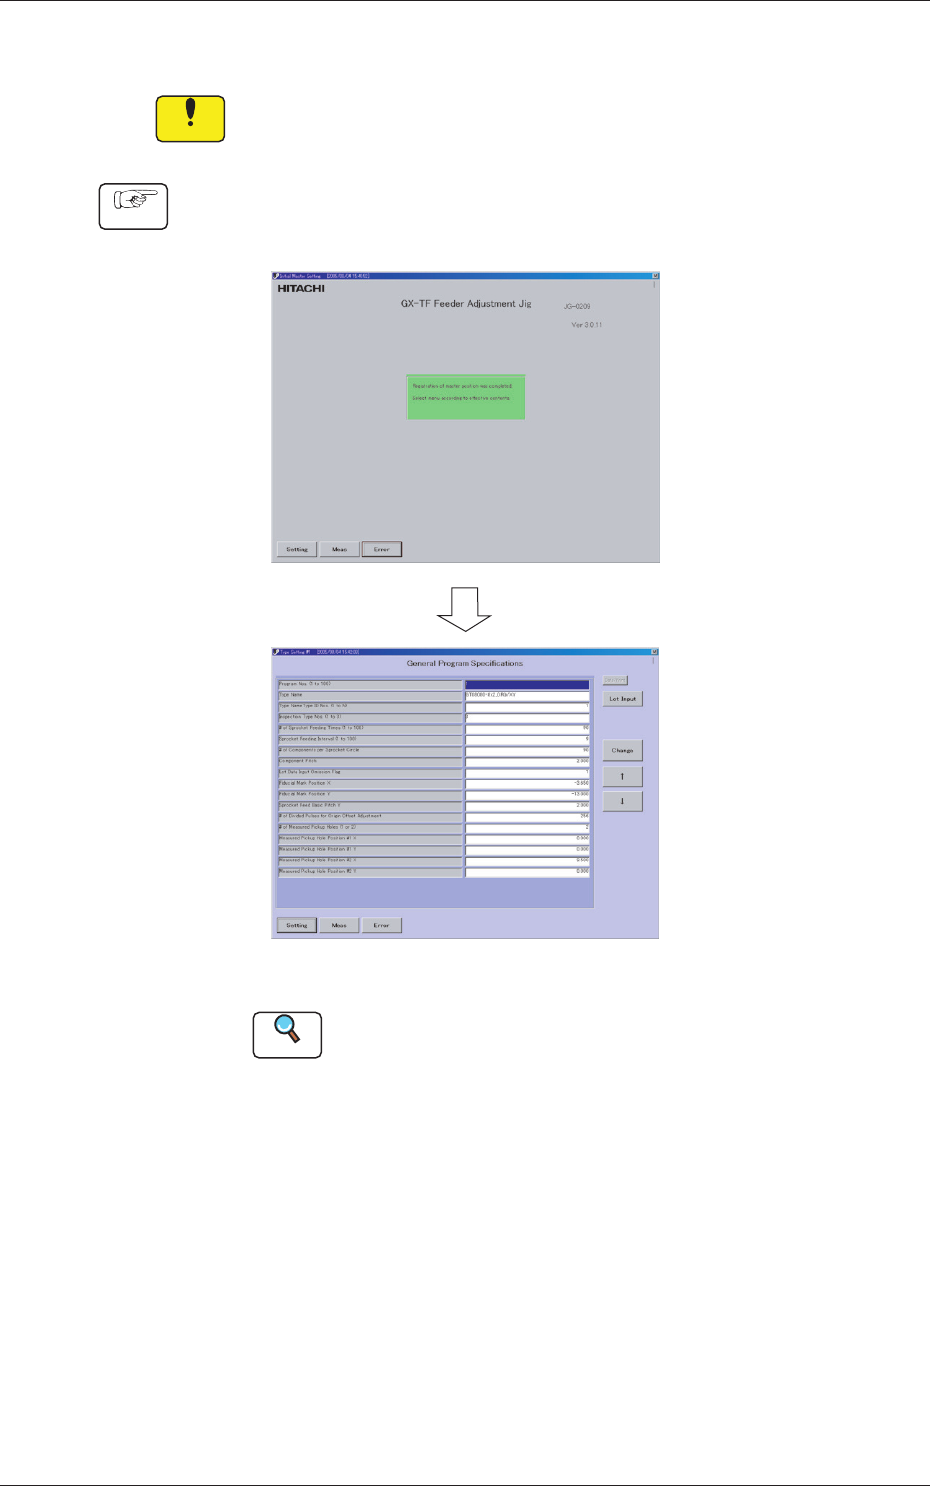
(1) When you press the [Setting] button in the "Initial Master
Setting" window, the "Type Setting #1" window opens.
Fig. D8 "Type Setting #1" Window
Reference
Refer to "4. "Type Setting" Window" in "Section 3" for
details.
(2) Press the [Setting] button in the "Type Setting #1" window.
The "Type Listup" window opens.