DEK INFINITY USER MANUAL.pdf.pdf - 第150页
INFINITY 6(735()(5(1 &(6 35()(5(1&(6 2.24 User Manual Software Versi on 7 The menu bar changes to the following: NOTE Restor e de fault is only available while the highlighted dir ectory is not alr eady at the d…

INFINITY
6(735()(5(1&(6
35()(5(1&(6
Software Version 7 User Manual 2.23
The Done key updates the maintenance monitor data file, named service.dat, as
follows:
• The service cycle counter is set to zero.
• The service number is incremented.
• The last service date is reset to the current date.
• The warning window is cleared, the amber beacon changes to green and the
printing run commences.
The Defer key does not update the maintenance monitor data file.
The warning window is cleared, the amber beacon changes to green and the
printing run commences. As the file has not been updated, the next time the Run
key is pressed the maintenance monitor window is displayed again. This routine
continues until the Done key is pressed.
If Maintenance Monitoring is disabled, left disabled for several service periods,
either calendar or cycle or both, and enabled again:
The next time Run is pressed, the maintenance monitor software determines how
many service periods have been exceeded. From this information it determines
if any higher order servicing has been missed during the disabled period. If a
higher order service would have become due during the disabled period, that
service message is displayed.
Machine Location This allows the operator to enter text to uniquely identify the machine. Output
is via GEM, Host and SPC.
Data File Locations Allows the user to create individual directories for product and data files. Once
created the individual directories become the current locations for all future
product and data files.
Before changing the product and data file locations, use the copy data function
in House Keeping, to copy any existing product and data files to floppy disk.
After changing the product and data file locations, use the copy data function in
House Keeping, to copy any existing product and data files from the floppy disk
to the new directories.
NOTE
When Load Data is selected from the setup menu only the files in the current
location are displayed.
The default location is:
D:\Program Files\DEK\MachineControl\Printer
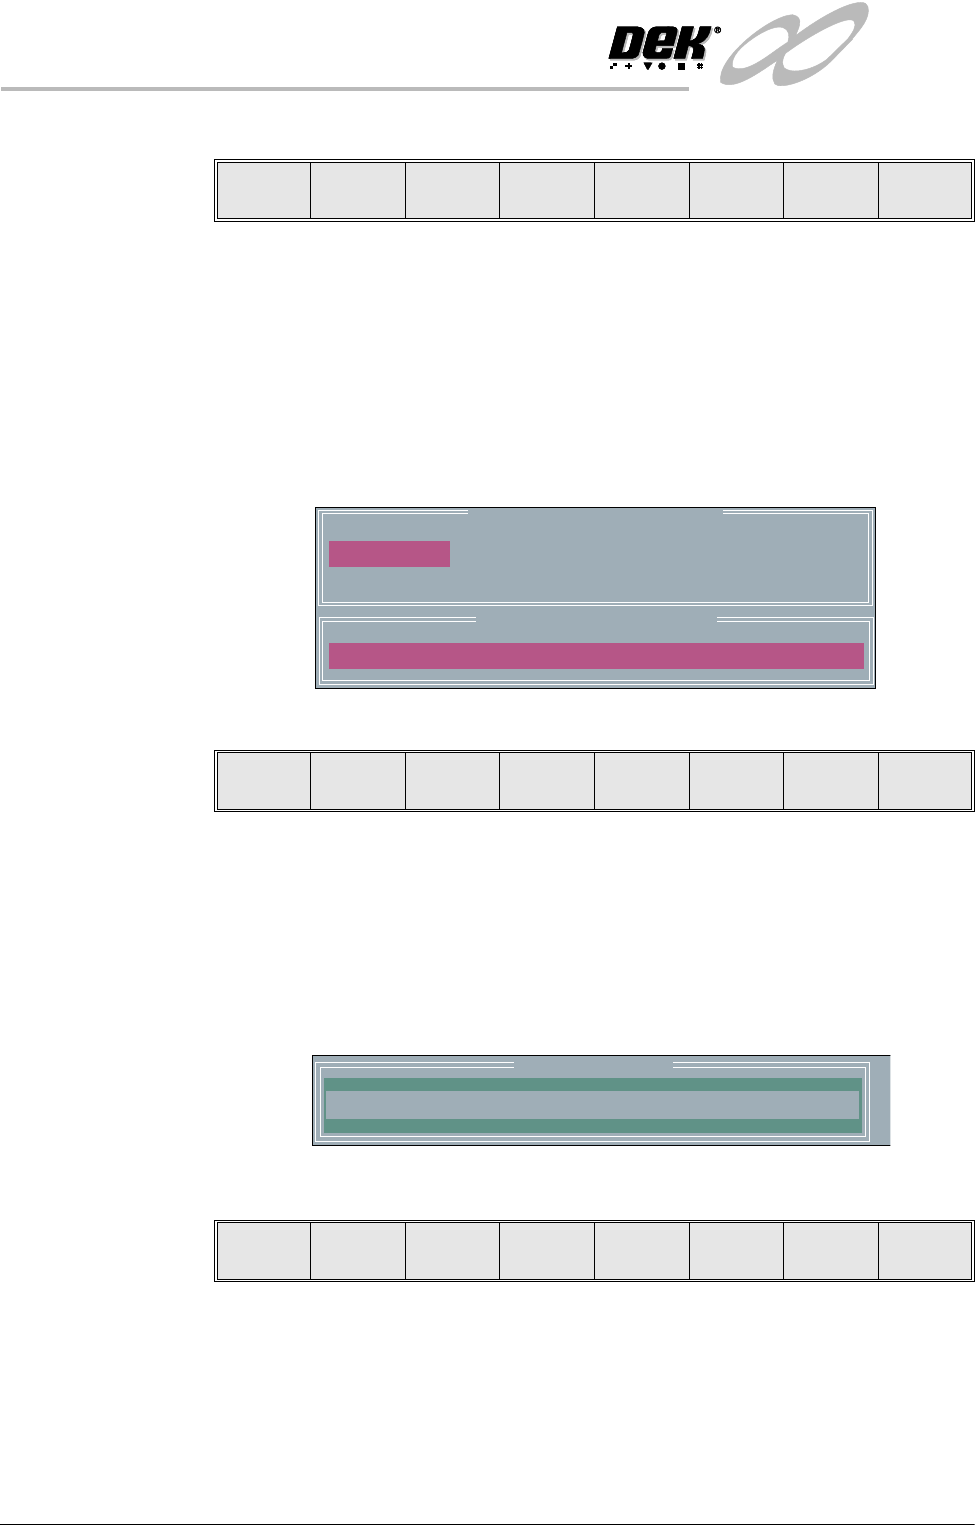
Selecting the Incr. or Decr. key with data file locations highlighted opens the
following window:
File Locations
Product Directory
Data Directory
:
:
D:\Program Files\Dek\MachineControl\Printer
D:\Program Files\Dek\MachineControl\Printer
INFINITY
6(735()(5(1&(6
35()(5(1&(6
2.24 User Manual Software Version 7
The menu bar changes to the following:
NOTE
Restore default is only available while the highlighted directory is not already
at the default location.
Use the Next and Previous keys to move between the different directories.
Use the Exit key to close the File Locations window.
Use the Restore Default key to change the path, for files associated with the
highlighted directory, from the current location to the default location.
Selecting the Browse key opens the following window:
The menu bar changes to the following:
The message ‘Select a directory to become the current location for Process
Program files.’ is displayed in the message bar.
Use the Up and Down keys to scroll up and down the highlighted column.
Use the Left and Right keys to move between columns.
Use the Exit key to close the Directory Structure On Drive window.
Selecting the Create Dir key opens the following window:
The menu bar changes to the following:
Use the keyboard to type the name of the new directory.
Select the Proceed key, a new directory is created providing:
• The string entered constitutes a valid name for a directory.
• A file or directory of that name does not already exist.
• The current directory is accessible for writing.
Browse
Restore
Default
Next Previous Exit
Directory Structure On Drive
..
Current Directory Location
D:\Program Files\DEK\MachineControl\Printer
Select
Create
Dir
Left Right Up Down Exit
Create Directory
New Name:
Proceed Cancel

INFINITY
+267&20081,&$7,216
&200635272&2/237,216
Software Version 7 User Manual 3.1
CHAPTER 3 HOST COMMUNICATIONS
COMMS PROTOCOL OPTIONS
GEM This configuration implements the SMEMA standard for communications for
Surface Mount Equipment. GEM (Generic Equipment Model) is a standard sub-
set of the SECSII protocol. GEM is specifically designed for implementing
equipment automation in a production environment.
In this configuration, a host computer running GEM compatible software talks
to the machine via a Network cable.
If the Host is a PC, DEK’s Off-line editor software can be used to modify product
files. The Event Log can be read by a text editor. The flexibility of the GEM
interface allows data collection to be customized to meet the users requirements.
Net_Files This configuration allows users to redirect files away from the machines local
hard drive to a remote directory on a file server. The machine is configured to
access a ‘product’ directory for a product file and a ‘data’ directory for output
data files.
At the machine when a product file is loaded it is read from the ‘product’
directory on the network file server. When it is saved it is saved to the ‘product’
directory on the file server. Files cannot be read from the printer or sent to the
printer across the network.
Once the files are present on the server, they can be accessed from a networked
PC without interfering with the machine.
At a networked PC, DEK’s Off-line Editor software can be used to modify
product files. QC-Calc software can be used to access SPC data in the ‘READ-
INGS.DEK’ file. The Event Log can be read with a text editor.
Selecting Comms
Protocol Options
The Comms Protocol Set Preference SECS, GEM, and NET_FILE options each
display additional menu parameters if they are selected in the Set Preferences
window.
On selecting GEM the following menu bar is displayed:
On selecting NET_FILE the following menu bar is displayed:
If the Enable Comms key is pressed the following menu bar is displayed:
The user is given the option to Confirm or Exit their selection.
The NET_FILE option may cause a further window to appear requesting the
Network Password.
Enable
Comms
Next Previous Incr. Decr. Exit
Enable
Comms
Edit
Comms
Next Previous Incr. Decr. Exit
Confirm Exit