00196577-03 JG S-Feeder Care Test Station EN.pdf - 第14页
Preparations – Star ting the Program 14 – S t a r t in g t h e P r o g r a m NOTICE! Before you start the software, make sure that the has been completely connected to your PC and the power su pply. S-Feeder Checking Dev…
Preparations – Switching on the S Feeder Test Station
13
Preparations– Switching on the S Feeder Test Station
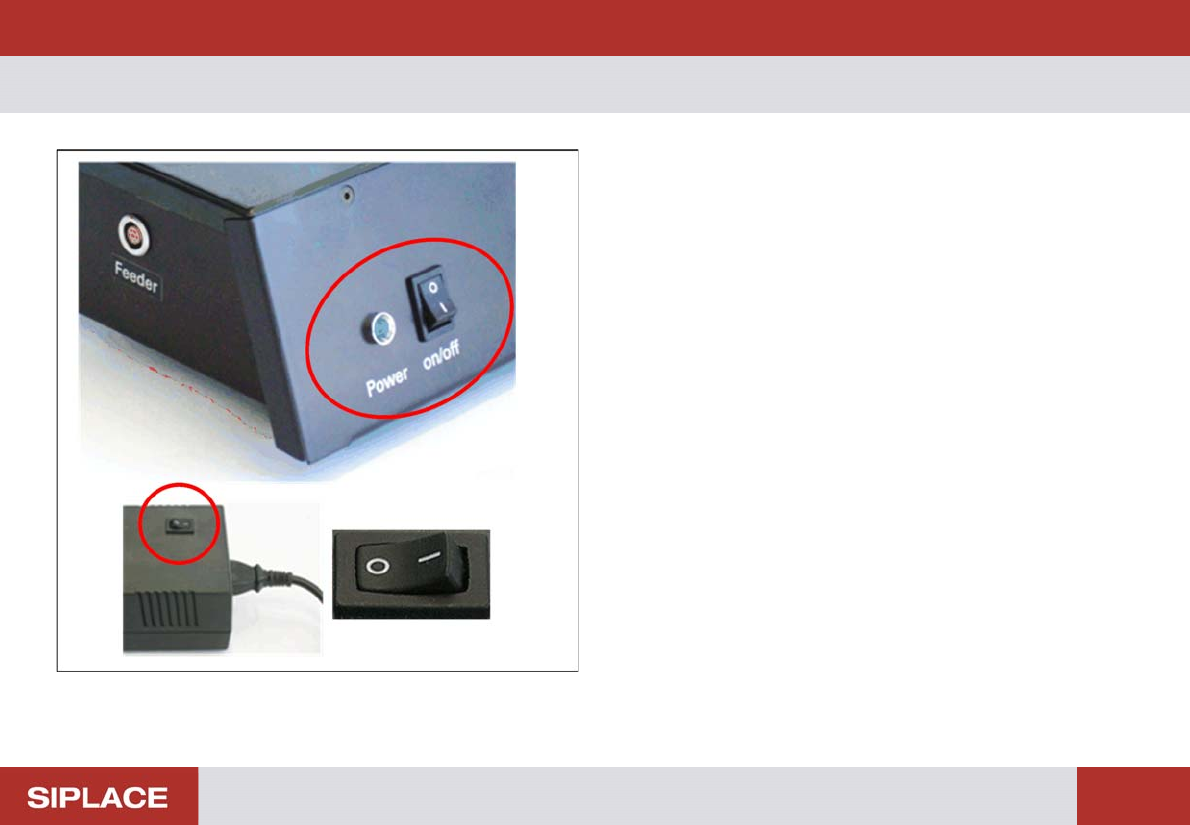
Switching the test station on
► Press the On/Off switch for the power pack.
► Press the On/Off switchfor the testing device.
The control lamp of the testing device will shine. The device
is now ready for operation.
Switching the testing device off
► Press the On/Off switch for the testing device.
The control lamp of the testing device will extinguish.
► Press the On/Off switch for the power pack.
Preparations – Starting the Program
14
– Starting the Program
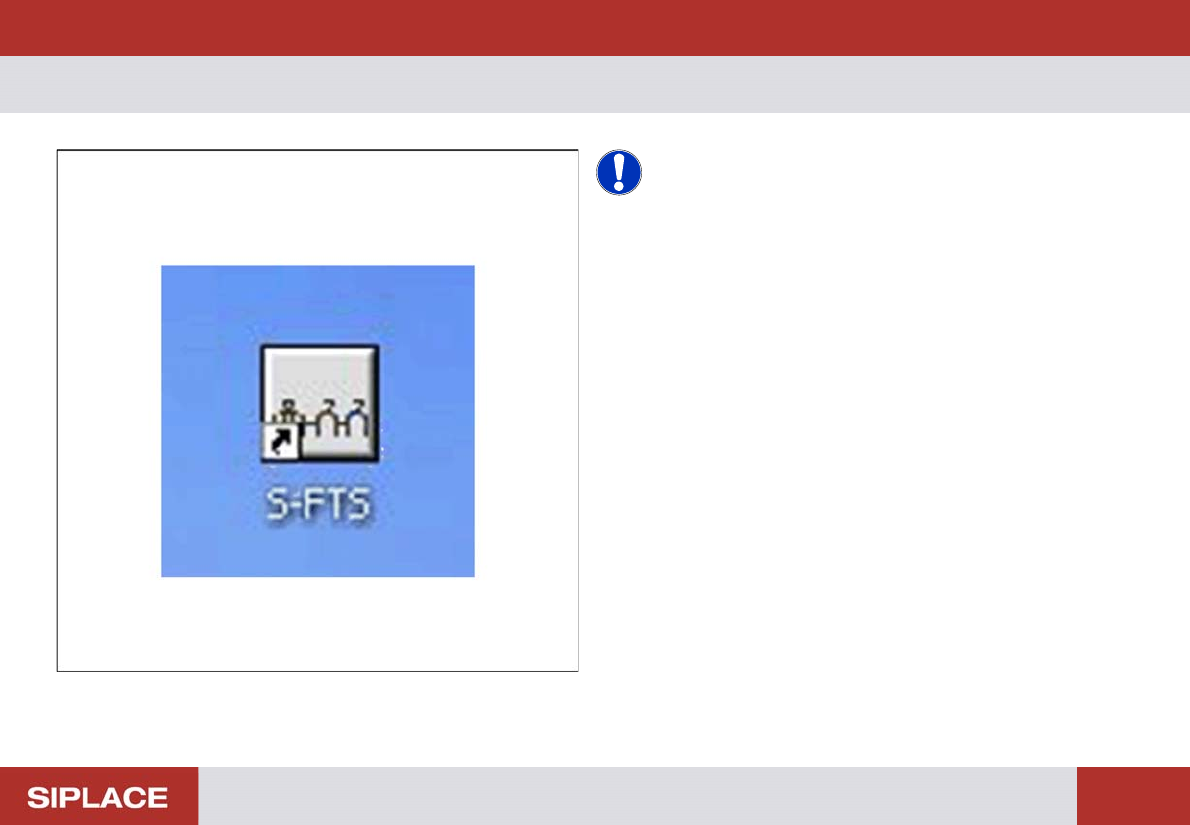
NOTICE! Before you start the software, make sure
that the has been completely connected to your PC and the
power supply.
S-Feeder Checking Device
► To start the S-Feeder test software, click S-FTS icon (S-
Feeder Test Station).
You will see the main window of the test software.
Preparations – User Interface
15
– User Interface
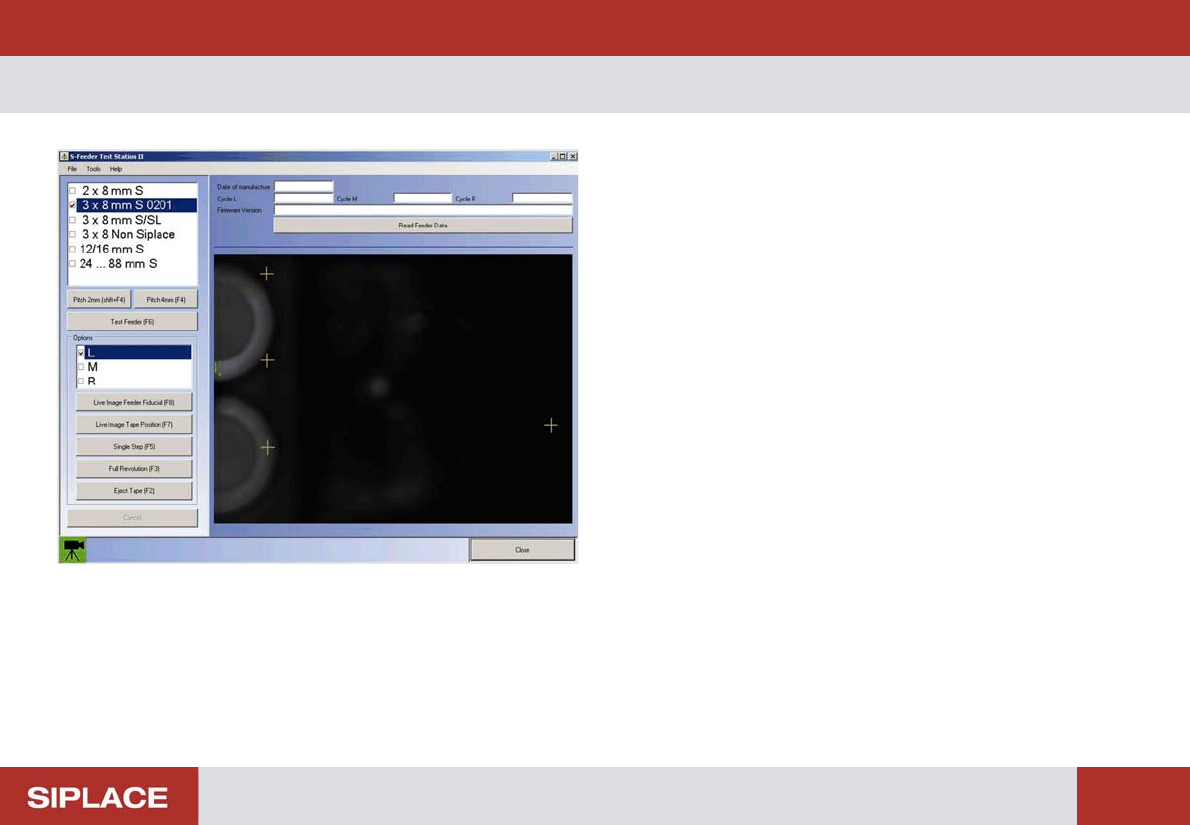
After starting the S feeder Test Station software you will see
the following dialog box.
On the left side of the dialog box you will see operating con-
trols with which you can set and start the test.
On the right side of the dialog box you will see the camera
image. The tape positions and feeder fiducials to be meas-
ured are marked by orange crosses.
At the bottom left of the dialog box you will see the current
status of the S Feeder Test Station in the form of a camera
icon.
Green: The camera of the S-Feeder Test Station is ready for
operation, the buttons on the user interface are active.
Red: The camera of the S-Feeder Test Station is NOT ready
for operation and the buttons on the user interface are NOT
active.
To exit the test software, click on Exit in the File menu.