00197463-03_SM_CPP_Customer_EN.pdf - 第27页
3 Usability package 3.2 Retrofitting the usability package Service Manual SIPLACE Multistar (CPP / CPP M) 02/2018 27 Assembly of: ● Insertion aid top right / CPP [03118785‑xx] ● Label for insertion aid [03122619‑xx] ● RH…
3 Usability package
3.2 Retrofitting the usability package
26 Service Manual SIPLACE Multistar (CPP / CPP M) 02/2018
NOTICE
Small screws and screws with plastic threads
When tightening smaller screws and screws with plastic threads, observe the following pro-
cedure:
► Turn the screw first to the left, until it falls into the thread. Then tighten the screw care-
fully.
3.2 Retrofitting the usability package
Assembly of:
●
Cover for front plate / CPP [03077012‑xx]
Fig.19: Pulling off the protective sheet
► Pull the protective sheet off both sides of the
cover.
Fig.20: Fitting the cover
► Fit the cover on the front plate.
Assembly of:
●
Handle protector CPP assy. [031119772‑xx]
Fig.21: Fitting the handle protector
► Fit the handle protector assy for the CPP onto the
front plate.
CAUTION!
Secure the screw with Loctite 243.
.
3 Usability package
3.2 Retrofitting the usability package
Service Manual SIPLACE Multistar (CPP / CPP M) 02/2018 27
Assembly of:
●
Insertion aid top right / CPP [03118785‑xx]
●
Label for insertion aid [03122619‑xx]
●
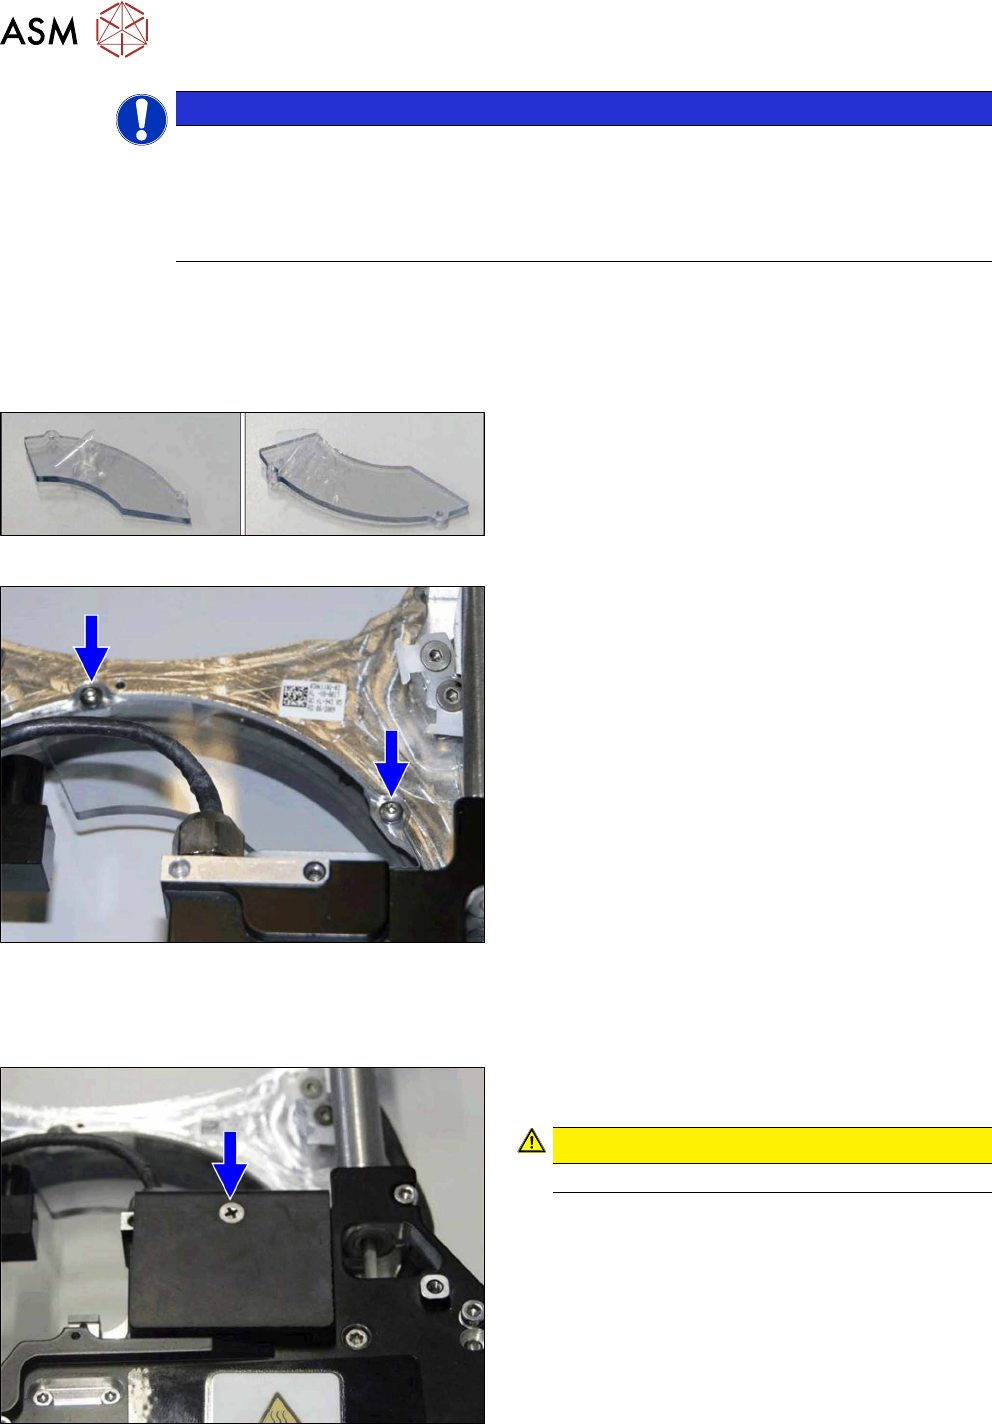
RH cylinder holder / CPP [03120201‑xx]
Fig.22: Replacing the cylinder holder
► Replace the RH cylinder holder. This is neces-
sary before you can fit the insertion aid.
Fig.23: Fitting the insertion aid
► Fit the "insertion aid top right / CPP".
Fig.24: Fitting the label
► Attach the "insertion aid label".
3 Usability package
3.2 Retrofitting the usability package
28 Service Manual SIPLACE Multistar (CPP / CPP M) 02/2018
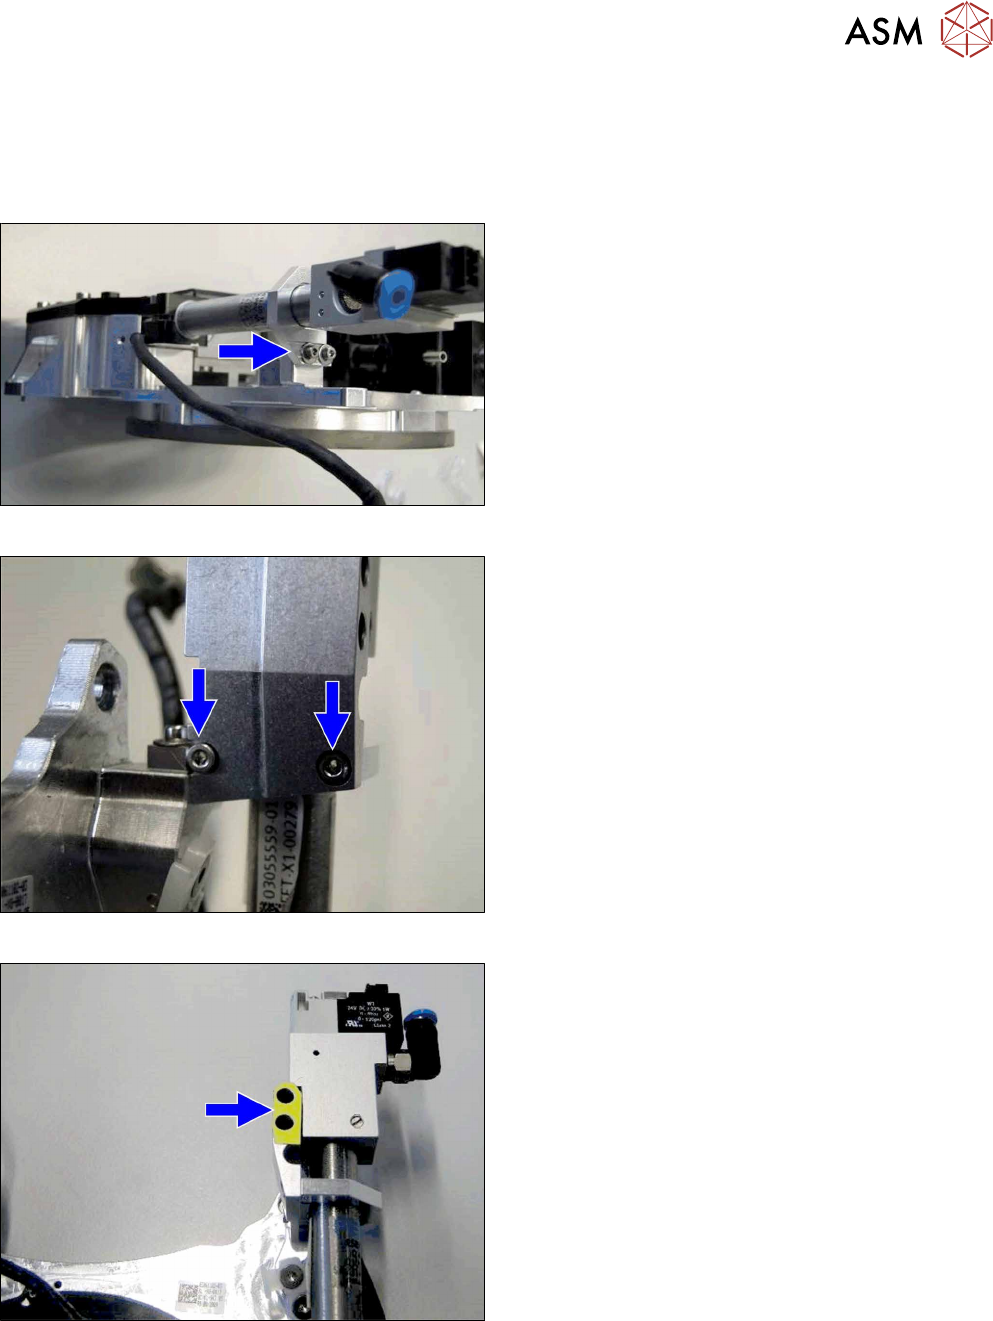
Assembly of:
●
Ground connection (ground slit) of screwed joint CPP [03120256‑xx]
Fig.25: Fastening the ground connection to the screwed joint
► Screw the new ground connection to the screwed
joint using the straight cable lug.
NOTICE!
Observe the correct installation direction.
.
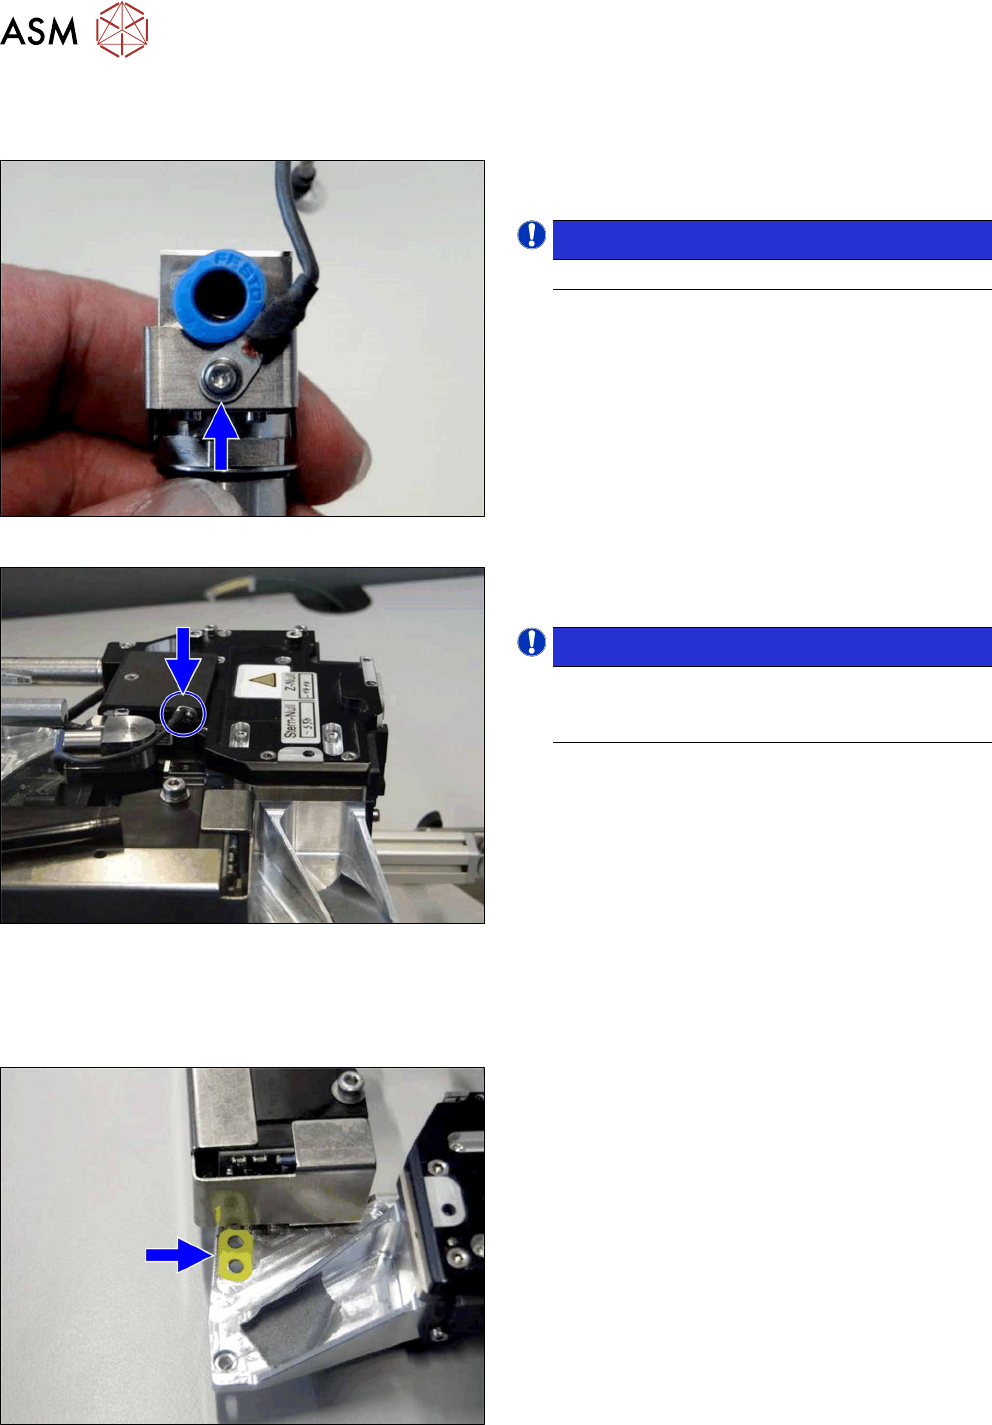
Fig.26: Fastening the ground connection to the front section of
the head
► Fit the ground connection to the front section of
the head using the curved cable lug (if present).
NOTICE!
Make sure that the curved cable lug does not
protrude beyond the handle protector for the
CPP.
.
Assembly of:
●
Label assembly marking CPP [03118678‑xx]
Fig.27: Fitting the label
► Attach the label to the position shown.