00198764-01_IM_SIPLACE_Pro_17.0_R19-2_EN - 第17页
SIPLACE Pro 17.0 (R19-2) / Installation Manual 11/2019 Edition 17 NOTICE This selection only affect s the installation drive of the p ackage. If you want to change the location of the database or its backup files, you ha…
SIPLACE Pro 17.0 (R19-2) / Installation Manual 11/2019 Edition
16
NOTICE
Installing SIPLACE LED Pairing
If SIPLACE Pro Desk is selected, SIPLACE LED Pairing will also be installed
automatically and cannot be unselected.
However, if SIPLACE Pro Desk is unselected, you can select SIPLACE LED Pairing to
be installed separately.
► In default case, click the Next button.
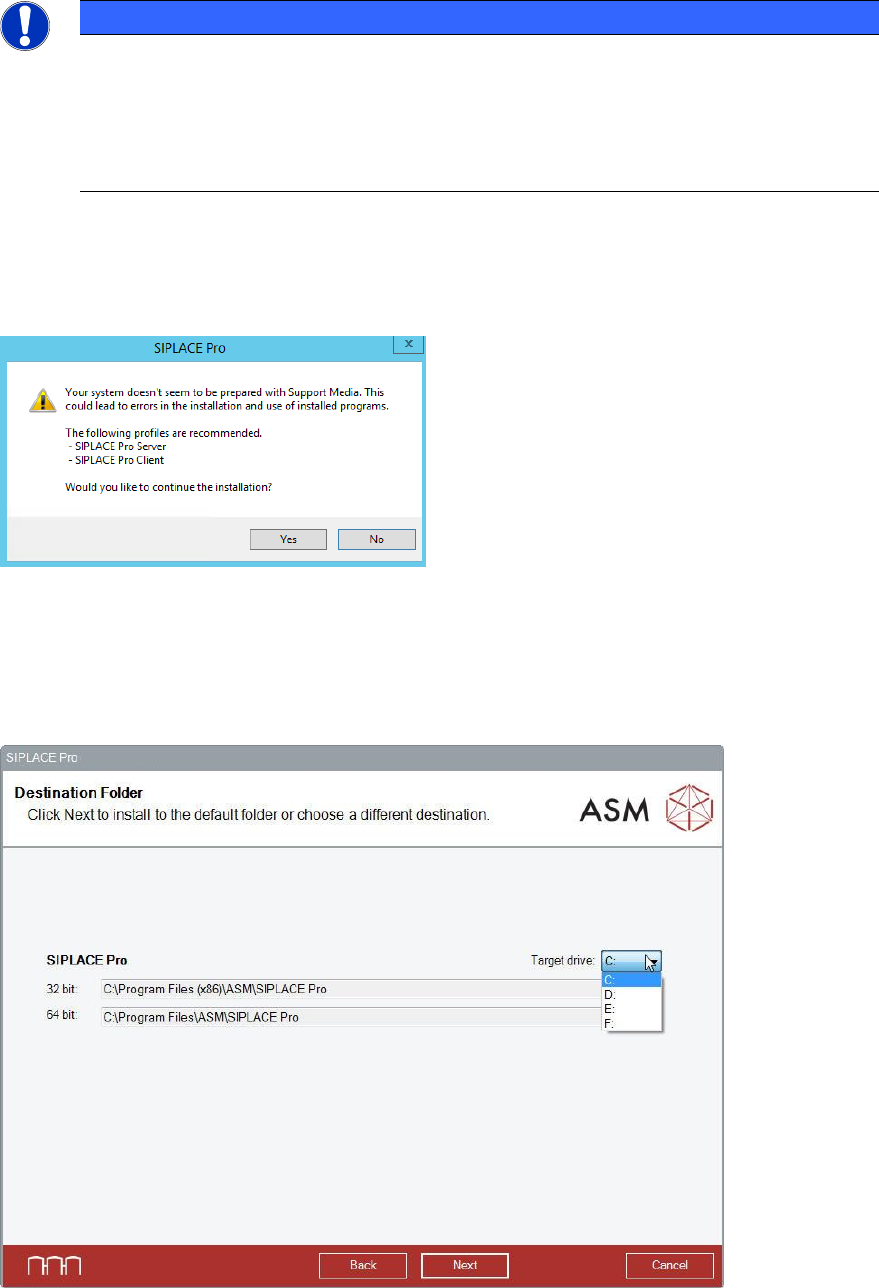
If you have not prepared your computer for SIPLACE Pro 17.0 using the Prerequisite Analyzer from
the Support Media, an error message like the following appears:
Figure 6-5: No Support Media preparation
► In this case, we strongly recommend you to click the No button to cancel the setup and begin
to prepare your computer using the Support Media.
Please refer to section 6.1 for more information.
The Destination Folder dialog is displayed.
Figure 6-6: Selecting installation drive
► Select the drive on which you want to install the 32 bit and 64 bit parts of SIPLACE Pro.
You can select one installation drive per package.
SIPLACE Pro 17.0 (R19-2) / Installation Manual 11/2019 Edition
17
NOTICE
This selection only affects the installation drive of the package. If you want to change the
location of the database or its backup files, you have to click the checkbox displayed
later to change the default database settings.
Please refer to section 6.2.1 for more information on database settings.
► Click the Next button.
The following dialogs appear if all software components have been selected for installation.
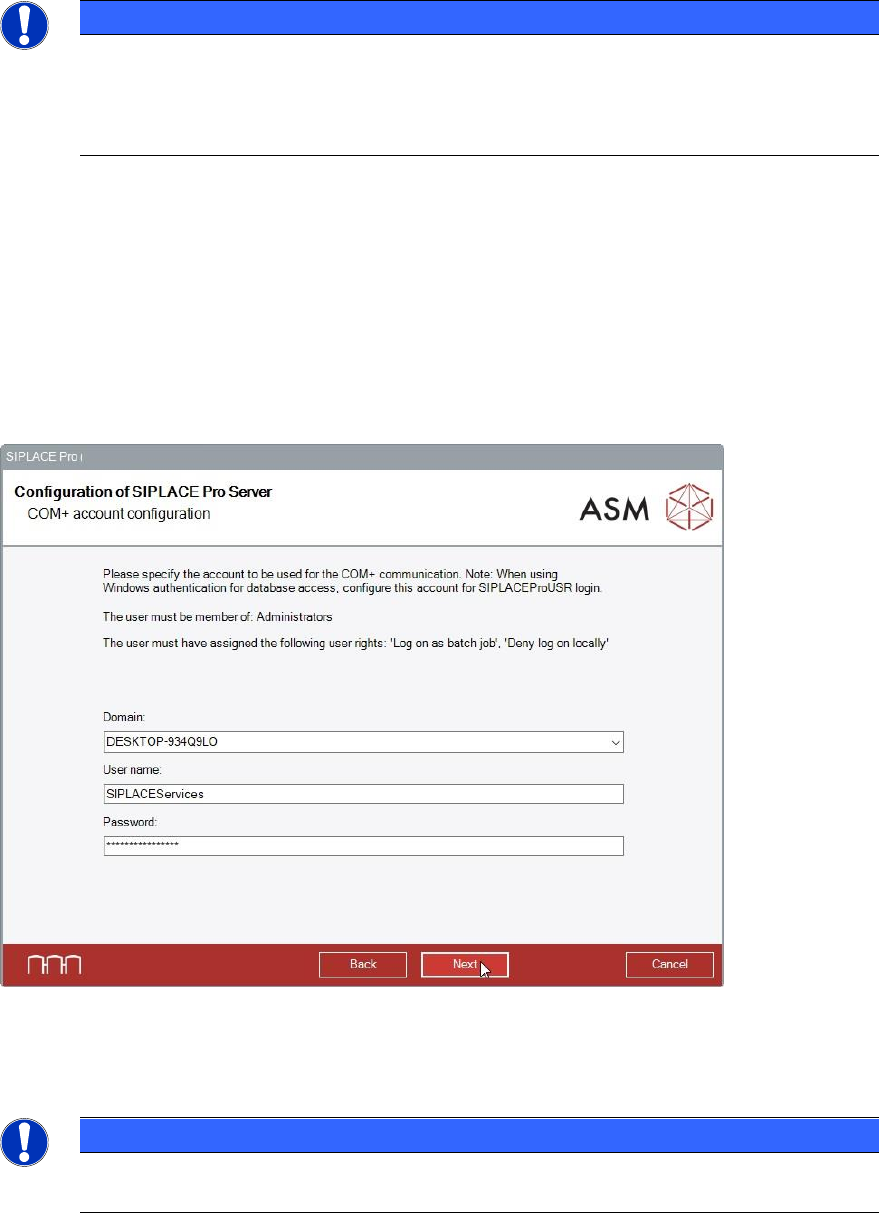
The Configuration of SIPLACE Pro Server dialog is displayed.
In this dialog you specify under which Windows user account the server component of SIPLACE
Pro should run. The current computer name appears as the default value in the domain text box.
This means, it is usually sufficient just to add the user name and the password for local accounts.
However, if this account is from your domain, be sure to change the domain specification
appropriately.
Figure 6-7: Specifying Windows user account
► Enter the Domain, User name and Password for the Windows user. If no domain network is
available, enter the computer name instead.
NOTICE
The user must be a member of the administrator group and have the following user
rights: "Log on as batch job" and "Deny log on locally".
► Click the Next button.
The setup will validate the specified user credentials and the permissions of the specified account
and only continue if all requirements are fulfilled.
SIPLACE Pro 17.0 (R19-2) / Installation Manual 11/2019 Edition
18
NOTICE
If you perform an upgrade installation using an older version of Support Media, the
password for the SiplaceAdmin user might be an older one that is not known by the
setup. In this case, you will get a login error message and have to enter the correct
password manually.
If you perform a new installation using a current Support Media and did not configure a
custom password, the password for the SiplaceAdmin user will be the default password.
In this case you do not have to enter the password for the account in this step – the
setup wizard will try to use the default password if you do not enter a different one.
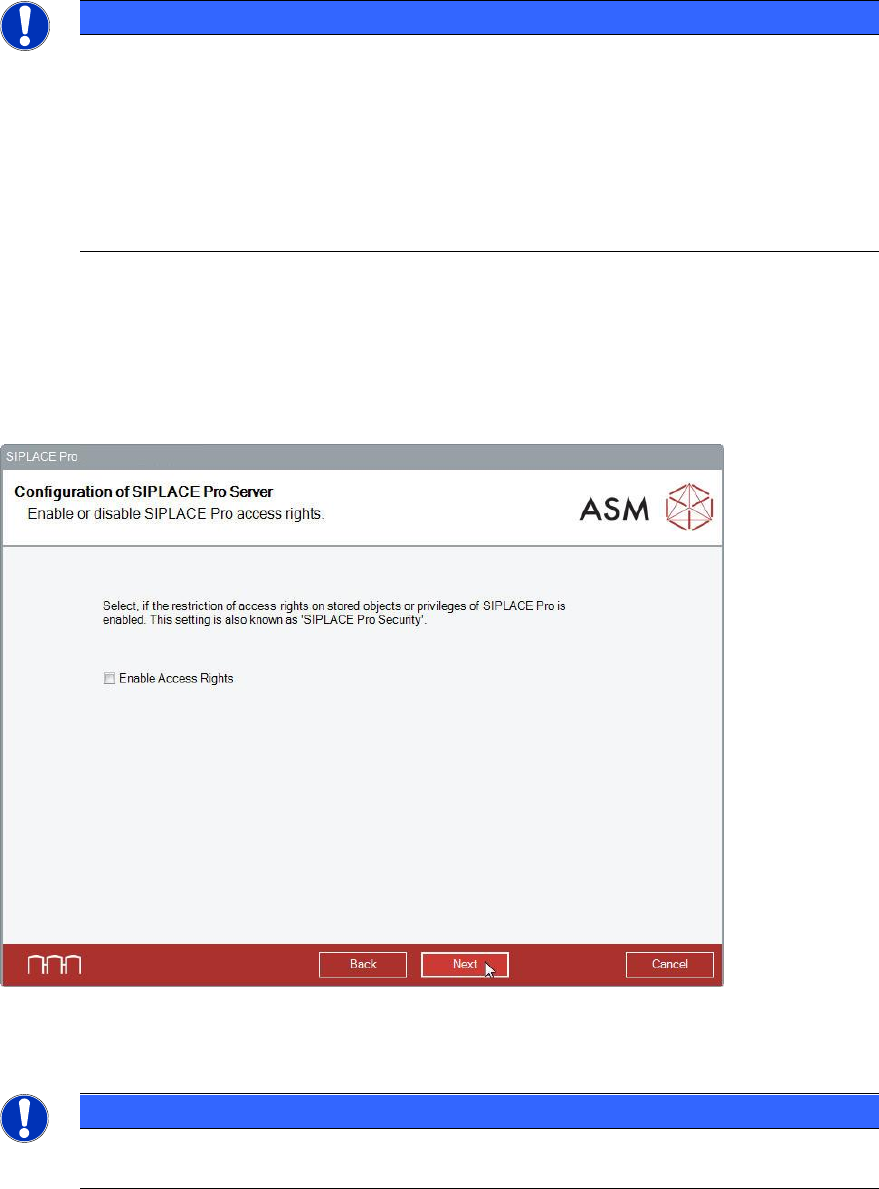
In the next dialog, the SIPLACE Pro access rights (SIPLACE Pro Security) can be enabled.
For new installations and upgrades, the Enable Access rights option is disabled by default. This
means there is no restriction of access rights on stored objects.
We recommend that you leave this option disabled until you have created Users, Groups and set
Privileges & Permissions in SIPLACE Pro Desk. After that, you may activate the Enable Access
Rights option by modifying the Security On/Off option in the Settings tab of SIPLACE Pro Desk.
Figure 6-8: Enabling / disabling SIPLACE Pro access rights
► Click the Next button.
NOTICE
► To reconfigure your SIPLACE Pro installation, run the setup again after installation
and select Modify. Please refer to chapter 8.