00198764-01_IM_SIPLACE_Pro_17.0_R19-2_EN - 第56页
SIPLACE Pro 17.0 (R19-2) / Installation Manual 11/2019 Edition 56 Figure 8-4: Enabling / dis abling SIPLACE Pro access rights ► If applicable, enable or di sable the SIPLACE Pro ac cess rights. ► Click the Next button.
SIPLACE Pro 17.0 (R19-2) / Installation Manual 11/2019 Edition
55
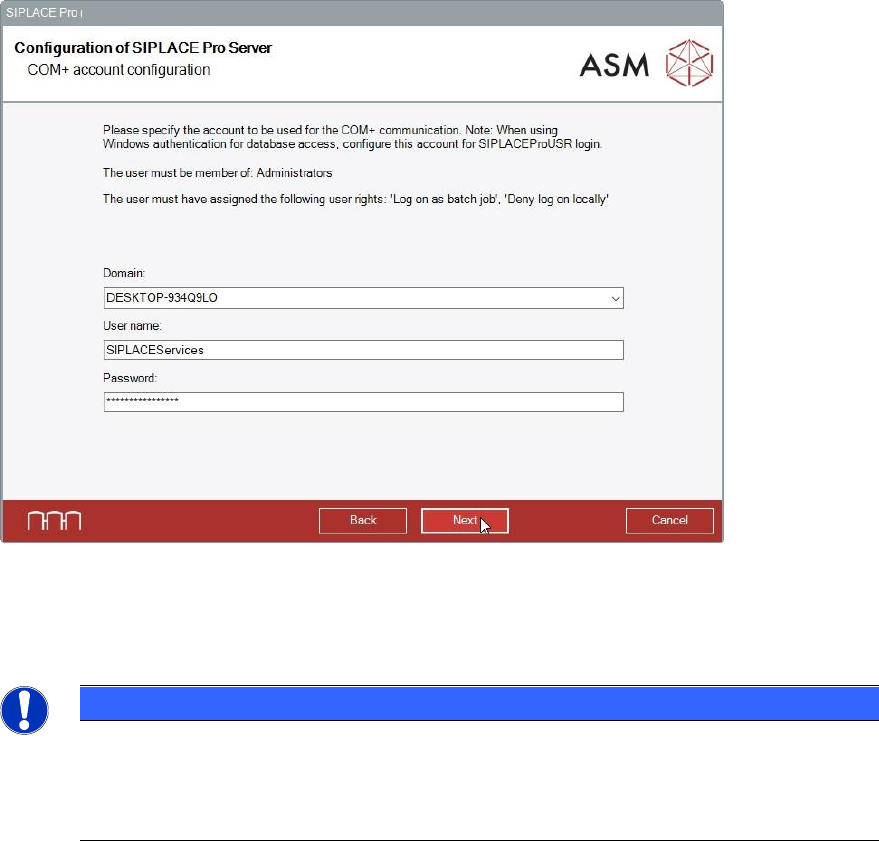
Figure 8-3: Specifying Windows user account
► If applicable, make the desired changes for the account configuration.
► Click the Next button.
NOTICE
Depending on the features you selected at your first installation, the SIPLACE Pro setup
may ask for the name of the SIPLACE Pro Server and / or Line Control Server.
You can find information about these configuration dialogs in section 6.2.1 and section
6.2.2.
In the next dialog, the SIPLACE Pro access rights (SIPLACE Pro Security) are enabled or disabled.

SIPLACE Pro 17.0 (R19-2) / Installation Manual 11/2019 Edition
56
Figure 8-4: Enabling / disabling SIPLACE Pro access rights
► If applicable, enable or disable the SIPLACE Pro access rights.
► Click the Next button.
SIPLACE Pro 17.0 (R19-2) / Installation Manual 11/2019 Edition
57
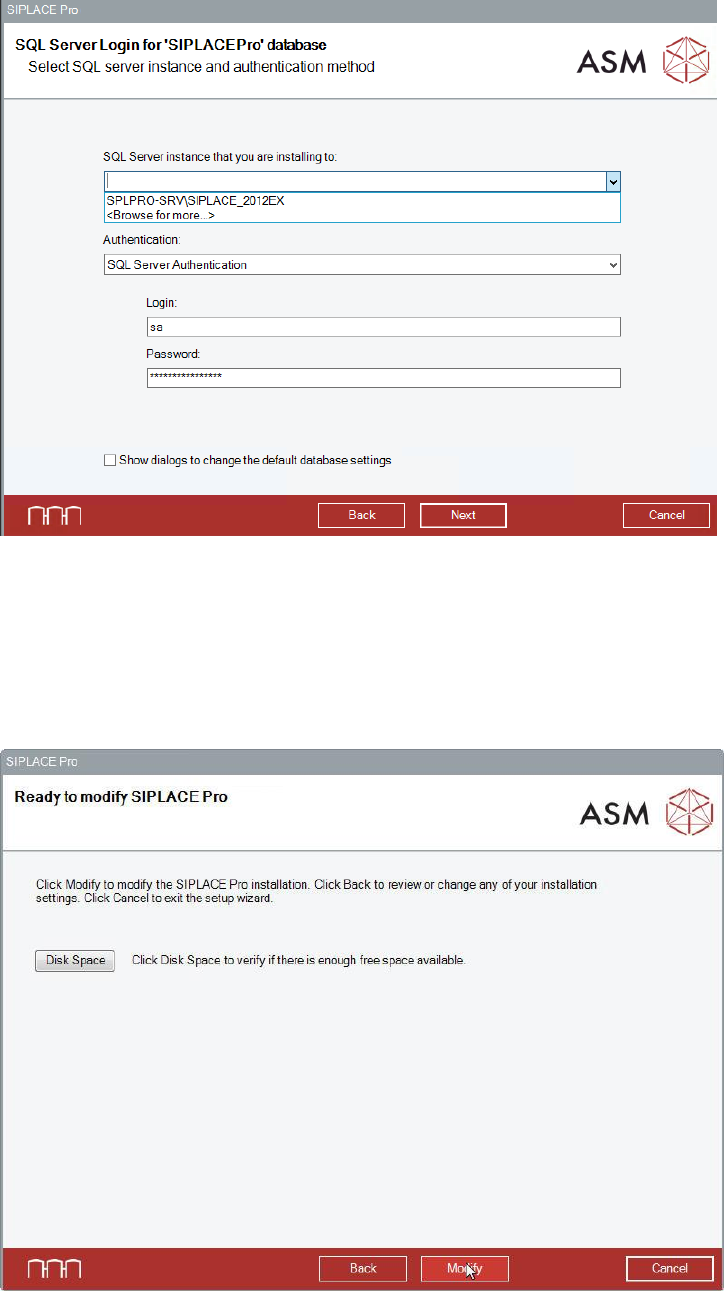
If you are installing a local database, the SQL Server dialog is displayed. This dialog contains the
information required to connect to the SQL Server and database.
Figure 8-5: Selecting database server and authentication method
► If applicable, make the desired changes for the SQL server.
► If you want to change the default database settings, the Show dialogs to change the default
database settings option has to be enabled. Please refer to section 6.2.3 for more information.
► Click the Next button.
SIPLACE Pro is now ready to be modified. The following dialog is displayed.
Figure 8-6: Ready for modification
Before starting the modification, you can check the available, required and recommended disk
space (per drive) to perform the installation.