00198764-01_IM_SIPLACE_Pro_17.0_R19-2_EN - 第58页
SIPLACE Pro 17.0 (R19-2) / Installation Manual 11/2019 Edition 58 ► Click the Disk Space butt on. Please refer to Figure 6- 11 ff for mo re information. ► Click the Modify button t o start modifying the installation. If …
SIPLACE Pro 17.0 (R19-2) / Installation Manual 11/2019 Edition
57
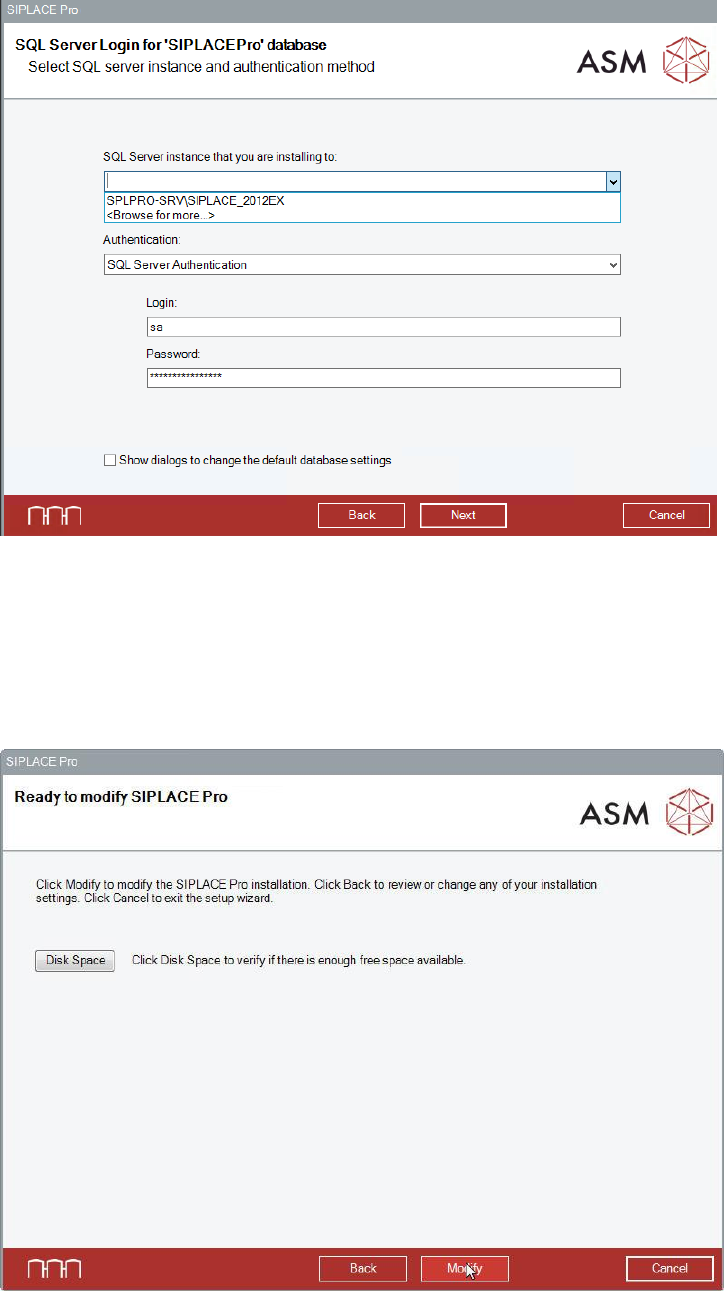
If you are installing a local database, the SQL Server dialog is displayed. This dialog contains the
information required to connect to the SQL Server and database.
Figure 8-5: Selecting database server and authentication method
► If applicable, make the desired changes for the SQL server.
► If you want to change the default database settings, the Show dialogs to change the default
database settings option has to be enabled. Please refer to section 6.2.3 for more information.
► Click the Next button.
SIPLACE Pro is now ready to be modified. The following dialog is displayed.
Figure 8-6: Ready for modification
Before starting the modification, you can check the available, required and recommended disk
space (per drive) to perform the installation.
SIPLACE Pro 17.0 (R19-2) / Installation Manual 11/2019 Edition
58
► Click the Disk Space button. Please refer to Figure 6-11ff for more information.
► Click the Modify button to start modifying the installation.
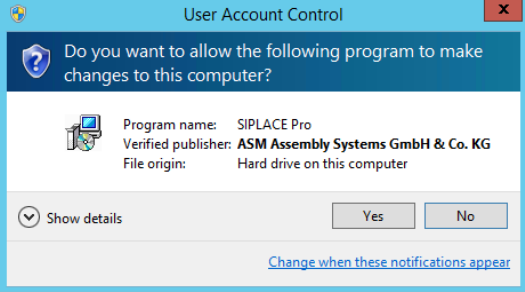
If User Account Control is enabled on Windows 7 or newer, the following dialog is additionally
displayed before the installation starts.
Figure 8-7: User Account Control
► Click the Yes button to allow modifying the installation.
During modifying, the setup status is displayed.
► After completed modification, click the OK button to exit the setup wizard.
The line computer has to be restarted for the changes to take effect.
SIPLACE Pro 17.0 (R19-2) / Installation Manual 11/2019 Edition
59
8.2 Modifying the SIPLACE Pro Language Pack Installation
► Log in using an administrative account on the computer.
► Open the Start menu and select Control Panel.
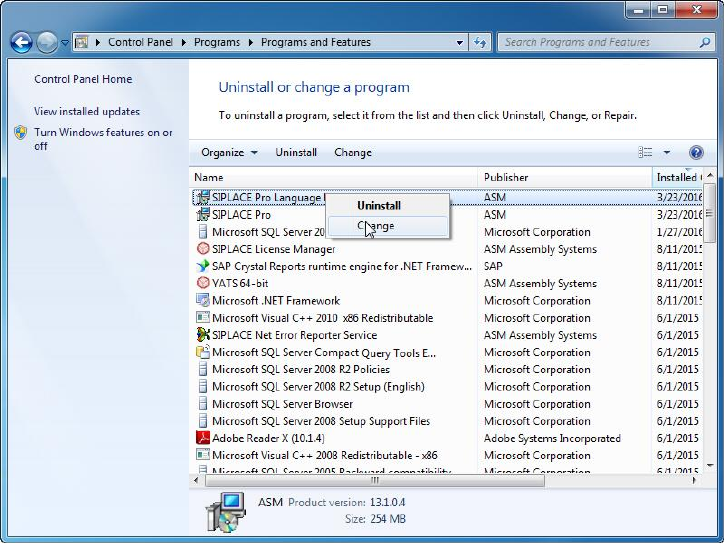
► Select Uninstall a program.
A list with the names of the software packages installed on the computer is displayed.
Figure 8-8: Selecting SIPLACE Pro Language Pack
► Click with the right mouse key on the SIPLACE Pro Language Pack entry in the list of installed
programs.
► Select Change from the context menu.