Dek-265GSX-User-Manual.pdf.pdf - 第28页
The front and rear squeegees must be fitted in the correct positions. Each squeegee has a keyway machined into it to ensure that it cannot be incorrectly fitted. 6 . Fit the rear squeegee onto the rear squeegee mount, ti…
STAGE 4A
Fit Squeegees
Fitting Squeegees If ProFlow was used when running the last product, carry out the ProFlow to
Squeegee Replacement Procedure, see Technical Reference Manual, Squeegee
Module Chapter - Replacement Procedures.
1.
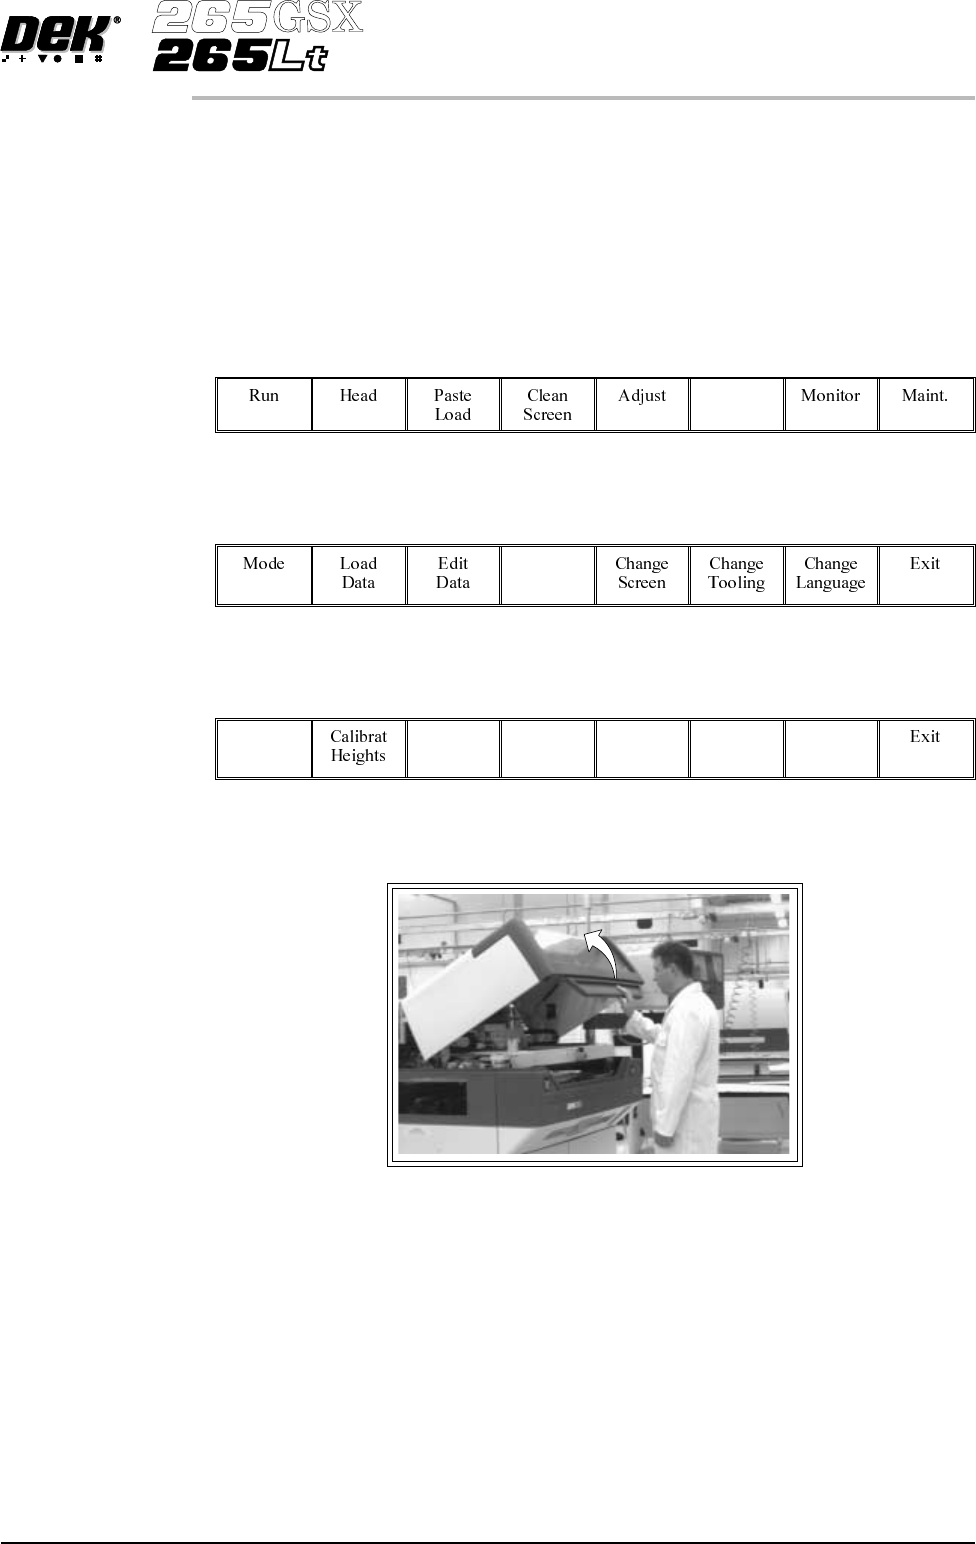
Select Setup (F6).
Setup
2.
Select Setup Squeegee (F4).
Setup
Squeegee
3.
Select Change Squeegee (F1).
Change
Squeegee
4. Lift the front printhead cover.
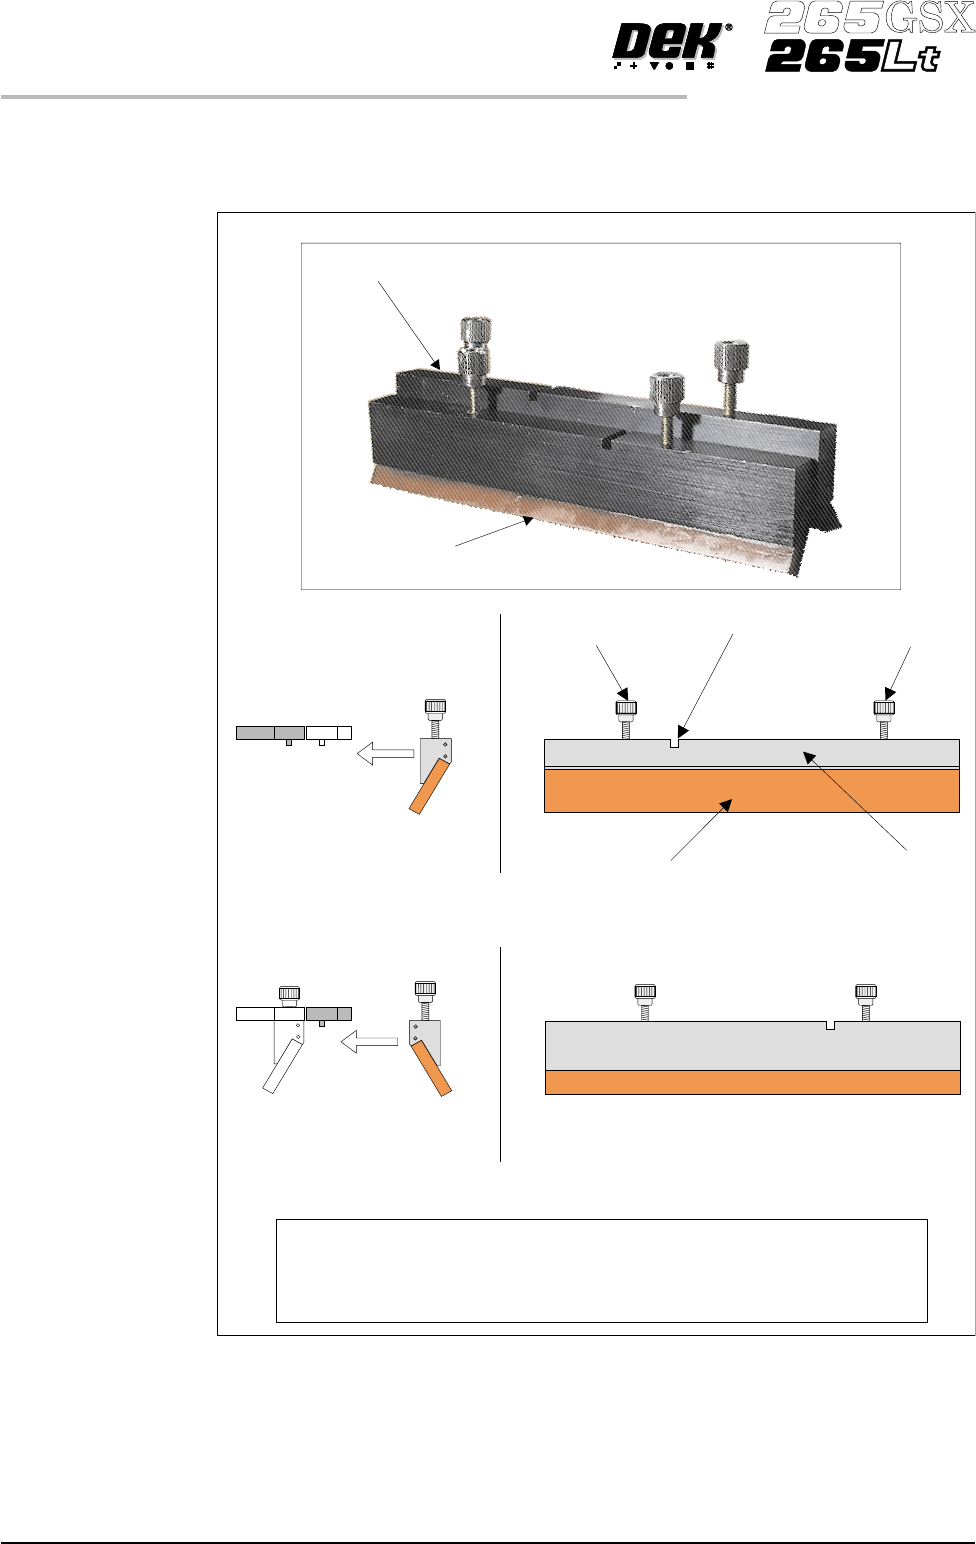
5. Before fitting the squeegees to the machine, fix the paste deflectors to each
end of the squeegee assemblies, using the screws supplied. Ensure that the
bottom edge of the deflector is above the lower edge of the squeegee blade.
The setting of the paste deflectors is carried out later in this chapter.
NOTE
The deflectors are handed so care must be taken to fix the correct deflector to
each end of the squeegee assemblies.
Software Version 6 User Manual 1.11
MACHINE PROGRAMMING
STAGE 4A
The front and rear squeegees must be fitted in the correct positions. Each
squeegee has a keyway machined into it to ensure that it cannot be incorrectly
fitted.
6. Fit the rear squeegee onto the rear squeegee mount, tightening the
thumbscrews until they are finger tight.
1.12 User Manual Software Version 6
MACHINE PROGRAMMING
STAGE 4A
NOTE
To prevent incorrect orientation when fitting squeegees, the locking screws on
the rear squeegee are positioned wider apart than those on the front
squeegee. Keyway slots are also in different positions.
Rear Squeegee
Front Squeegee
Rear Squeegee (Front View)
Front Squeegee (Front View)
Squeegee Blade Squeegee Holder
Locking Screw Keyway
Locking Screw
FittoRear
Squeegee Mount
FittoFront
Squeegee Mount
Side View of Squeegee
and Squeegee Mounts
Side View of Squeegee
and Squeegee Mounts
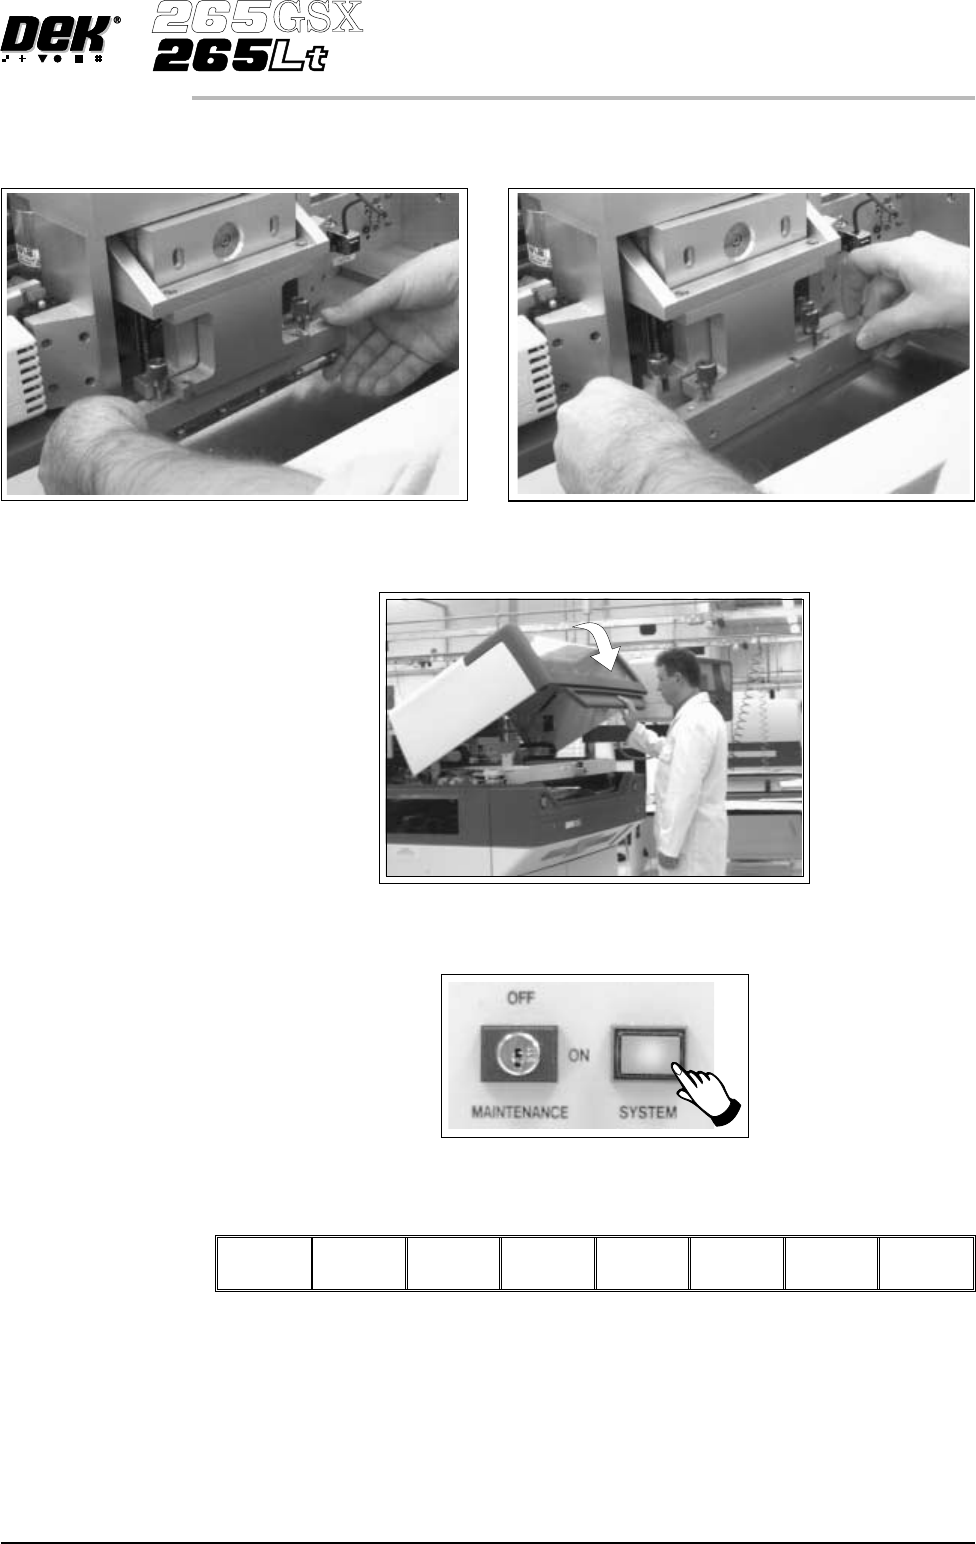
7. Fit the front squeegee onto the front squeegee mount, ensuring that the
thumbscrews are only finger tight.
8. Lower the front printhead cover.
9.
Press the System button.
10.
Select Continue (F1).
Continue
Software Version 6 User Manual 1.13
MACHINE PROGRAMMING
STAGE 4A