Dek-265GSX-User-Manual.pdf.pdf - 第284页
Limit sets list the different sets of limit parameters that are available, initially only default is available. Limit parameters list the current limits for the highlighted limit set. 2. At this point either: a) Add limi…
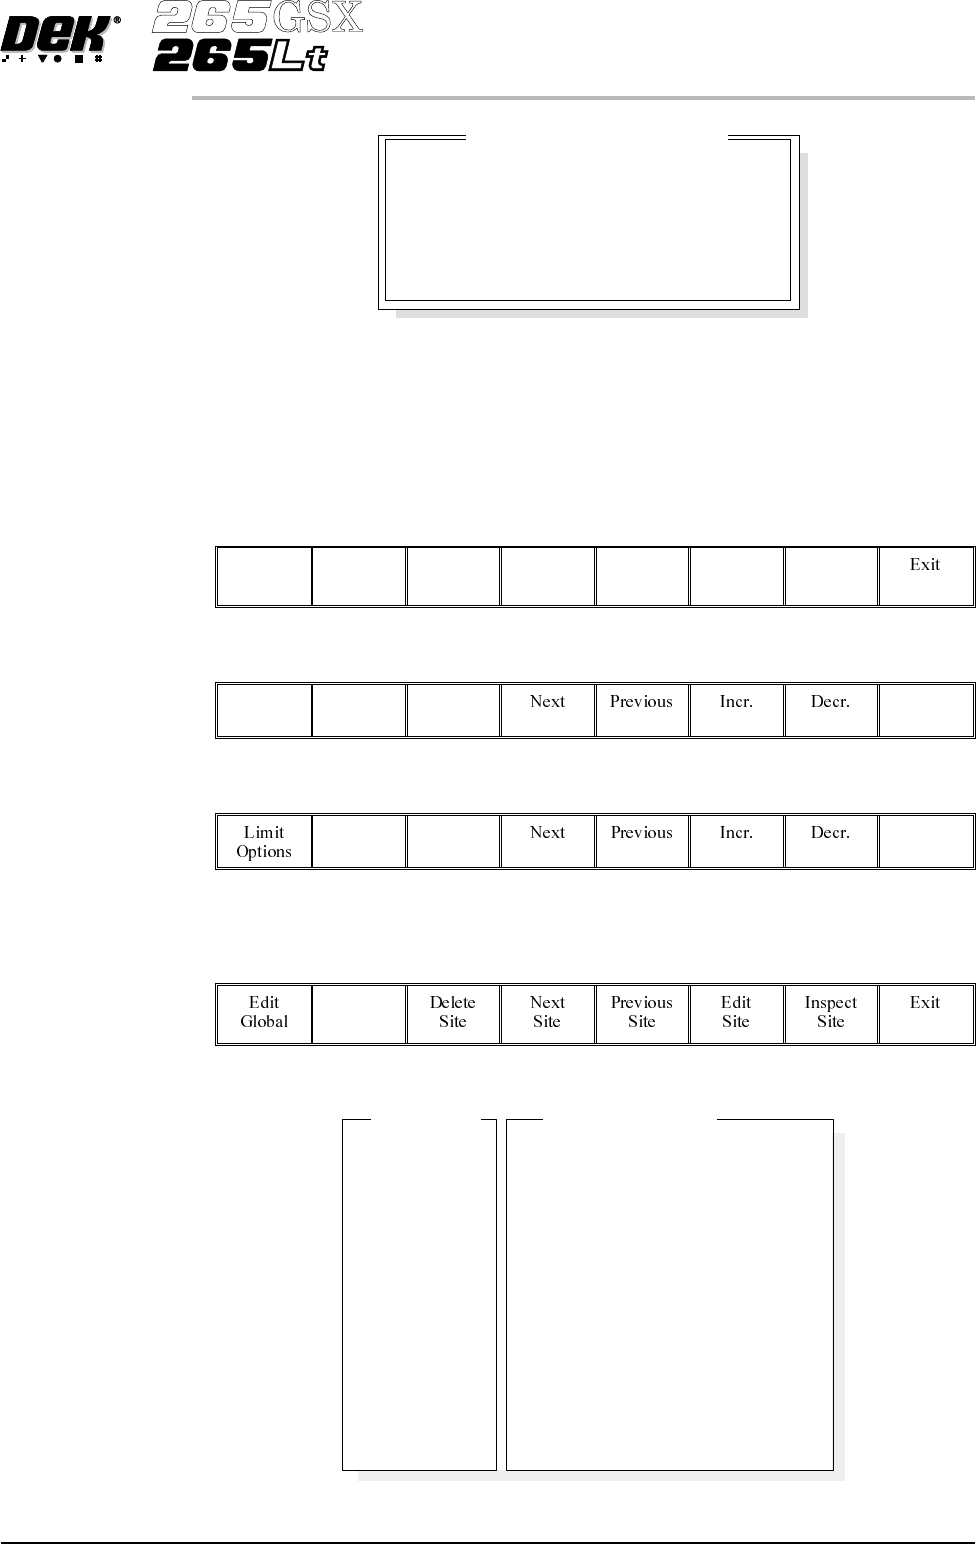
These are usually set to enabled. If for any reason a particular inspection is not
required, set to disabled. If any global limit options are disabled the
corresponding limit sets and parameters are greyed out. These are global limits,
therefore they are active for the whole product. If a particular inspection is not
requiredfor a specific type of site, this can beachievedlaterinlimit set options.
4.
Enter global limit options using Next, Previous, Incr. and Decr. keys.
Next Previous Incr. Decr.
5.
Select Exit.
Exit
6.
Select Exit.
Exit
Edit Limits 1.
Select Edit Limits.
Edit
Limits
The following window is displayed:
Software Version 6 User Manual 8.19
2Di INSPECTION
2Di SETUP
Enabled
Enabled
Enabled
Enabled
Enabled
Enabled
Blockage
Smear
Paste
Alignment
Bridging
Volume
Global Limit Set Options
Default
Default
10%
15%
0.01 sq mm
0.15 sq mm
90%
80%
0.02mm
0.03mm
0.05mm
0.04mm
80%
70%
LimitSetID
BlockageWarning
BlockageAlarm
SmearWarning
SmearAlarm
PasteWarning
PasteAlarm
AlignWarning
AlignAlarm
BridgeWarning
BridgeAlarm
VolumeWarning
VolumeAlarm
LimitSets
LimitParameters
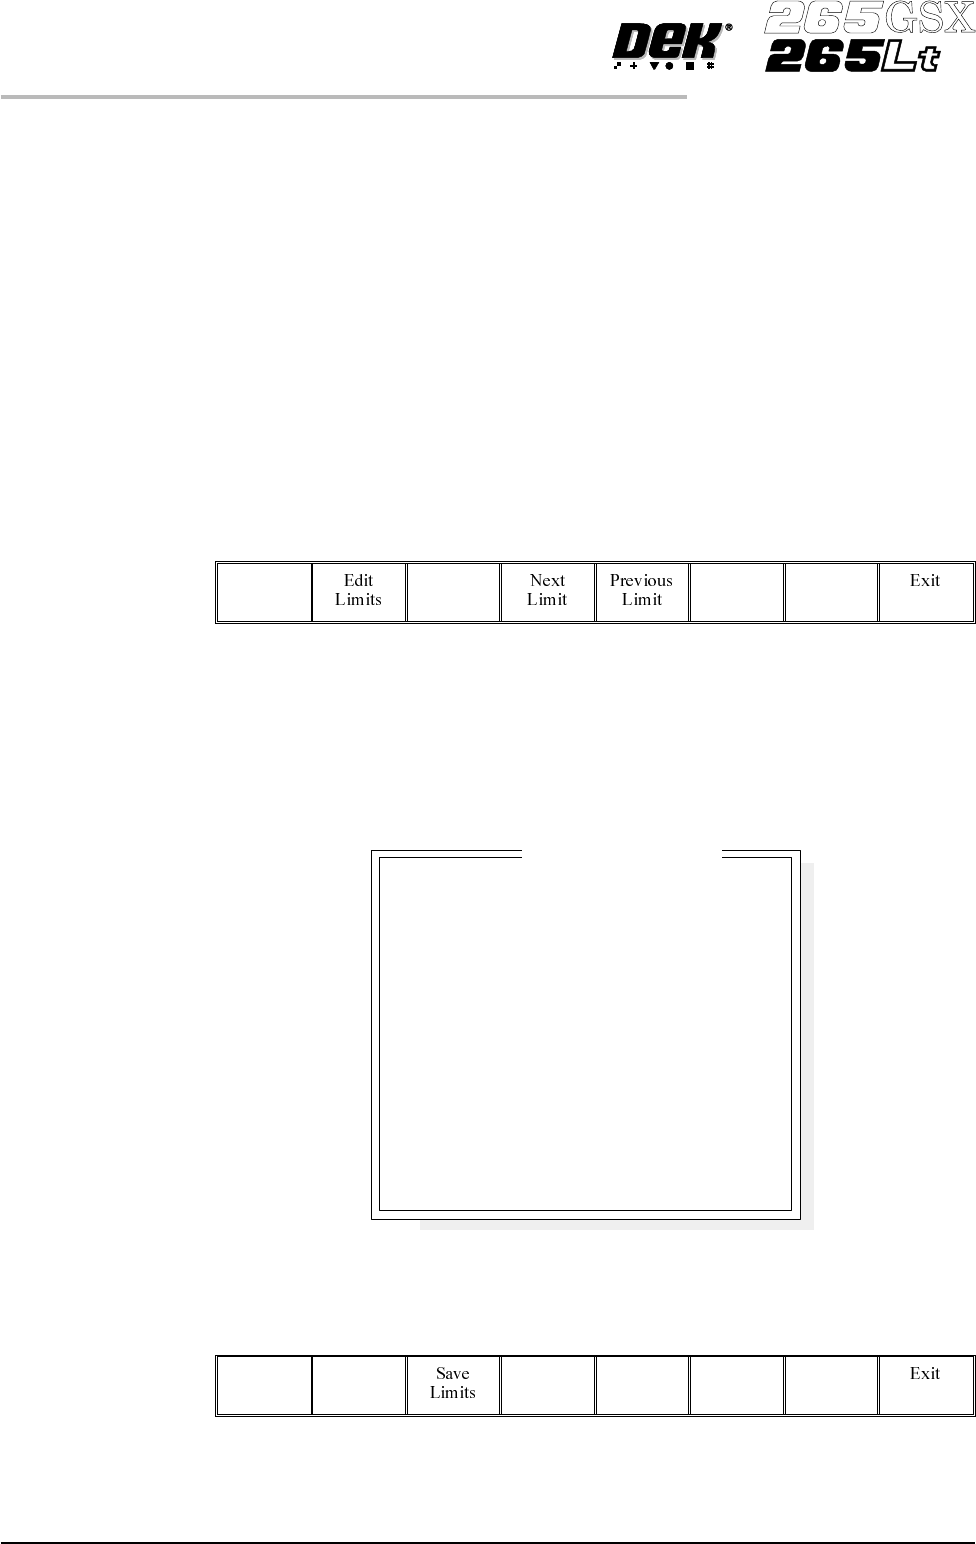
Limit sets list the different sets of limit parameters that are available, initially
only default is available. Limit parameters list the current limits for the
highlighted limit set.
2. At this point either:
a) Add limits to create a new limit set, continue with Add Limits below.
or
b) Edit limits to edit an existing limit set, go to Edit Limits over the page.
NOTE
It is recommended that during setup, parameters are set at a level that no alarms
occur (coarse). Once the inspection is correctly setup, the parameters can be
tightened during production in ‘adjust inspect’.
Add Limits 1.
Select Add Limits.
Add
Limits
NOTE
Next limit and previous limit are only available if at least one limit, plus the
default, exist already.
2.
Use the keyboard to enter the ID of the new limit set and press Enter.
NOTE
Limit ID may be any name up to 20 characters in length including spaces.
3.
Enter parameters using the Next, Previous, Incr. and Decr. keys. A coarse
set of values is shown above.
Next Previous Incr. Decr.
8.20 User Manual Software Version 6
2Di INSPECTION
2Di SETUP
COARSE
20
25
1.00 sq mm
1.50 sq mm
70
65
0.200mm
0.250mm
0.015mm
0.010mm
80
70
LimitSetID
BlockageWarning
BlockageAlarm
SmearWarning
SmearAlarm
PasteWarning
PasteAlarm
AlignWarning
AlignAlarm
BridgeWarning
BridgeAlarm
VolumeWarning
VolumeAlarm
EditLimitParameters
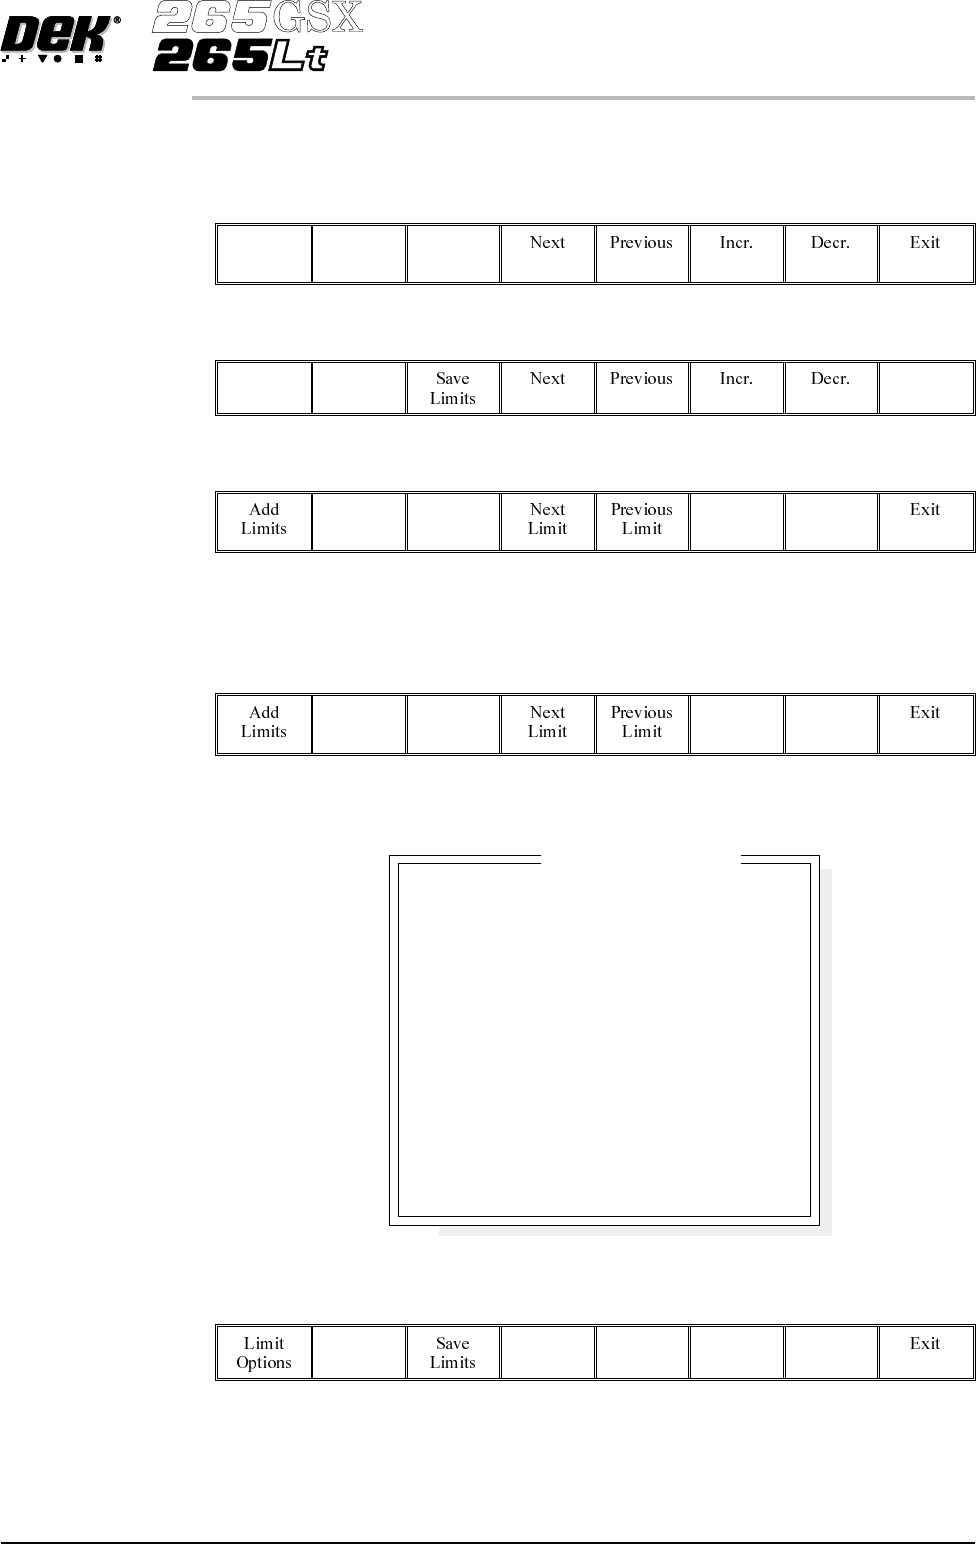
4.
Select Save Limits.
The message ‘Saving Fiducial Data - Please Wait
Board data file saved’ is displayed.
Save
Limits
5.
Select Exit.
Exit
6.
Select Edit Limits.
Edit
Limits
7. Go to Step 3 of Edit Limits (below).
Edit Limits 1.
Select Edit Limits.
Edit
Limits
The following window is displayed:
2.
Enter parameters using the Next, Previous, Incr. and Decr. keys. A coarse
set of values is shown above.
Next Previous Incr. Decr.
Software Version 6 User Manual 8.21
2Di INSPECTION
2Di SETUP
COARSE
20
25
1.00 sq mm
1.50 sq mm
70
65
0.200mm
0.250mm
0.015mm
0.010mm
80
70
LimitSetID
BlockageWarning
BlockageAlarm
SmearWarning
SmearAlarm
PasteWarning
PasteAlarm
AlignWarning
AlignAlarm
BridgeWarning
BridgeAlarm
VolumeWarning
VolumeAlarm
EditLimitParameters