Dek-265GSX-User-Manual.pdf.pdf - 第82页
29. Select Exit (F8). Exit 30. Select Exit (F8). Exit 31. Select Board Stop (F4). Board Stop The camera moves to the board stop position. The board stop on the camera extends. 32. Select Raise Head (F2). Raise Head 33. R…
21.
Select Mark Area (F2).
Mark
Area
22.
Use the Left, Right, Up and Down keys (F4 - F7), to position the cursor at
the opposite corner of the required area.
Left Right Up Down
23.
Select Toggle Area (F1).
Toggle
Area
24.
Select End Mark (F2).
End
Mark
25. Repeat Steps 20-24 for any other areas.
26.
Select Exit (F8).
Exit
27.
Select Save (F2).
Save
28.
Select Set Tooling (F3), pins all lower and setup for new configuration.
Set
Tooling
Software Version 6 User Manual 1.65
MACHINE PROGRAMMING
STAGE 6F
29.
Select Exit (F8).
Exit
30.
Select Exit (F8).
Exit
31.
Select Board Stop (F4).
Board
Stop
The camera moves to the board stop position. The board stop on the camera
extends.
32.
Select Raise Head (F2).
Raise
Head
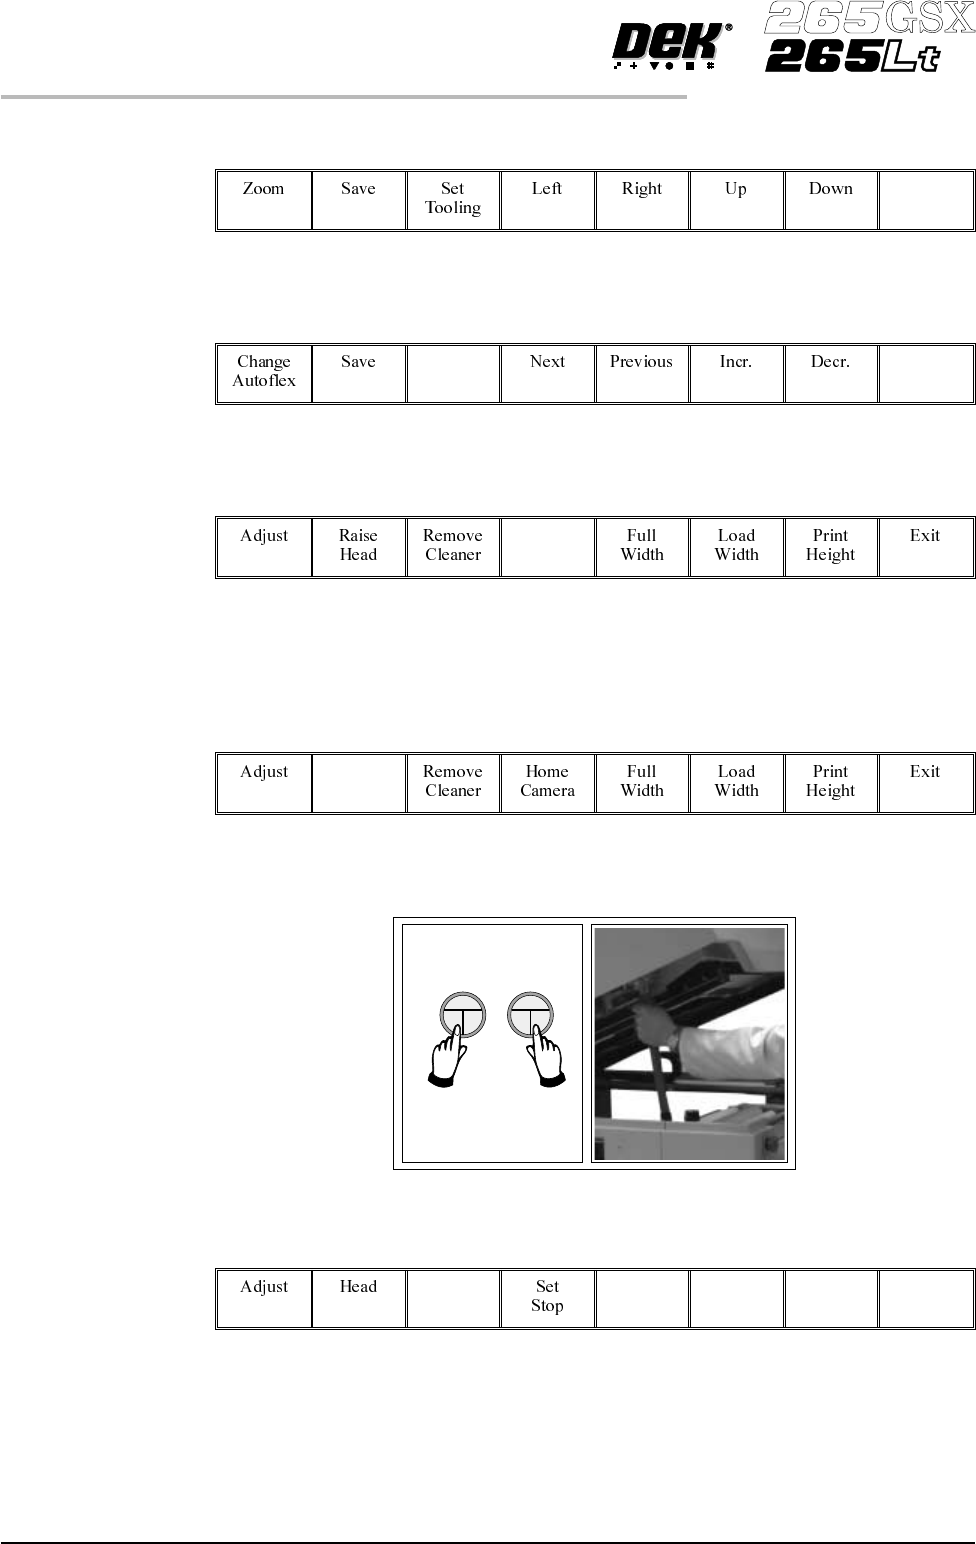
33. Raise the printhead using two button control. Fit the head prop.
34.
Select Board Clamps (F3), to open the clamps.
Board
Clamps
35. Slide a board along the rails to abut the board stop.
1.66 User Manual Software Version 6
MACHINE PROGRAMMING
STAGE 6F
36.
Select Board Clamps (F3), to close the clamps.
Board
Clamps
37.
Select Head (F2).
Head
38. Remove the head prop. Lower the printhead using two button control.
39.
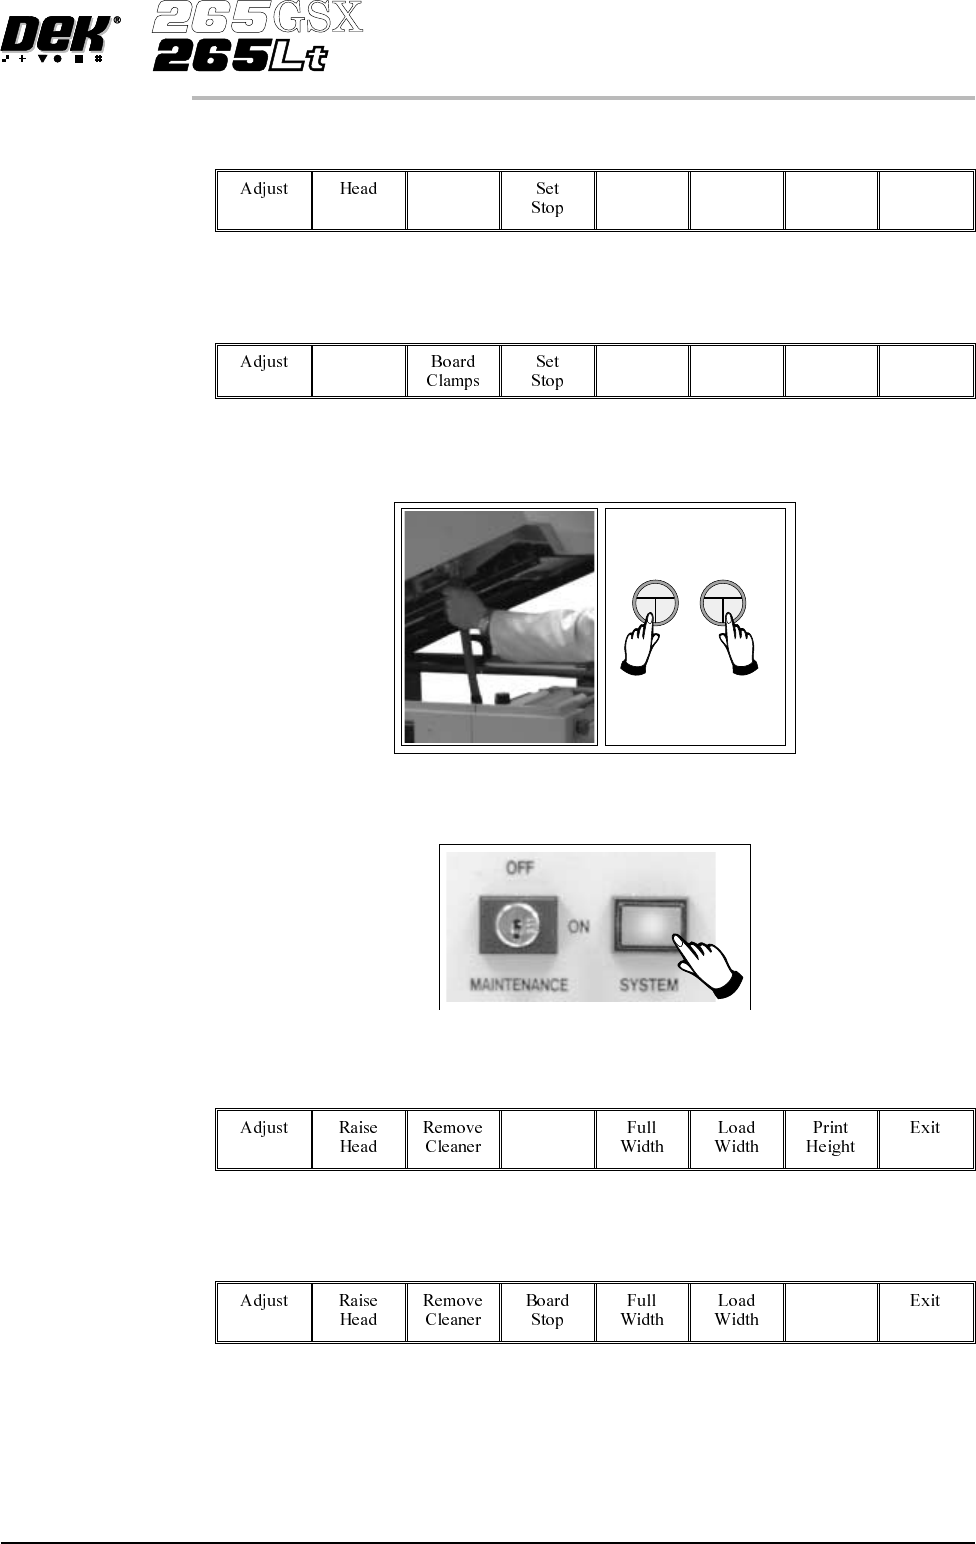
Press the System button.
40.
Select Home Camera (F4).
Home
Camera
41.
Select Print Height (F7).
Print
Height
Software Version 6 User Manual 1.67
MACHINE PROGRAMMING
STAGE 6F