SM482PLUS_Maintenance(Eng_Ver2.7).pdf - 第37页
SM482PLUS Maintenance Handbo ok 3-4 Chap ter 3 Daily Inspe ction Multi -Func tional Placer Checking and cleaning the nozzle Daily Inspection Caution Use only the required amount of lubricating oil. If insufficient lubric…
SM482PLUS Maintenance Handbook
3-3
Chapter 3
Daily Inspection
Multi-Functional Placer
Checking and cleaning the nozzle
Caution
Wipe the cleaning liquid on the nozzle using a clean cloth, ensuring
none remains on the nozzle.
When foreign materials remain on the nozzle continuously, contact
our C/S company or local agent to solve the problem.
Use the ultrasonic cleaning machine, the clean case the Nozzle, you
will be able to improve the cleaning of the nozzle.
Step 9.
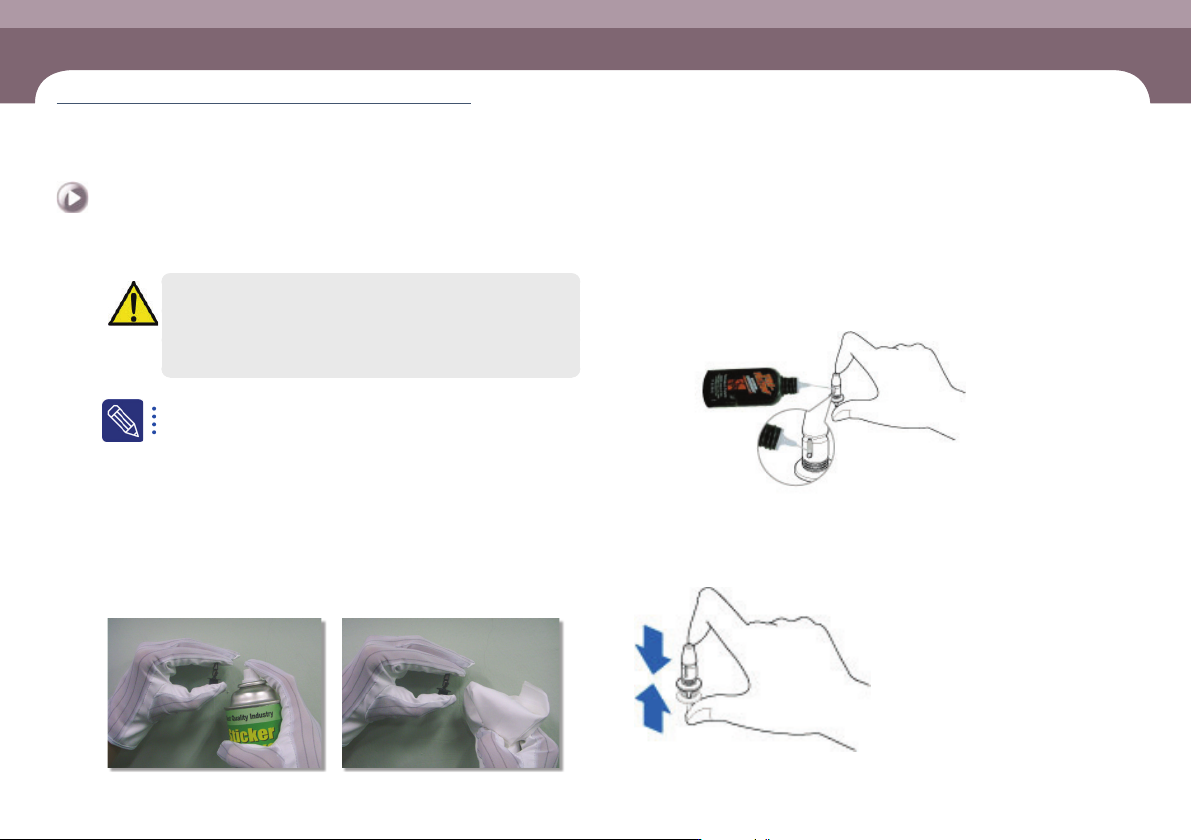
The method to clean the nozzle is as follows:
ㆍ Spray the cleaning liquid recommended by us on the nozzle exterior using a spray
straw.
ㆍ Clean the nozzle exterior with a clean cloth within 1 minute after spraying the
cleaning liquid.
ㆍ If the foreign materials (solder paste, etc.) have not been removed, repeat
cleaning once more.
Step 10.
If lubrication of the nozzle spring is insufficient due to
its having become thick, inject a suitable amount of the
nozzle lubricating oil provided with the machine.
lubricant for nozzle
Lubricating Point
Step 11.
Press the nozzle 4~5 times after lubricating so that the
ubricating oil is uniformly spread out.
Nozzle spring

SM482PLUS Maintenance Handbook
3-4
Chapter 3
Daily Inspection
Multi-Functional Placer
Checking and cleaning the nozzle
Daily Inspection
Caution
Use only the required amount of lubricating oil. If insufficient
lubricating oil is applied, the nozzle will not operate smoothly.
If too much lubricating oil is applied, it may lump together with
foreign materials causing defective pickup.
Step 12.
Release the emergency stop as described in “Releasing
‘Emergency Stop’ mode” on page 1-6 and perform the
operation again.
SM482PLUS Maintenance Handbook
3-5
Chapter 3
Daily Inspection
Multi-Functional Placer
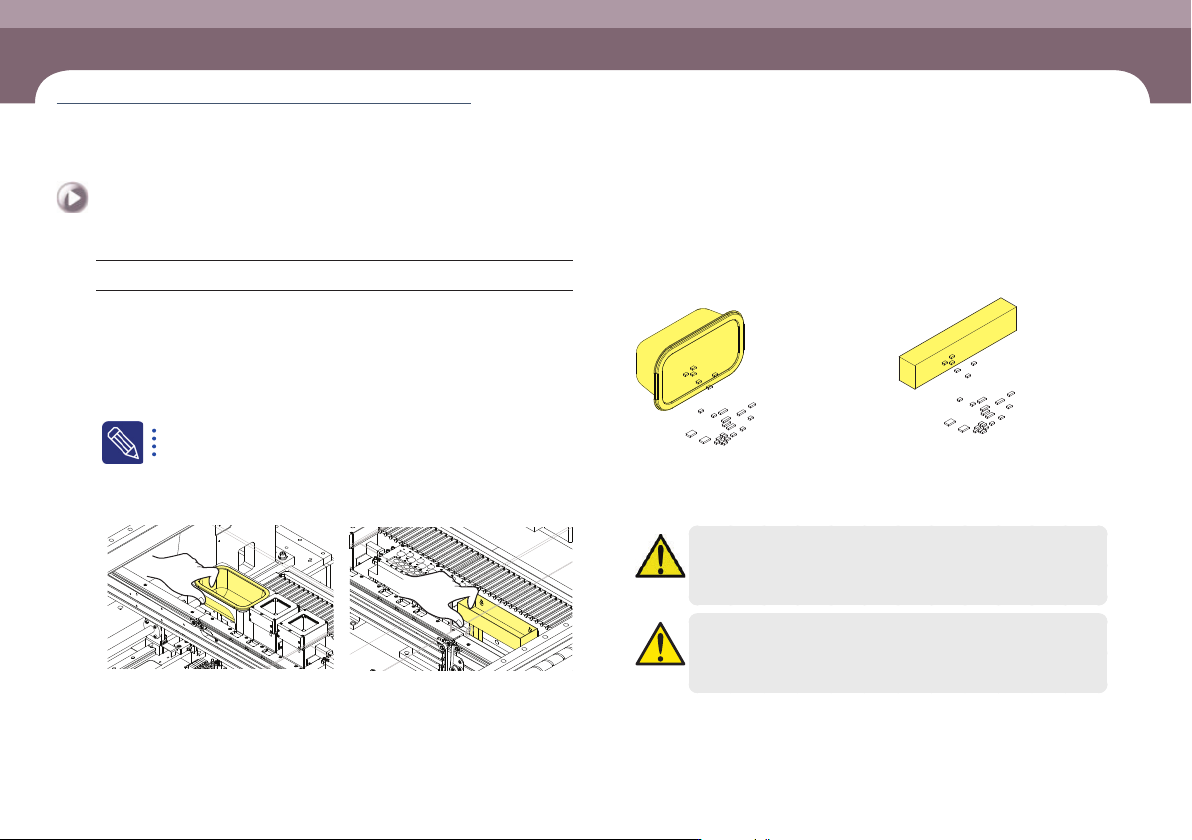
Cleaning the Dump Box
Prevent defective parts from filling the dump box and spilling over into the machine.
Measures
Step 1.
Move the X Frame to rear by referring to “Backward
movement of the X-frame” on page 1-4.
Step 2.
Press the 'STOP' and 'RESET' buttons in order after
pressing the 'EMG' button on the OP panel to stop
operation.
For more details, refer to “How to perform emergency stop” on page
1-2.
Step 3.
Empty the dump box of defective parts.
①Lifting dump box
②Empty the dump box of defective parts
Step 4.
Release the emergency stop as described in “Releasing
‘Emergency Stop’ mode” on page 1-6 and perform the
operation again.
Caution
Remove the part that dropped down without being put in the
dump box.
Caution
When reinstalling the dump box, install it so that the dump box
detection sensor can detect the dump box.
Cleaning the Dump Box
(Time required: 5min / No. D-2)