SM482PLUS_Maintenance(Eng_Ver2.7).pdf - 第57页
Mon thly Inspe ction Chap ter 5 Multi -Func tional Placer SM482PLUS Maintenance Handbo ok 5-4 Checking and Cleaning the Cover Cooling F an Monthly Inspe ction Checki ng and Cleani ng t he Cover Cooli ng F an T ool for M …
Monthly Inspection
Chapter 5
Multi-Functional Placer
SM482PLUS Maintenance Handbook
5-3
Checking and Cleaning the Conveyor Sensor, Fiducial Mark
Checking and Cleaning the Conveyor Sensor, Fiducial
Mark
Tool for Maintenance
Cleaning liquid, Cotton Swab, Ultra fine fiber cloth
Measures
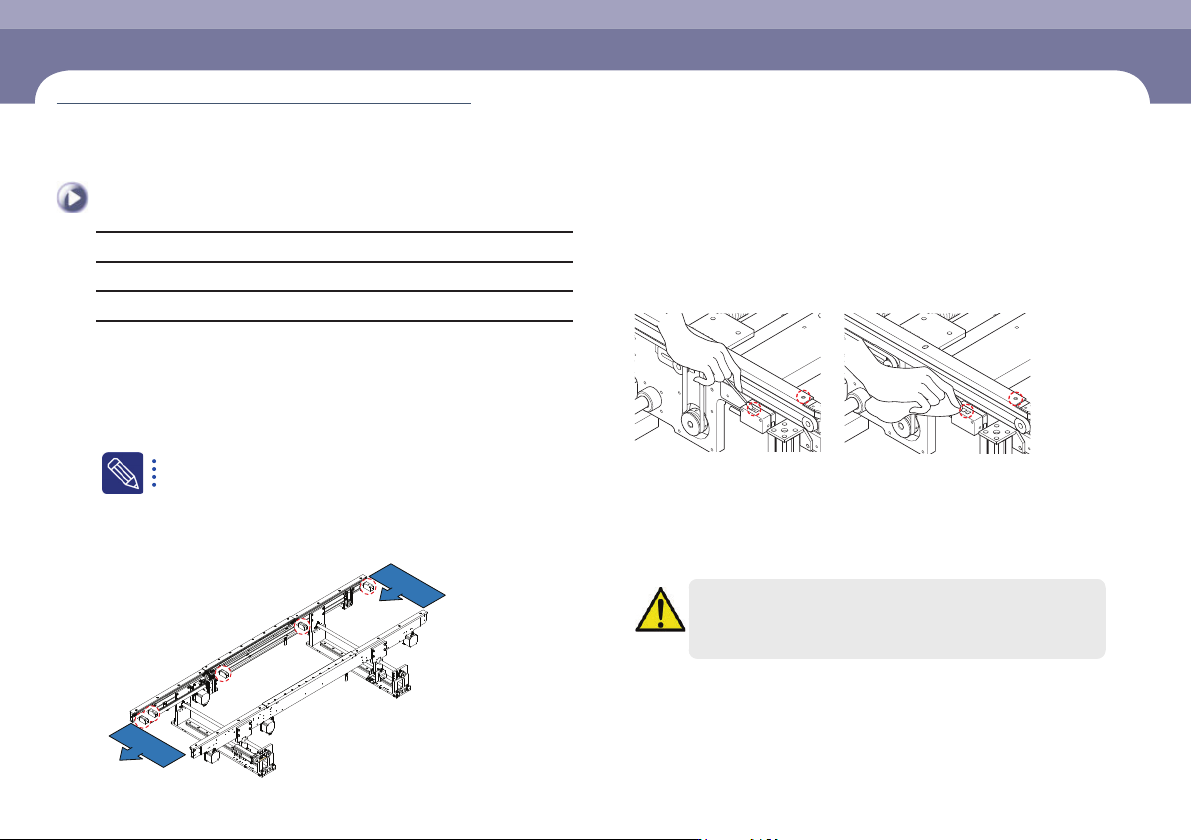
Step 1.
Move the X Frame to rear by referring to “Backward
movement of the X-frame” on page 1-4.
Step 2.
Press the 'STOP' and 'RESET' buttons in order after
pressing the 'EMG' button on the OP panel to stop
operation.
For more details, refer to “How to perform emergency stop” on page
1-2.
Step 3.
Check the recognition accuracy of the corresponding
photo sensor as shown in the following figure. (The red
LED is turned on when an object is recognized.)
P C B O UT
P C B I N
Step 4.
Clean the sensor window and fiducial mark with a swab
and an ultra-fine fiber cloth.
Remove the dust or foreign material on the sensor window using the
cotton swab or clean cloth
Step 5.
Release the emergency stop as described in “Releasing
‘Emergency Stop’ mode” on page 1-6 and perform the
operation again.
Caution
When the sensor operates abnormally or has a problem, contact our
C/S company or local agent for adjustment for proper measures
(Time required: 10min / No. M-2)
Monthly Inspection
Chapter 5
Multi-Functional Placer
SM482PLUS Maintenance Handbook
5-4
Checking and Cleaning the Cover Cooling Fan
Monthly Inspection
Checking and Cleaning the Cover Cooling Fan
Tool for Maintenance
Vacuum cleaner, Crosshead screwdriver
Measures
Step 1.
Turn off the power supply to the machine as described
ino “How to turn off the power supply” on page 1-1.
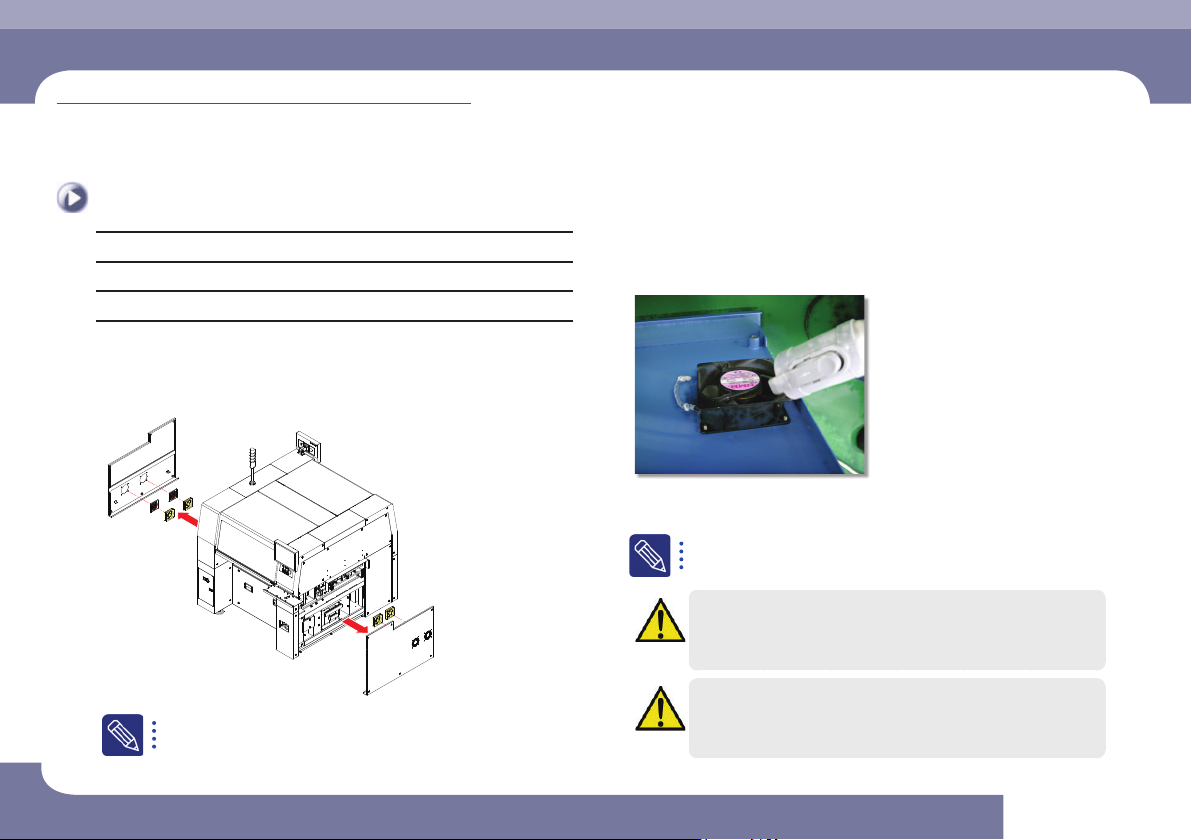
Step 2.
Remove the cover on the left and right side of the
machine using a crosshead screwdriver.
If there is not enough space for fan removal since the machine is
configured in line with a machine by its side, clean the filter and fan
using an air gun without removing them.
Step 3.
Clean the cooling fans using a vacuum cleaner.
Step 4.
Turn on the main switch after cleaning to check the
noise and movement of the cooling fan.
If abnormal noise and operational problem still occur, turn off the
main switch again and replace the cooling fan.
Caution
When the main switch is turned on, since the cooling fan operates,
user's hand may get injured. Careless touching of the cable, etc.
may cause electric shock. Therefore, special care is need.
Caution
The cooling fan replaement work accomanies a danger.
Therefore, contact out C/S company or local agent.
(Time required: 10min / No. M-3)
Monthly Inspection
Chapter 5
Multi-Functional Placer
SM482PLUS Maintenance Handbook
5-5
Checking and Cleaning the Cover Cooling Fan Filter
Checking and Cleaning the Cover Cooling Fan Filter
Tool for Maintenance
Vacuum cleaner
Measures
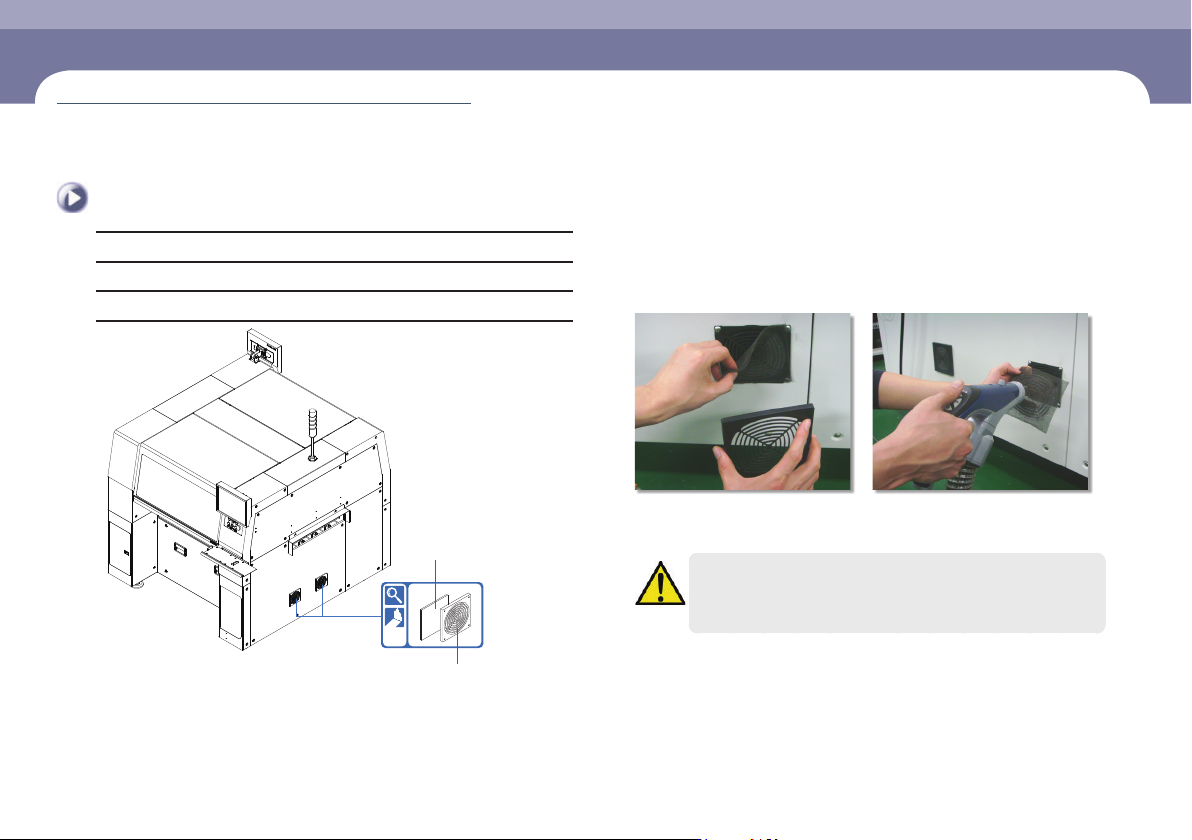
Cooling Fan Filter
Cooling Fan Filter Cover
Step 1.
Remove the filter in the order as shown in the following
figure and clean it. (If the filter is damaged, replace it.)
ㆍ Separate the cooling fan cover
ㆍ Separate the Cooling fan filter
ㆍ Clean the filter using a vacuum
cleaner
Caution
Washing the cooling fan filter with water may cause damage to the
filter by making it harden.
Step 2.
Release the emergency stop as described in “Releasing
‘Emergency Stop’ mode” on page 1-6 and perform the
operation again.
(Time required: 15min / No. M-4)