PS288_PS388_PS588_981-0424-002D - 第130页
Operation ■ Printer Options 3—60 Data I/O • 981-0424-002 back Printer Options There are two main printing options with the PS System. One pr ints paper labels and the other is a Laser printer by W inMark which marks the …
■ Administrator Functions ◘ (Optional) Creating a Data File from a Master Device
PS Series Owner’s Manual 3—59
back
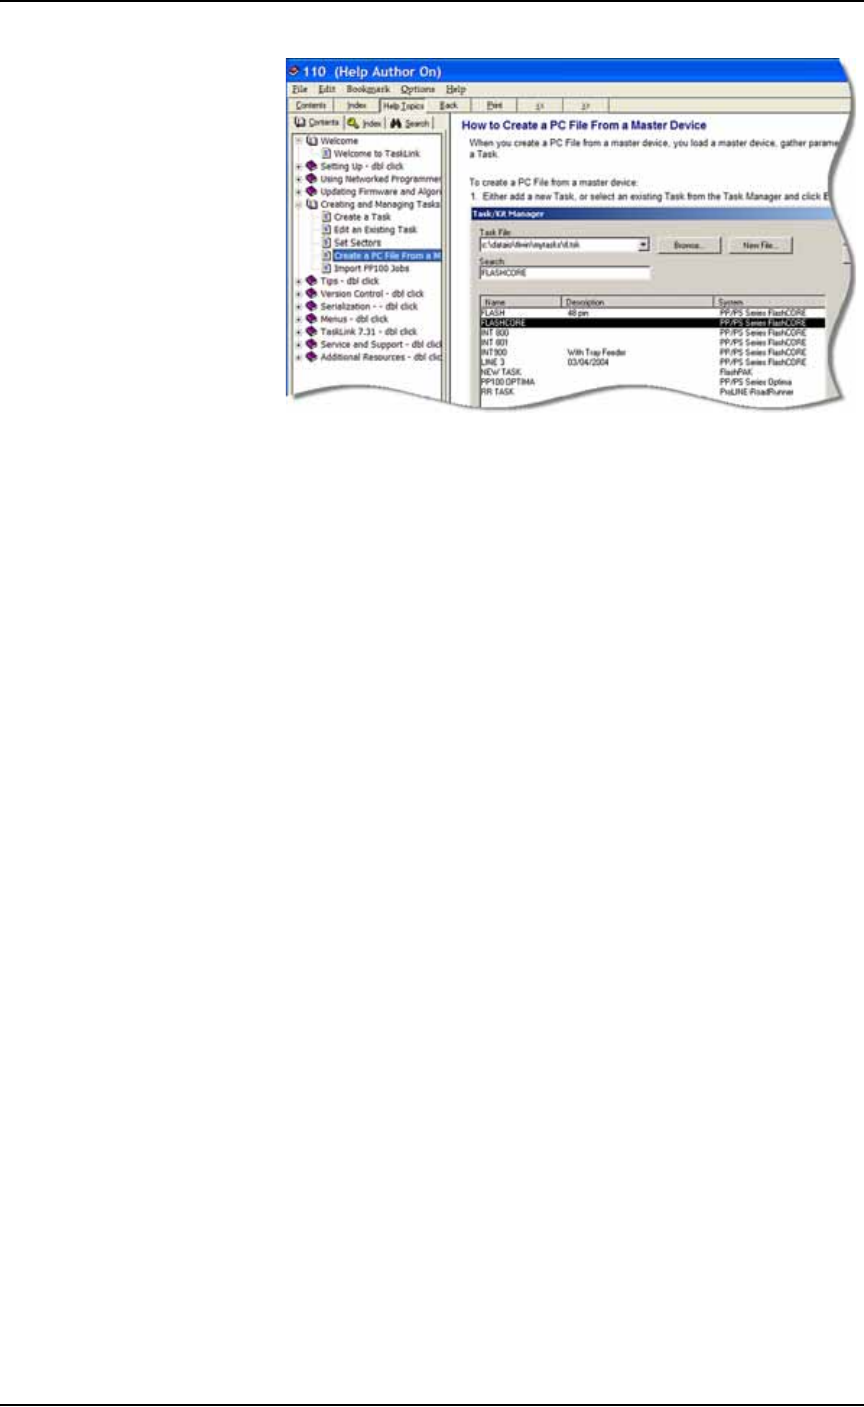
Figure 3-49: TaskLink’s online Help includes steps for creating a
computer file from a master device. (PS FlashCORE Series Help only.)
Operation ■ Printer Options
3—60 Data I/O • 981-0424-002
back
Printer Options
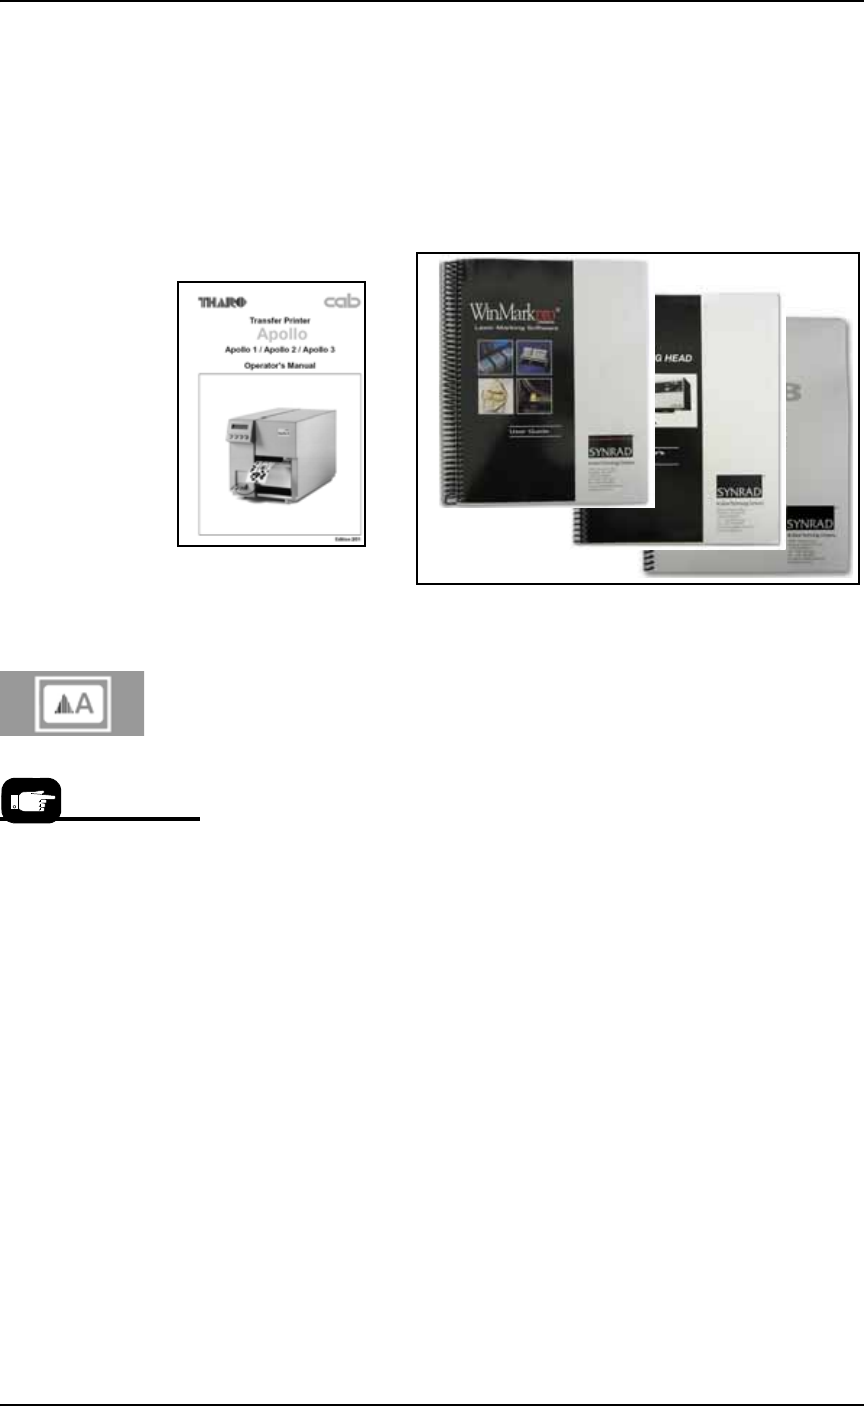
There are two main printing options with the PS System. One prints
paper labels and the other is a Laser printer by WinMark which
marks the surface of the devices. Both are described in this section,
and each has a separate Operation Manual which came with your
PS System if it has the option.
Figure 3-50: Manuals for the Label printer and the Laser printer.
(Optional) Creating a Label Printer File
If devices are to be labeled using the optional label printing system, a
label printer file must be created. Follow these steps to create a label
printer file.
1. Preparation—
1a. Open the label printing software by double-clicking the applica-
tion icon on the monitor or by navigating to the file,
MRPRT.exe,
and double-clicking it.
Laser
Label
The Label Printer Setup
Window is separate from
the AH500.
■ Printer Options ◘ (Optional) Creating a Label Printer File
PS Series Owner’s Manual 3—61
back
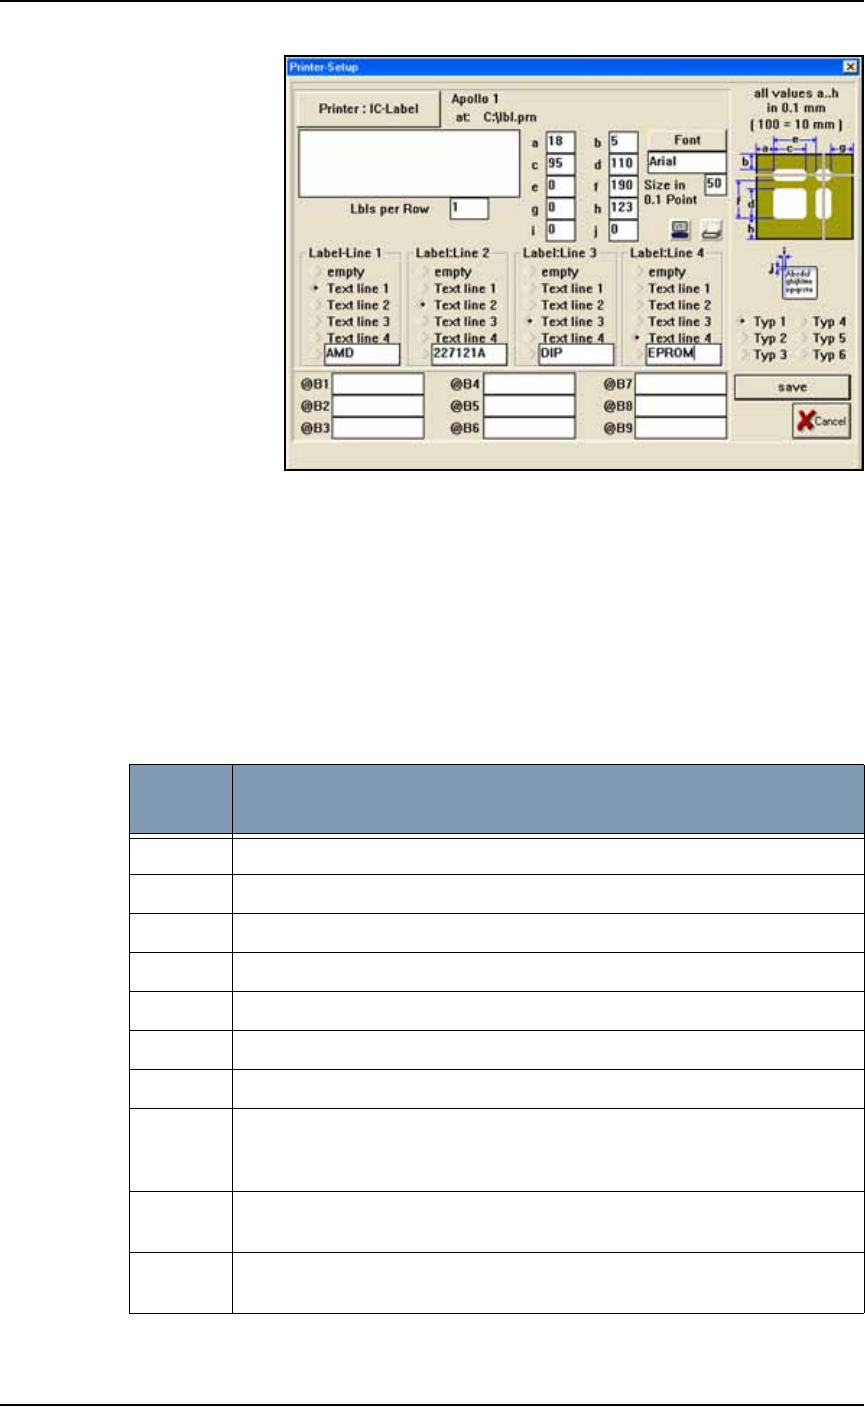
Figure 3-51: The Label Printer–Setup Window. Each label type has
different values for dimensions a to j. Up to four lines can be used per
label. All values are in millimeters.
2. Select label type—
2a. Select the label type to use when this job is run. The MRPRT soft-
ware allows up to six sizes of labels called types (abbreviated as
Typ).
3. Set values in millimeters—
3a. Enter the values for fields a to j. For an explanation of each
value, see the table below.
dimen-
sion
Description
a Left margin: the offset in X-axis of the text from the edge of the label.
b Top margin: the offset in Y-axis of the text from the edge of the label.
c The label size in the X.
d The label size in the Y (must be less than value for f).
e Not used on the PS System and should be set to 0.
f The distance from the front of the label to front edge of the next label.
gNot used.
h Label advance. This is the distance to advance the label toward the tamp
applicator after printing. (Use only for small adjustments. The Tamp
head should be in the correct position first.)
i Text centering in X direction. 0= Auto and 1= All the way to the left of the
label. Normally set to 0.
j Text centering in Y direction. 0= Auto and 1= All the way to the top of the
label. Normally set to 0.