00196799-02_InstallGuide_DE.pdf - 第37页
In st al la tio ns- u nd K o nf ig ura tio ns a nl eit ung S IPL AC E Exp lo rer 3 I nsta ll ati on d es SIP LACE E x plor er Aus ga be 0 6/20 11 DE 3. 3 I nsta l la tion sv or ga ng SI PLA CE Ex plor e r 2. 9 37 G ebe…
3 Installation des SIPLACE Explorer Installations- und Konfigurationsanleitung SIPLACE Explorer
3.3 Installationsvorgang SIPLACE Explorer 2.9 Ausgabe 06/2011 DE
36
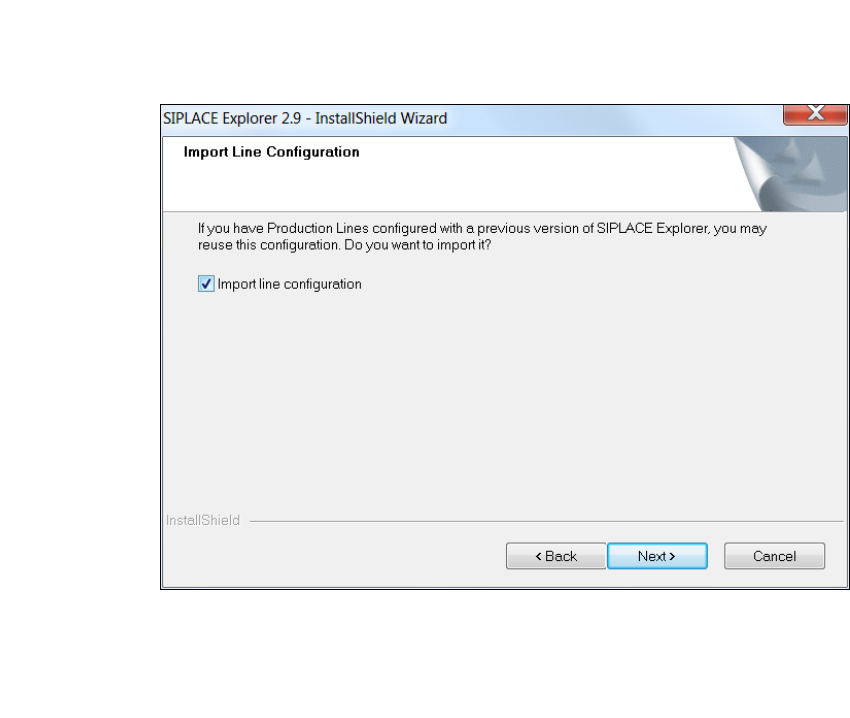
Ist der angegebene Installationsordner leer, wird das Dialogfenster Import Line
Configuration (Linienkonfiguration importieren) geöffnet. Über dieses Dialogfenster können
Sie angeben, ob Sie die Linienkonfiguration und weitere Einstellungen vorheriger Versionen
von SIPLACE Explorer übernehmen möchten.
3
Abb. 3 - 8 SIPLACE Explorer setup - Linienkonfiguration importieren
Aktivieren Sie Import line configuration (Linienkonfiguration importieren), wenn Sie die
Linienkonfiguration einer vorherigen Version übernehmen möchten. Das Dialogfenster Import
Line Configuration (Linienkonfiguration importieren) wird geöffnet.
Installations- und Konfigurationsanleitung SIPLACE Explorer 3 Installation des SIPLACE Explorer
Ausgabe 06/2011 DE 3.3 Installationsvorgang SIPLACE Explorer 2.9
37
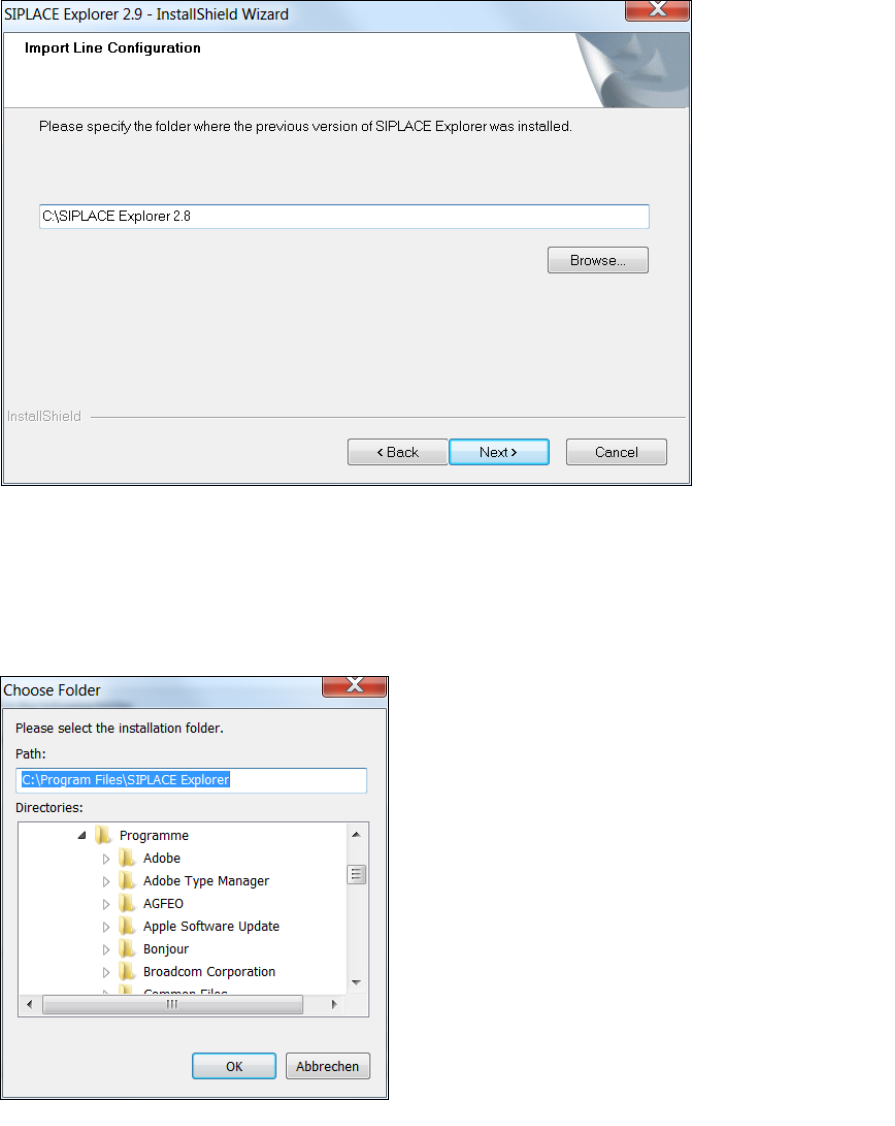
Geben Sie jetzt den Ordner an, in dem die Linienkonfiguration einer vorherigen SIPLACE
Explorer Version gespeichert ist. Der standardmäßig eingestellte Ordner ist C:\Program
Files\SIPLACE Explorer.
3
Abb. 3 - 9 SIPLACE Explorer setup - Zielordner wählen
Sie können die Standardeinstellung durch Betätigung der Schaltfläche Browse (Durchsuchen)
verändern.
Das Dialogfenster Choose Folder (Ordner auswählen) öffnet sich, um den gewünschten
Ordner zu wählen.
3
Abb. 3 - 10 SIPLACE Explorer Setup - Dialogfenster 'choose folder' (’Ordner auswählen’)
3 Installation des SIPLACE Explorer Installations- und Konfigurationsanleitung SIPLACE Explorer
3.3 Installationsvorgang SIPLACE Explorer 2.9 Ausgabe 06/2011 DE
38
Geben Sie den gewünschten Ordner an und klicken Sie OK, um Ihre Auswahl zu bestätigen.
Im Dialogfenster Import Line Configuration (Linienkonfiguration importieren) wird der
ausgewählte Ordner angezeigt.
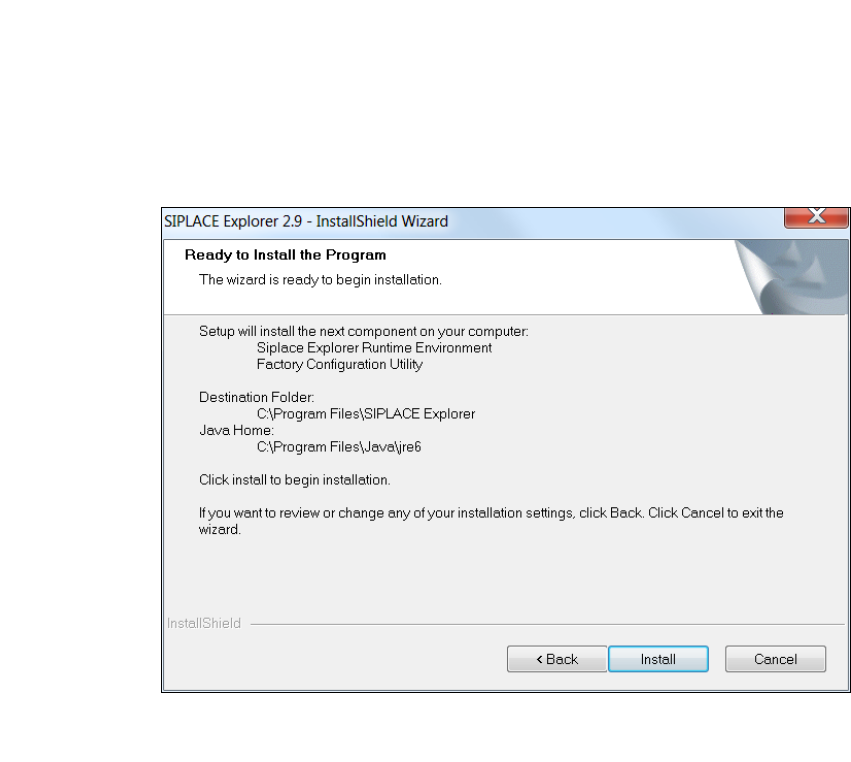
Um die Auswahl des Zielordners zu bestätigen, klicken Sie im Dialogfenster Import Line
Configuration (Linienkonfiguration importieren) die Schaltfläche Next (Weiter) an.
Das Dialogfenster Ready to Install the Program (Bereit für die Installation) wird geöffnet.
3
Abb. 3 - 11 SIPLACE Explorer Setup - Dialogfenster 'Ready to Install' (Bereit für die Installation)
Klicken Sie auf Install, die eigentliche Installation von SIPLACE Explorer V2.9 beginnt.