4OM-1322-006_w.pdf - 第105页
1-43 AKOEMT -ID 4.2 Adjustment of PCB Horizontal Clamping When a thin PCB is used and the horizontal clamping force is strong, it may be warped. T o avoid this, adjust the force with the pressure reducing valve which is …
1-42 AKOEMT-ID
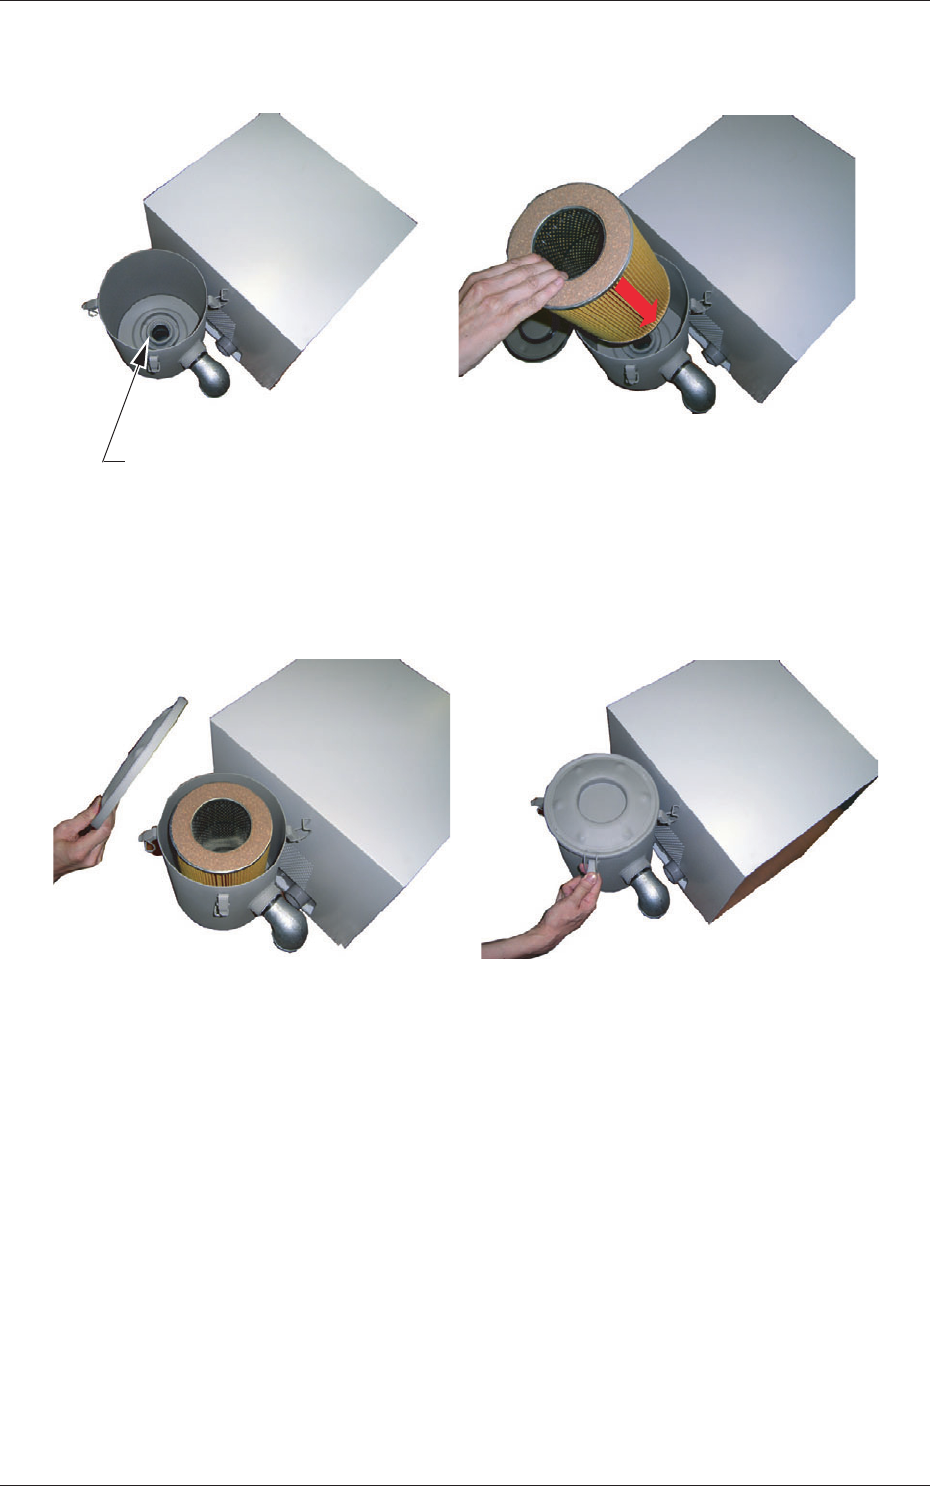
(4) Set the filter such that the center hole of the filter can fit into the flange
located at the rear side of the filter cover.
Flange Section
Fig. 4A59
(5) While holding the lid, engage the clip securely such that the flange
(located at the center of the lid) can fit into the center hole of the filter.
Fig. 4A60
0609-002
4.1 Replacement and Adjustment of Consumables
1-43 AKOEMT-ID
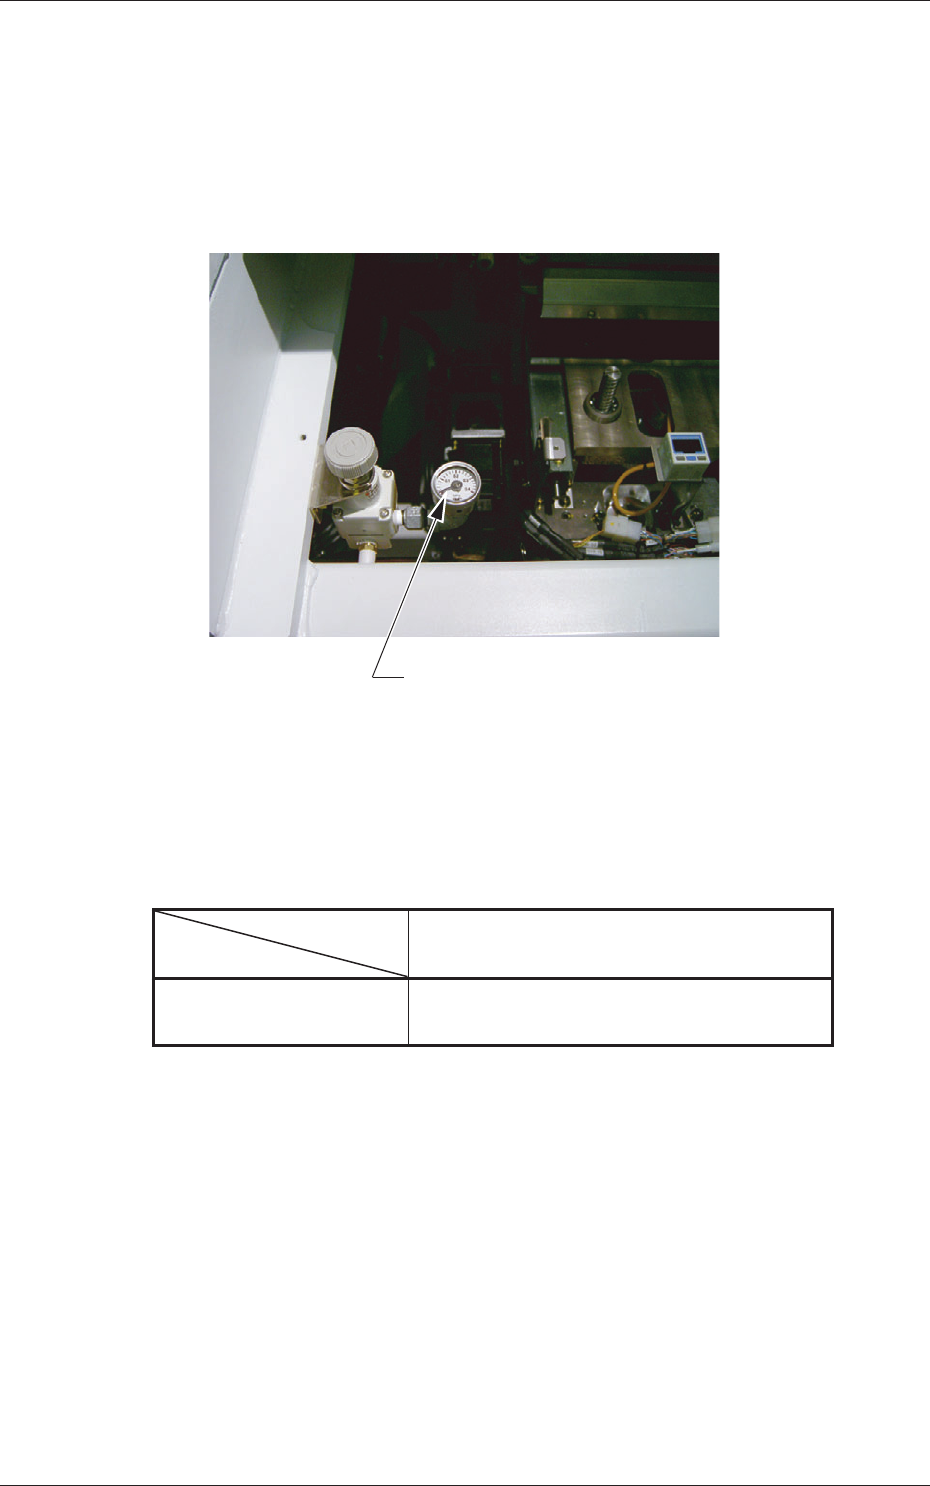
4.2 Adjustment of PCB Horizontal Clamping
When a thin PCB is used and the horizontal clamping force is strong, it may
be warped.
To avoid this, adjust the force with the pressure reducing valve which is
located at the front left (operator side) of the L Conveyor.
Pressure Reducing Valve
Fig. 4A61
Target Air Pressures Related to PCB Thickness
The values were obtained when the PCB size is "150 × 100", excluding a
PCB stopper.
Table 4A14
PCB Thickness
Air Pressure
0.5 1.0 1.5 2.0 (mm)
MPa 0.12 0.2 0.3 0.3
(kgf/cm
2
) (1.2) (2.0) (3.0) (3.0)
0609-002
4.2 Adjustment of PCB Horizontal Clamping
1-44 AKOEMT-ID
4.3 Replacement of Cleaning Paper
(How to change the cleaning paper width)
CAUTION
Set the [OPERATION/SET UP] switch to the “SET UP” side
before work.
Only the person in charge of maintenance should perform this
work.
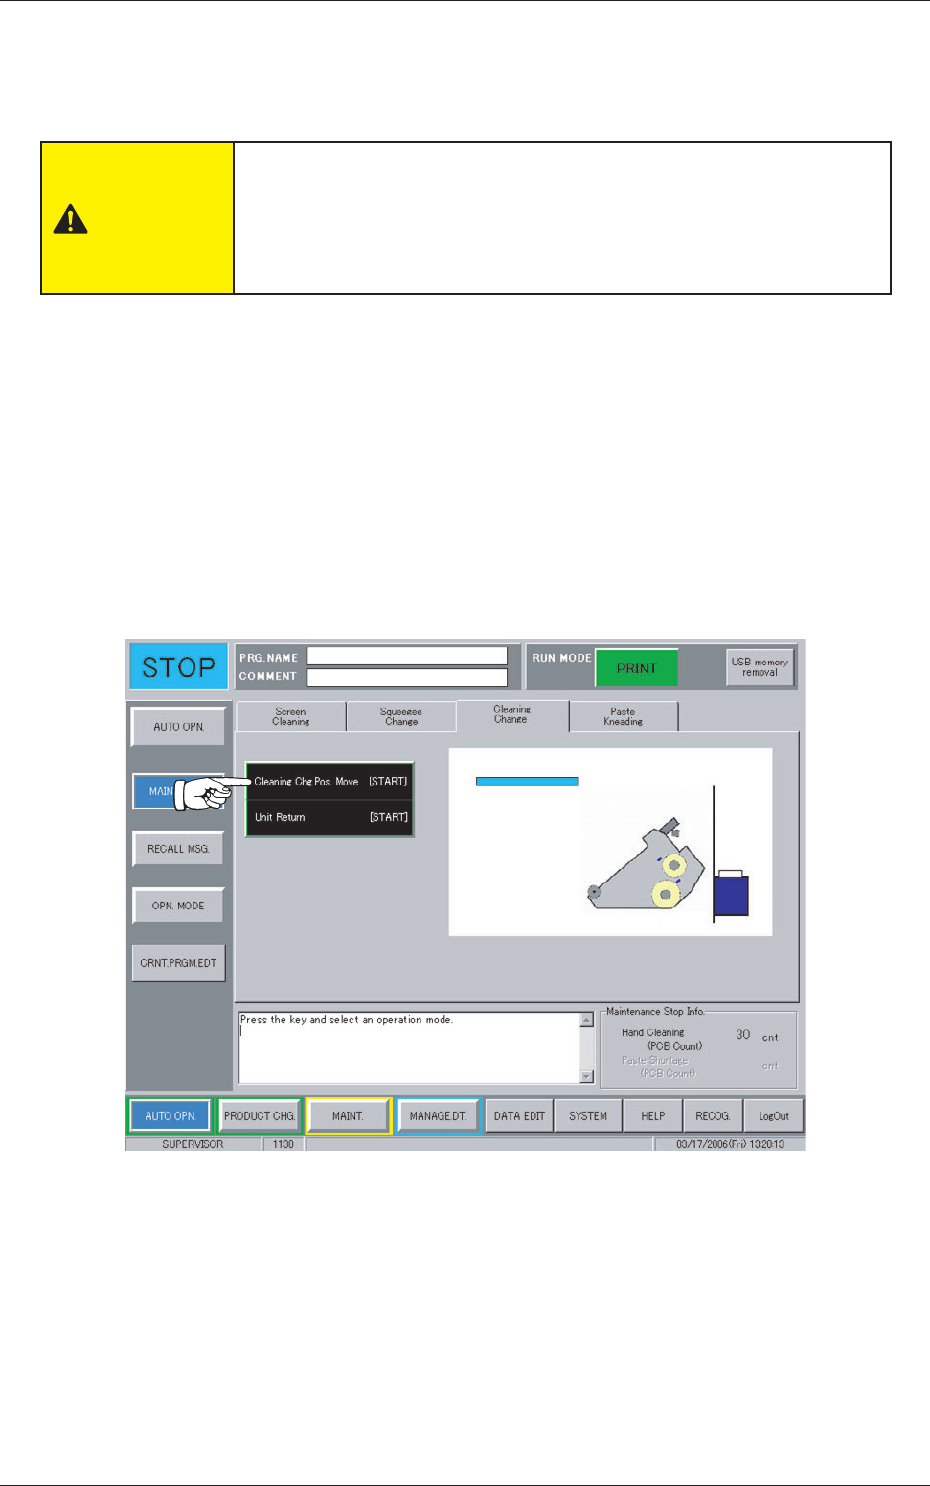
When the [MAINT. EXCH.] button on the "AUTO OPN." submenu bar is
pressed, the following window appears.
Operation Procedure
(1) Press the "Cleaning Change" tab.
(2) Press the [Cleaning Chg. Pos. Move [ST
ART]] button.
The background color of the button turns blue, indicating that it is
selected.
Fig. 4A62
0609-002
4.3 Replacement of Cleaning Paper (How to change the cleaning paper width)