N7201A616E00_0317.pdf - 第187页
NPM-W 2 EJM7DE-MB-02O-0 0 3 Follow the same steps as 9 15 (P.2-5-8-5) those through used for the single convey or 2-5-8 -6 Preparatio n
NPM-W2 EJM7DE-MB-02O-00
Installing support pins
(for automatic change) 3
Dual conveyor 2
2
Configuration in single-lane mode
Front side
Configuration in dual-lane mode
Front side
4321
・・・
4321
・・・
4321
・・・
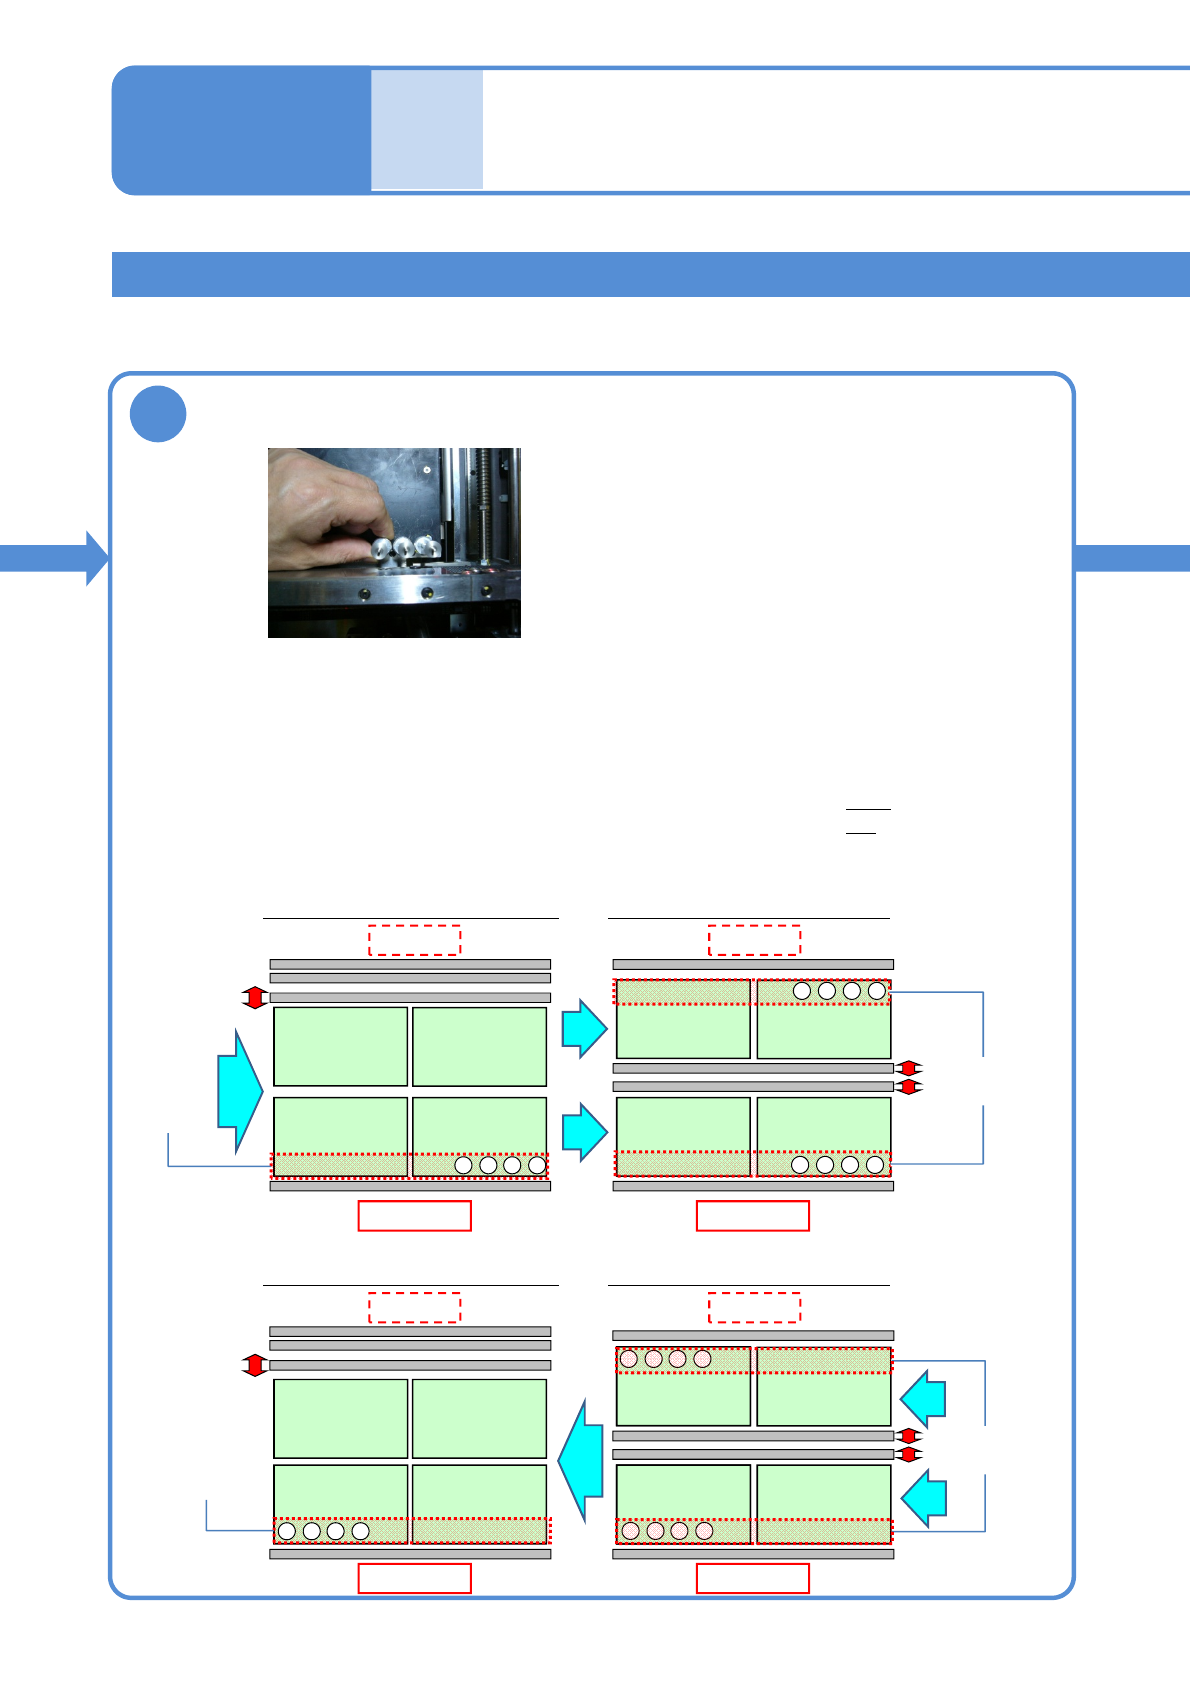
●Make sure to always set support pins to the home position.
(Risk of interference with the conveyor)
●Set the support pins while pressing them against the bolt at the home position.
(They may interfere with vacuumed support pins during arrangement of the pins)
●Change a support pin configuration according to the PCB flow direction.
(To replace the support pins in the shortest period of time)
・When PCB flows left to right: set the pins, starting from the right
・When PCB flows right to left: set the pins, starting from the left
●Set the pins to the fixed rail side only.
■Left right flow
■Right left flow
Home
position
Home
position
1234
・・・
Front side Front side
Home
position
Home
position
Configuration in single-lane mode Configuration in dual-lane mode
Set support pins (for automatic change) to the PCB-support block (for
automatic change)
2-5-8-5
4321
・・・
1234
・・・
PCB
flow
PCB flow
PCB flow
PCB
flow
Rear side Rear side
Rear side Rear side
Individu-
al
prepara-
tion
Operating procedure
2-5-8
NPM-W2 EJM7DE-MB-02O-00
3
Follow the same steps as
9
15
(P.2-5-8-5)
those through
used for the single
conveyor
2-5-8-6
Preparation
NPM-W2 EJM7DE-MB-02O-00
Operating procedure
2-5-8
Individu-
al
prepara-
tion
Installing support pins
(for automatic change) 4
2-5-8-7
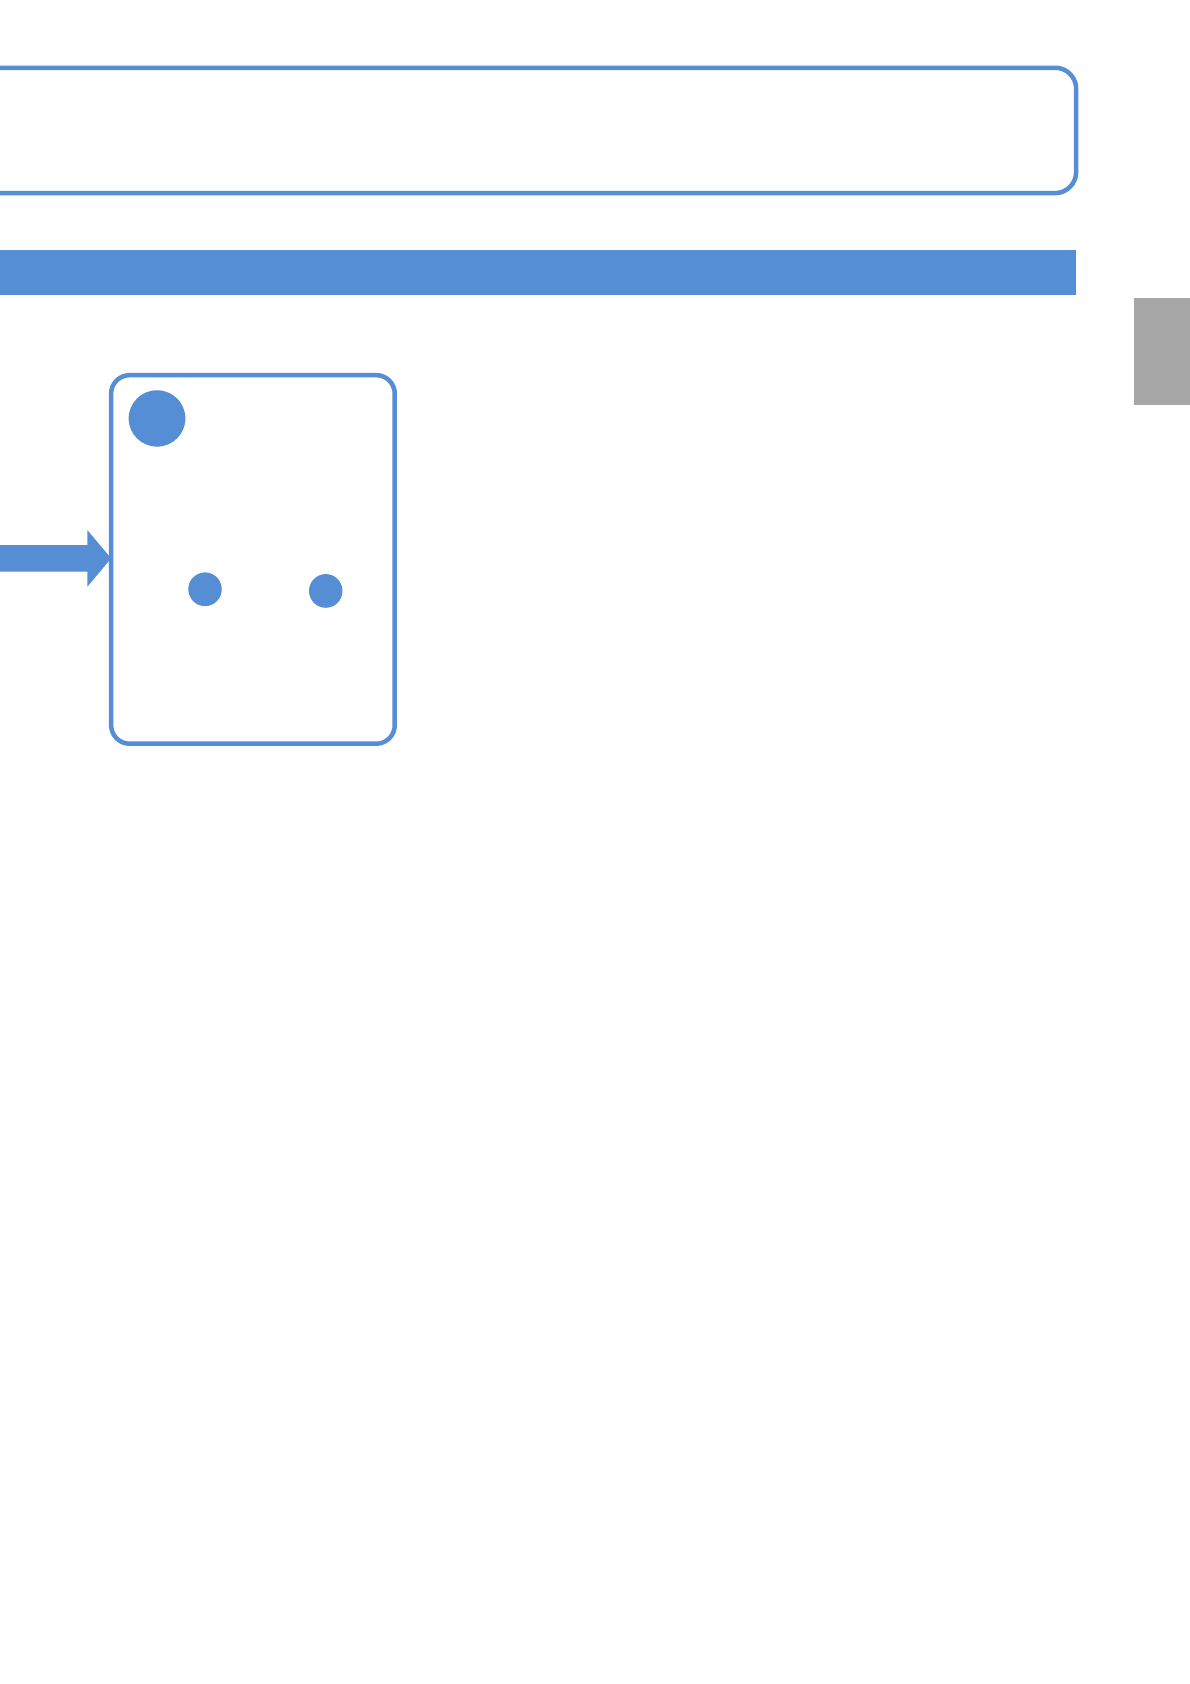
Checking the number of support pins
1
1
+
3
3
+
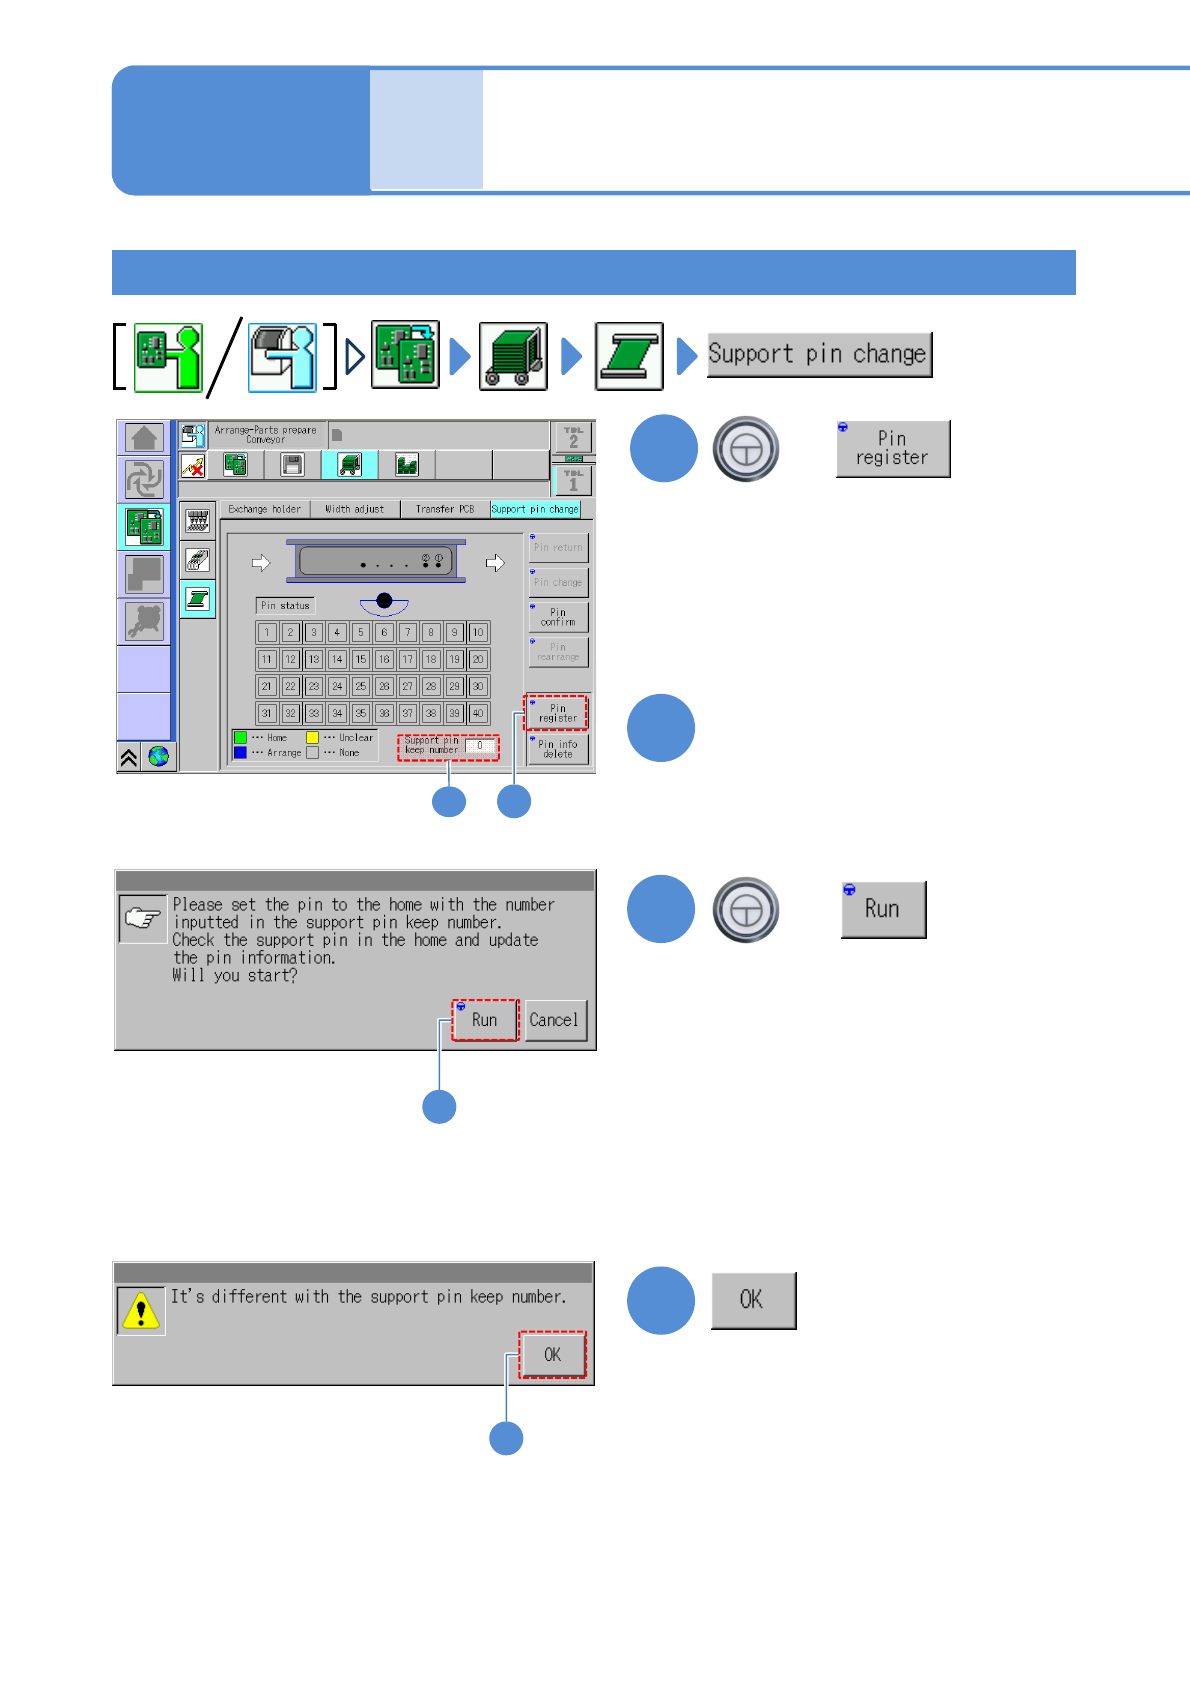
■When the number of the support
pins being installed to the machine is
not the same as the support pin keep
number entered
●Make an entry , or install a support
pin(s), in order to equate the number of
the set (installed) support pins with the
support pin keep number.
(Information will be updated upon
confirmation of the position and number
of the support pins)
(The number of support pins can be
decreased or increased just after XY-
unit is retracted)
*For dual lane mode, switch to your
desired lane with a lane display icon
to register pins. (→P2-2-1-
9 Lane
switch button)
4
4
Enter the number of support
pins present in the machine.
2
2
Using the long specs as an example, the screen below explains how to check the number of support pins;
however, the same procedure applies to the short specs as well.