M1_ServiceManual_e.pdf - 第12页
1 Installation 1-5 ④ When the conveyor has become level , check if the height is 900+/-20 mm . Then fix the adjust fee t with nuts. ⑤ The head assy. is fixed to the XY shafts with nylon ties. Take them off with nippers. …
1 Installation
1-4
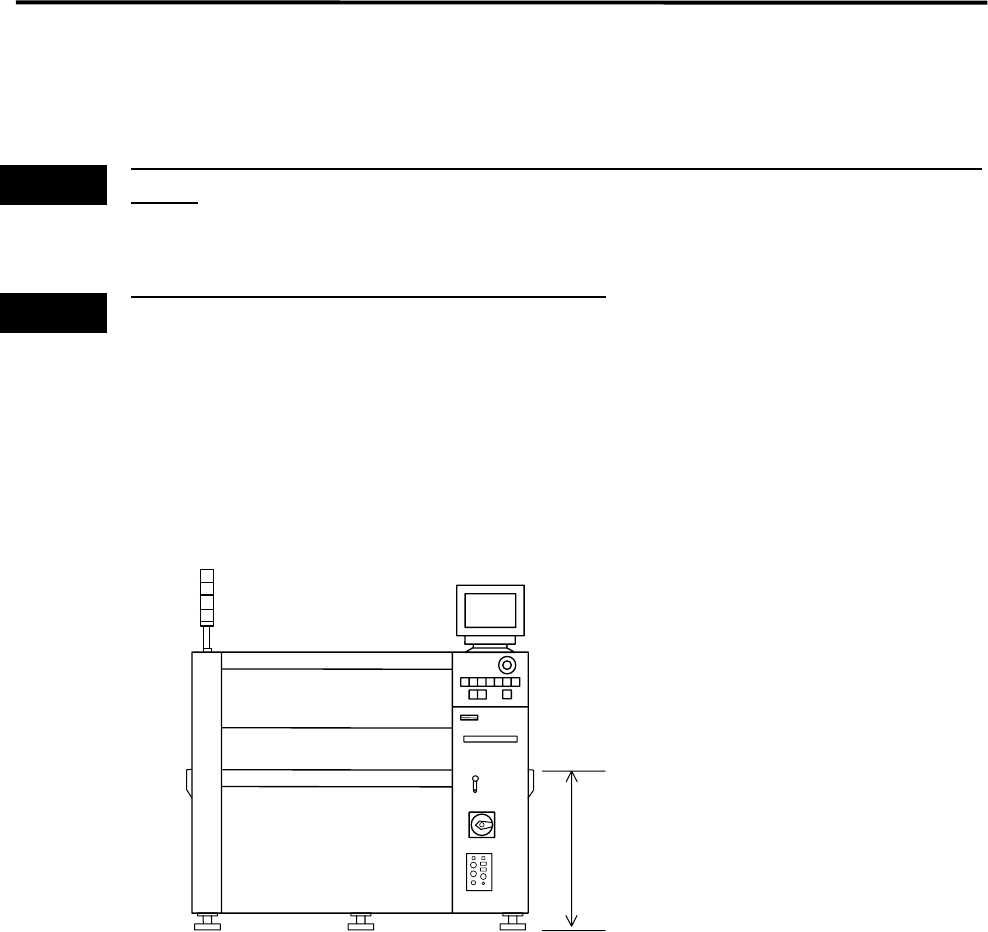
Installing the Mounter
Do not touch terminals of electric components when the power is on to prevent electric shock and machine
damage.
Make sure to ground the mounter to prevent electric shock.
ACTION:
① Locate the mounter to the specified place.
② Adjust the conveyor height to 900 mm by rotating the adjust feet.
900+/-20mm
or
950+/-20mm(SMEMA)
③ Place a level on the conveyor and adjust the height so that the mounter is level lengthwise and
crosswise.
Warning
Warning
1 Installation
1-5
④ When the conveyor has become level, check if the height is 900+/-20 mm. Then fix the adjust feet
with nuts.
⑤ The head assy. is fixed to the XY shafts with nylon ties. Take them off with nippers.
⑥ Connect the power cable and ground line independently of other machines which may be a noise
source, such as a compressor, welding machine.
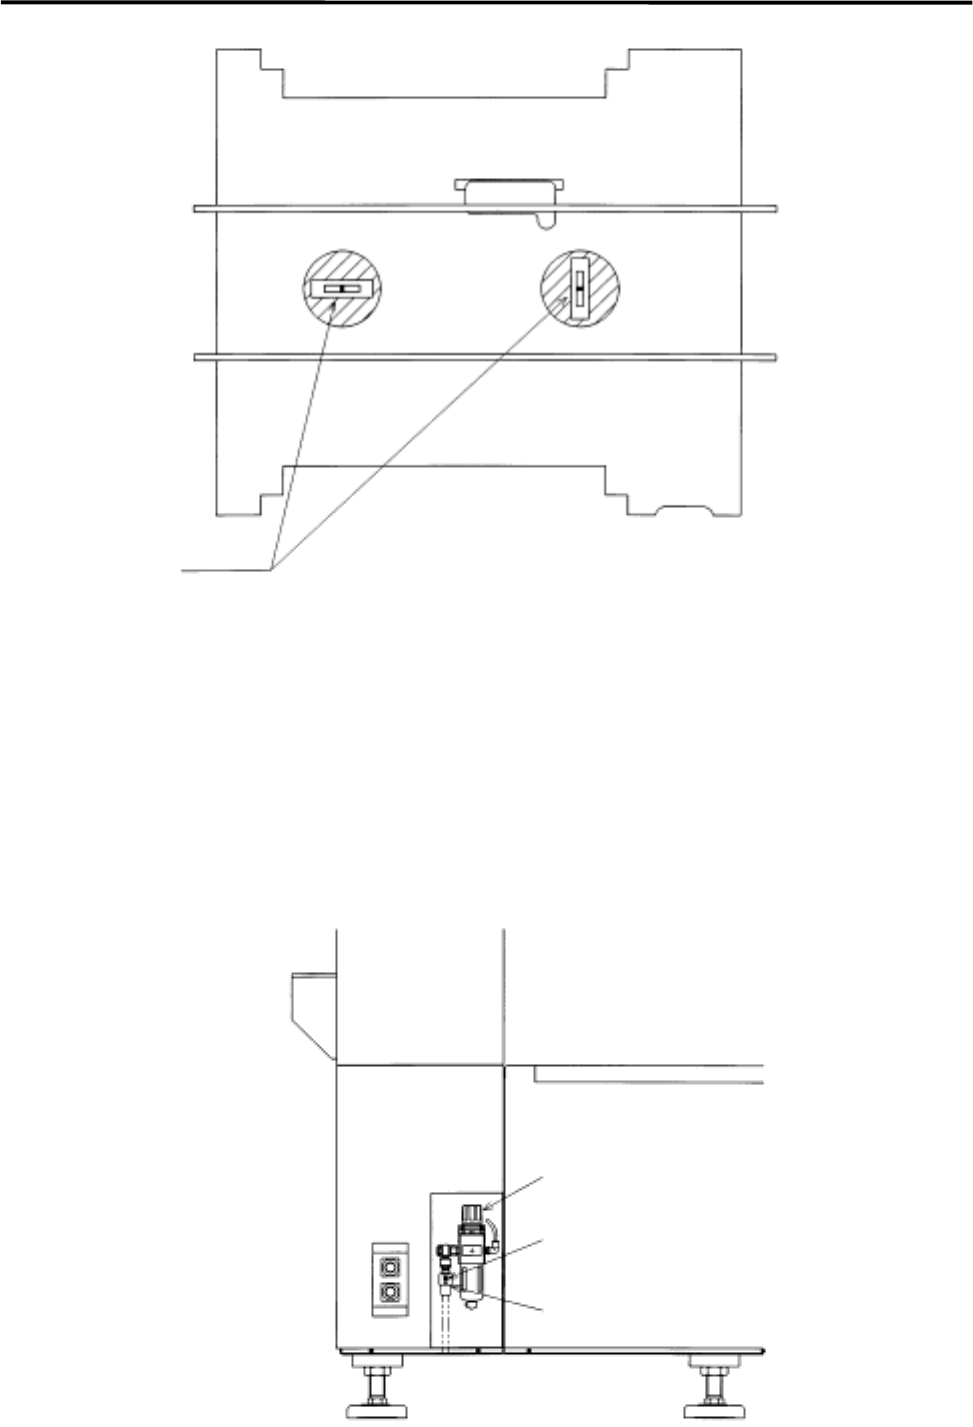
⑦ Connect the air supply coupler 65SN or 85SN (Nitto) or an alternate to the air coupler on the filter
regulator in the mounter. Then, make sure the filter regulator indicates 0.49 MPa (5 kgf/cm
2
).
Level
Air Coupler 65SN or 85SN
Air Coupler
Filter Regulator
1 Installation
1-6
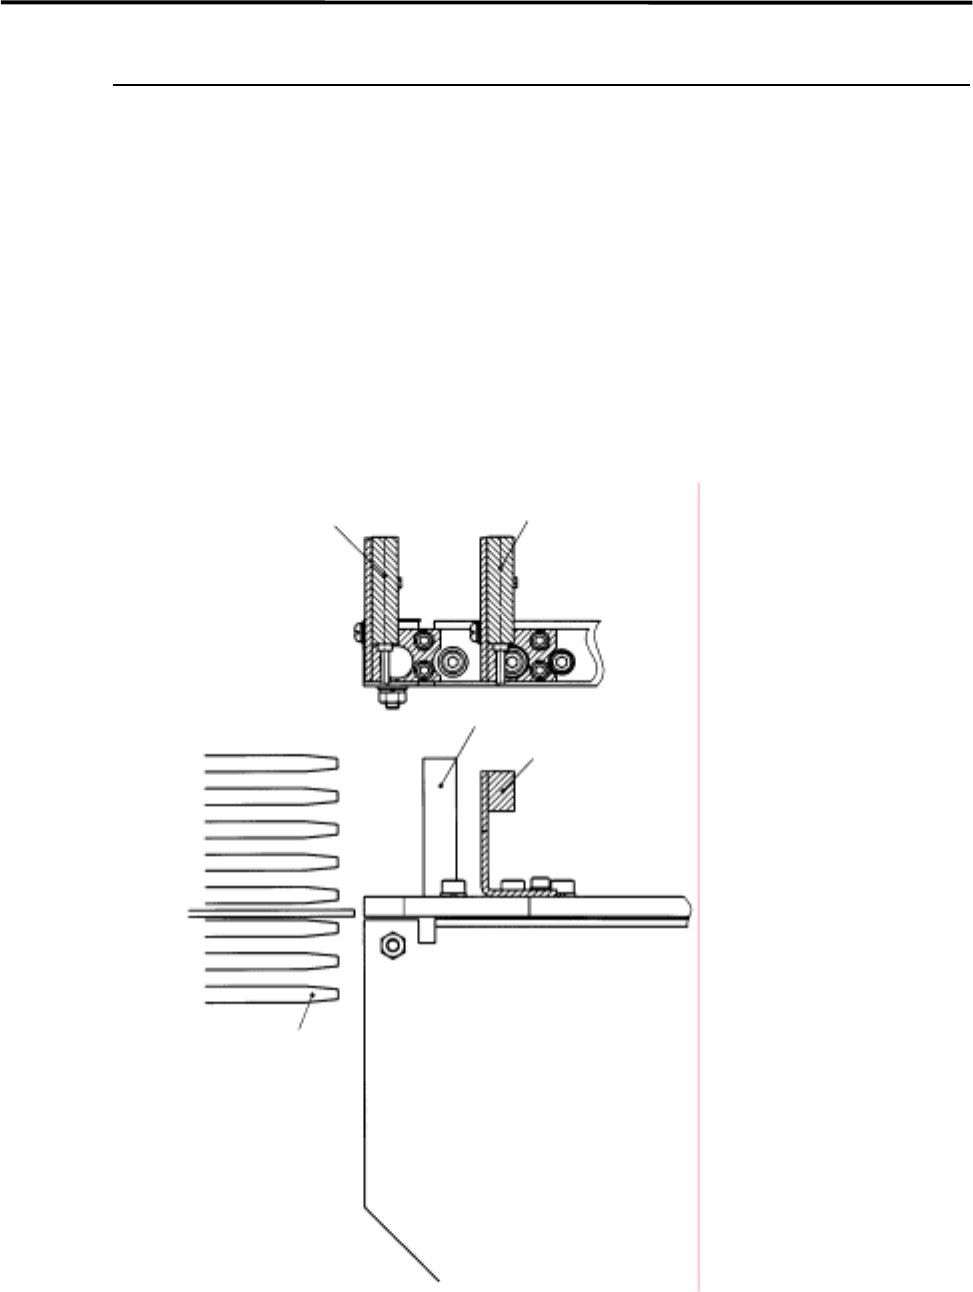
Connecting Loader with Mounter
There is an entrance sensor at the entrance of the mounter. If the loader is installed upstream of the mounter,
the entrance sensor must be moved to avoid interruption with the loader.
After the sensor has been moved, align the conveyors for smooth board transfer.
NOTE: While moving a sensor and aligning conveyors, the power to the mounter must be turned off.
a: The sensor position without a loader.
b: The sensor position with a loader installed upstream of the mounter.
Loader rack
Loader’s frame
Normal position
Entrance Sensor
Position with loader installed