DFD6361-Maintenance.pdf - 第539页
E-103 Procedur es for gr easing the upper arm axi s (Continued) Step No. Do This 5 With a lint-free cloth, wipe off the dirty grease on t he rail of the upper arm ax is linear guide. Rail 6 With a spatula, a pply grease …
E-102
Procedures for greasing the upper arm axis (Continued)
Step No. Do This
(Continued from the previous section)
1
Verify that the drive section stops completely.
2
Open the front arm section cover.
3
Remove the lower transfer axis cover. Then store it sufficiently
away from the working area.
- For the removal procedures of the lower transfer axis cover;
See the section 6-2-2 of this chapter, [Greasing the push-pull
axis].
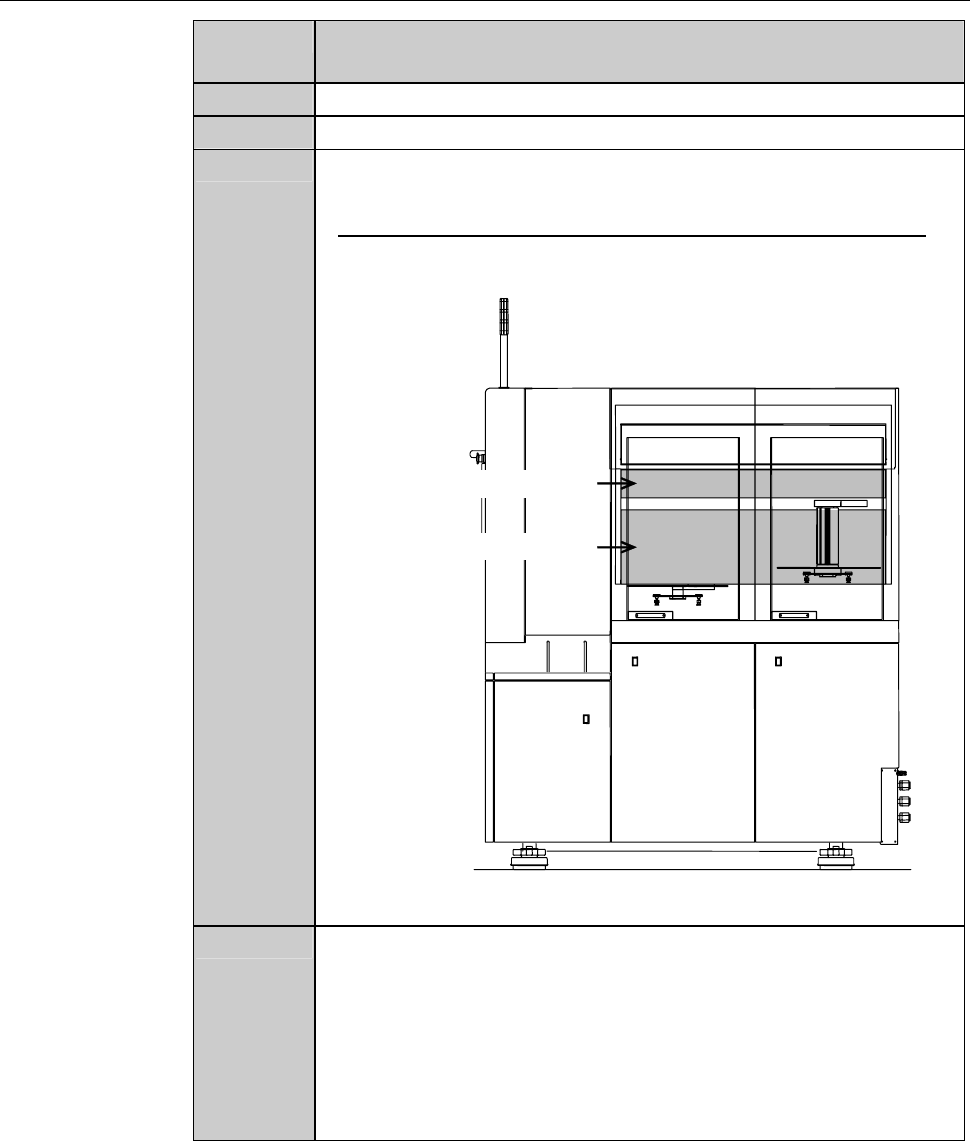
Lower transfer axis cover
Upper transfer axis cover
RIGHT SIDE
4
Open the upper transfer axis cover.
- To open the upper transfer axis cover, perform the
following steps.
1) Hold the bottom of the cover and pull it toward you.
2) Lift the cover so that it is on a horizontal line.
3) Keeping the cover level, tuck the cover into the axis storage
area.
E-103
Procedures for greasing the upper arm axis (Continued)
Step No. Do This
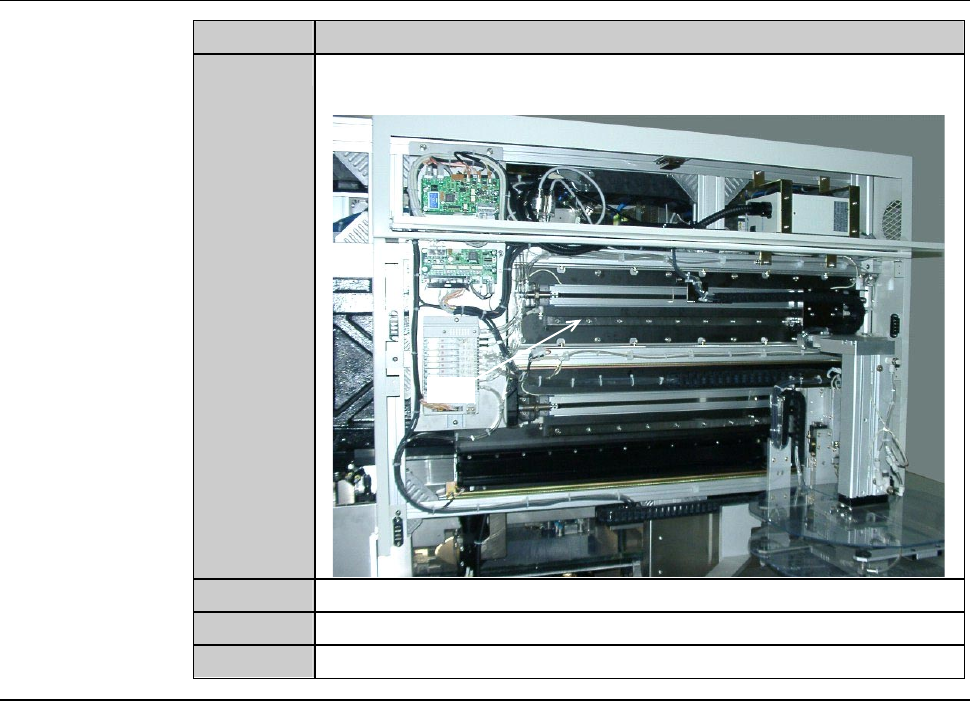
5
With a lint-free cloth, wipe off the dirty grease on the rail of the
upper arm axis linear guide.
Rail
6
With a spatula, apply grease to the rail.
7
Close the upper transfer axis cover.
8
Close the front arm section cover.
Continued in the next section.
E-104
6-4-3. Completion of greasing the upper arm axis
Procedures for completion of greasing the upper arm axis
Step No. Do This
(Continued from the previous section)
1
Open the facility main valve of air.
2
Turn ON the facility power source.
3
Open the circuit breaker lever lockout and then turn ON the
circuit breaker.
4
Insert the key into the main switch and then turn ON the main
switch.
5
Press the <System Initial> button to effect system initialization.
6
From the CHANGE FRAME SIZE screen [screen 6.1], press the
<F1> button. And shuttle the upper arm between the front and
rear end at least three times to apply the grease uniformly to the
entire rail.