DFD6361-Maintenance.pdf - 第547页
E-111 Procedur es for greasin g the low er arm axi s (Continued) Step No. Do This 4 With a lint-free cloth, wipe off the dirty grease on t he rail of the upper arm ax is linear guide. Rail Rai l (Up-down ax is) 5 With a …
E-110
Procedures for greasing the lower arm axis (Continued)
Step No. Do This
(Continued from the previous section)
1
Verify that the drive section stops completely.
2
Open the front arm section cover.
3
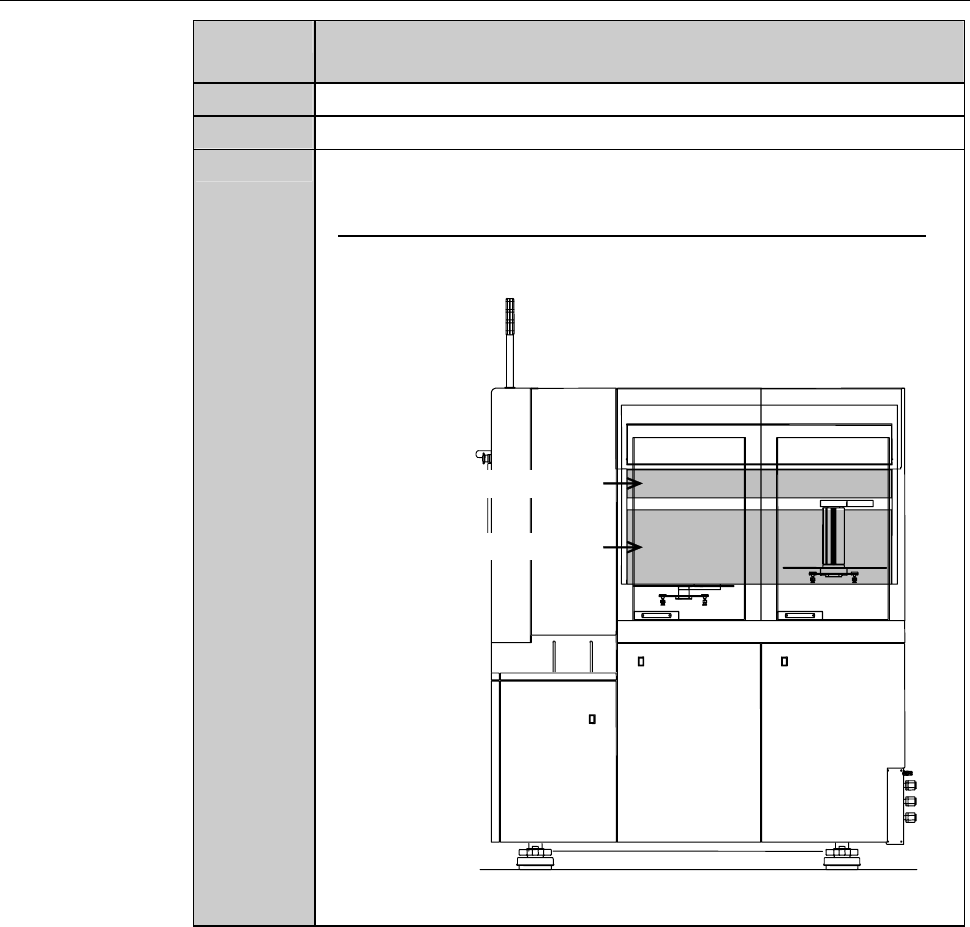
Remove the lower transfer axis cover. Then store it sufficiently
away from the working area.
- For the removal procedures of the lower transfer axis cover;
See the section 6-2-2 of this chapter, [Greasing the push-pull
axis].
Lower transfer axis cover
Upper transfer axis cover
RIGHT SIDE
E-111
Procedures for greasing the lower arm axis (Continued)
Step No. Do This
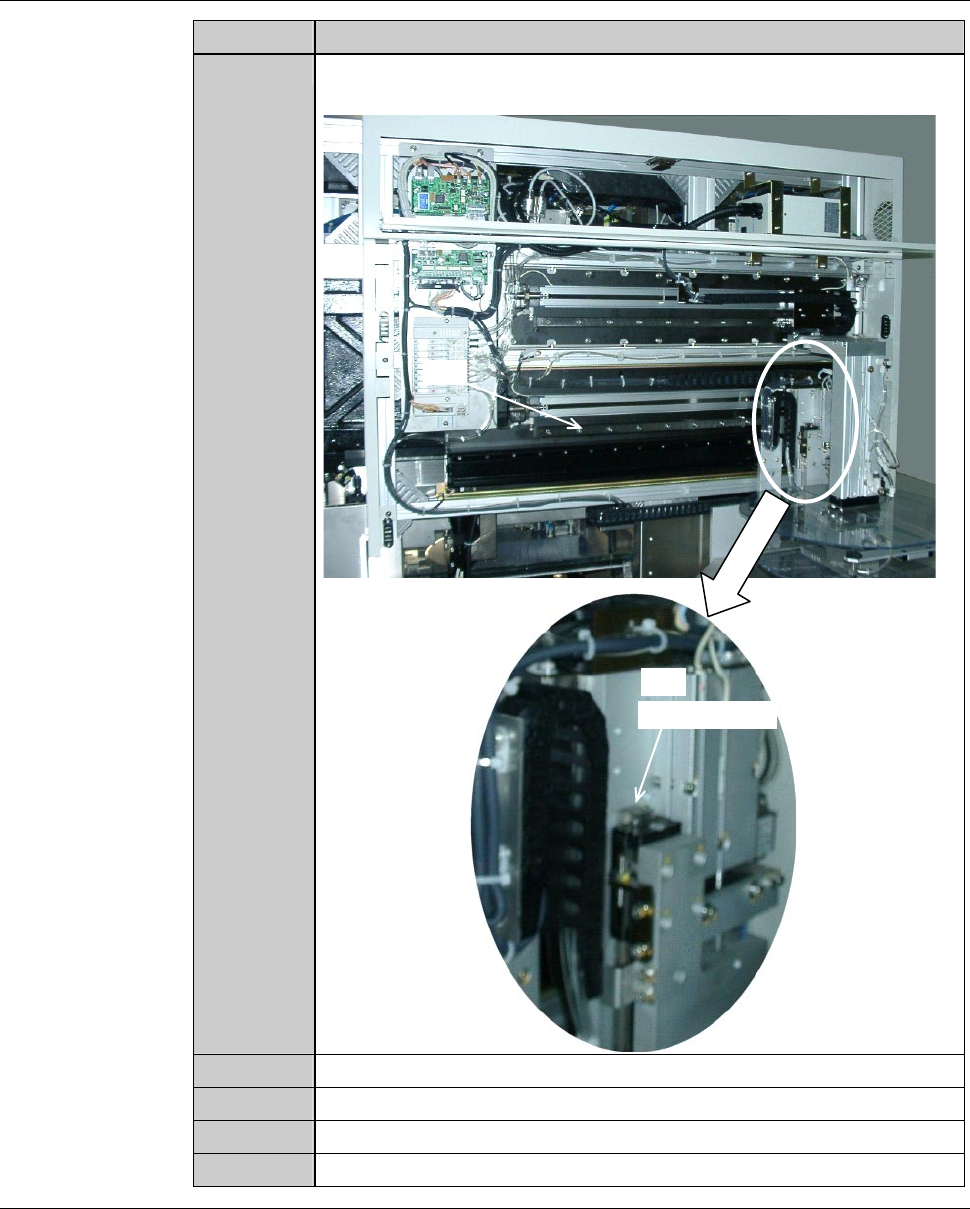
4
With a lint-free cloth, wipe off the dirty grease on the rail of the
upper arm axis linear guide.
Rail
Rail
(Up-down axis)
5
With a spatula, apply grease to the rail.
6
With a spatula, apply grease to the rail of up-down axis.
7
Reinstall the lower transfer axis cover to its original position.
8
Close the front arm section cover.
Continued in the next section.
E-112
6-5-3. Completion of greasing the lower arm axis
Procedures for completion of greasing the lower arm axis
Step No. Do This
(Continued from the previous section)
1
Open the facility main valve of air.
2
Turn ON the facility power source.
3
Open the circuit breaker lever lockout and then turn ON the
circuit breaker.
4
Insert the key into the main switch and then turn ON the main
switch.
5
Press the <System Initial> button to effect system initialization.
6
From the CHANGE FRAME SIZE screen [screen 6.1], press the
<F2> button. And shuttle the lower arm between the front and
rear end at least three times to apply the grease uniformly to the
entire rail.
7
Using the I/O CHECK screen, shuttle the lower arm between the
upper and lower end at least three times to apply the grease
uniformly to the entire rail.