00193688-04.pdf - 第101页
Ins t a llat ion and Con figu rat i on Guid e S IPLA CE Ex plo rer 4 Co nfig ura t i on Edi tio n 12/200 5 EN 4.1 St an dar d Mo ni to rin g A pp lica tio n (SM A) 101 – Step 1- Co nne ctio n to Da t aba se → At S tep 1 …
4 Configuration Installation and Configuration Guide SIPLACE Explorer
4.1 Standard Monitoring Application (SMA) Edition 12/2005 EN
100
→ Click OK to continue creating the SMA.
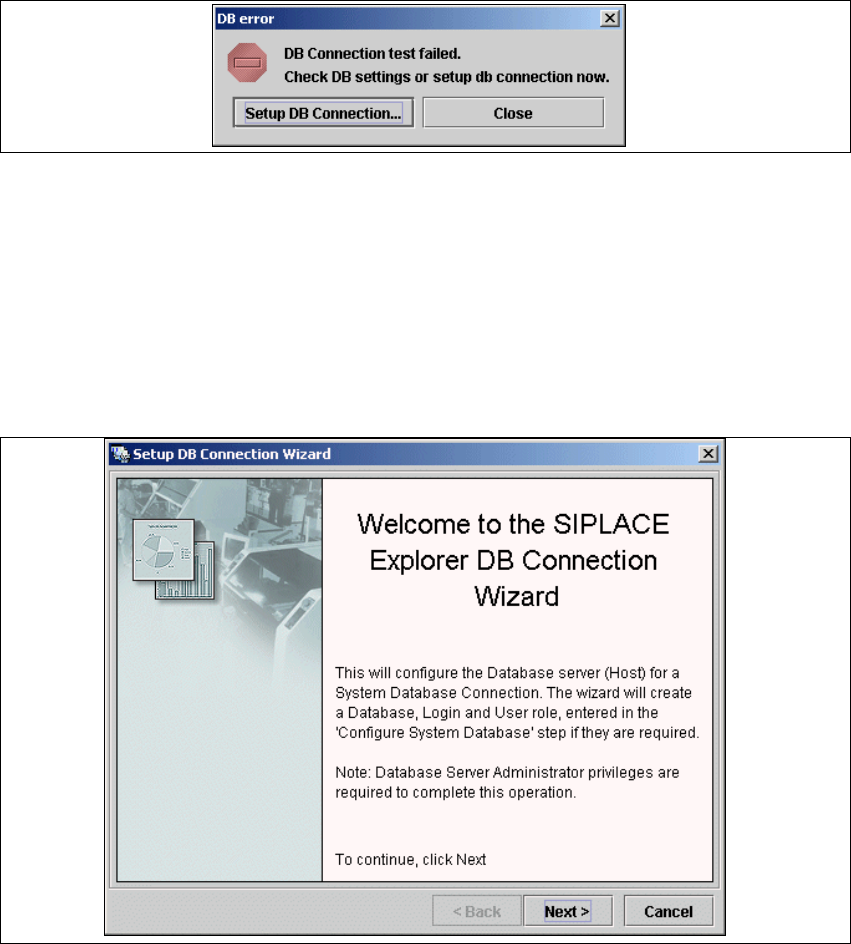
→ If the connection does not function properly, you will see the following information box:
4
Fig. 4 - 32 DB error
→ Click on the Setup DB Connection button to start the DB Connection Wizard setup
sequence and configure the SIPLACE Explorer system database.
4
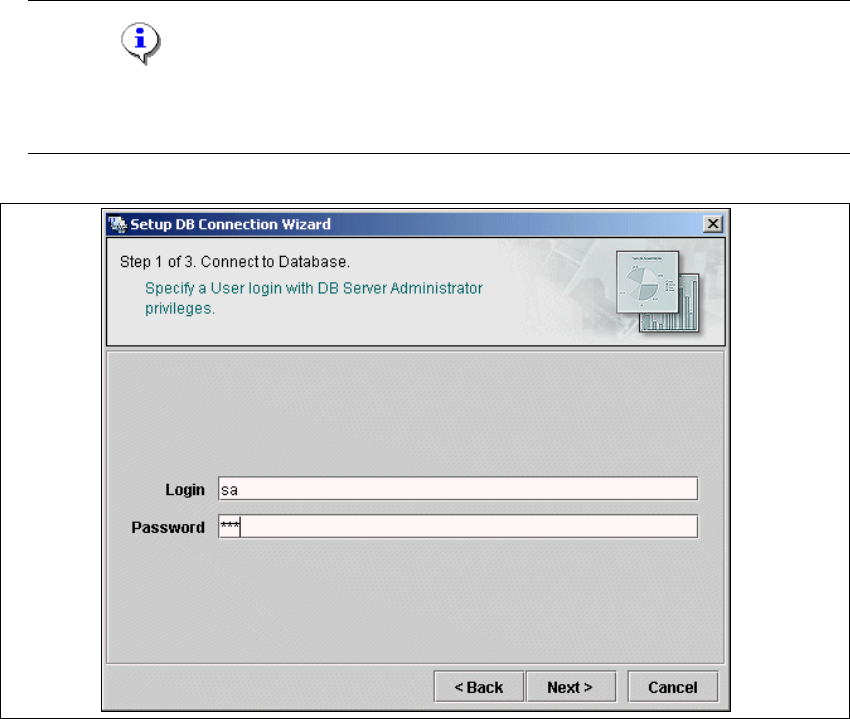
Intermediate Step - Database Connection Wizard
→ Setup and configuration of the system database consists of a simple three-step procedure.
Click on
Next to continue.
4
Fig. 4 - 33 Welcome screen - database connection wizard
Installation and Configuration Guide SIPLACE Explorer 4 Configuration
Edition 12/2005 EN 4.1 Standard Monitoring Application (SMA)
101
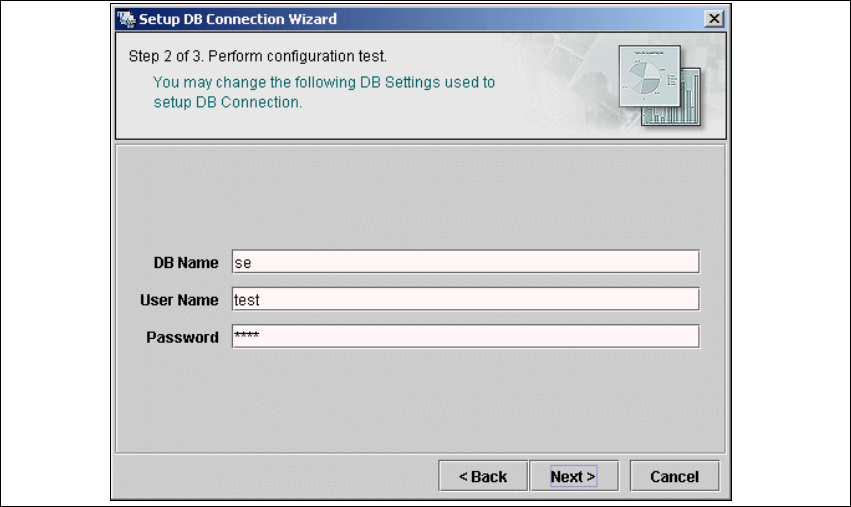
– Step 1- Connection to Database
→ At Step 1 you will need to specify your login and password to access the MS SQL Server.
Click on
Next to continue.
NOTE
Please note that users must have DB administrator privileges to perform necessary tests and
configuration. 4
4
Fig. 4 - 34 Step 1- database connection wizard
At this point, the wizard will connect to the MS SQL Server and run tests to identify whether
the specified database, login and user roles exist. You will see a list of changes that the
wizard will undertake to perform setup and configure the system database.
4
4 Configuration Installation and Configuration Guide SIPLACE Explorer
4.1 Standard Monitoring Application (SMA) Edition 12/2005 EN
102
– Step 2 - Perform Configuration Test
→ At Step 2 you may change your settings. This is also where you define the name of the SE
system database for the line and where you specify the user (and password) who is to have
access to this database.
4
Fig. 4 - 35 Step 2- database connection wizard
→ Once you have made and checked all entries, click on Next to continue.