00193688-04.pdf - 第38页
3 In st alli ng SI PLA CE Ex pl ore r Ins t a llat ion and Con figu rat i on Guid e SI PLA CE Exp lorer 3. 1 I ni tia l Inst all ati on o f SI PLA C E Ex plor er 2 .0 S P1 Ed iti on 12 /2 00 5 EN 38 → If you chos e Cance…
Installation and Configuration Guide SIPLACE Explorer 3 Installing SIPLACE Explorer
Edition 12/2005 EN 3.1 Initial Installation of SIPLACE Explorer 2.0 SP1
37
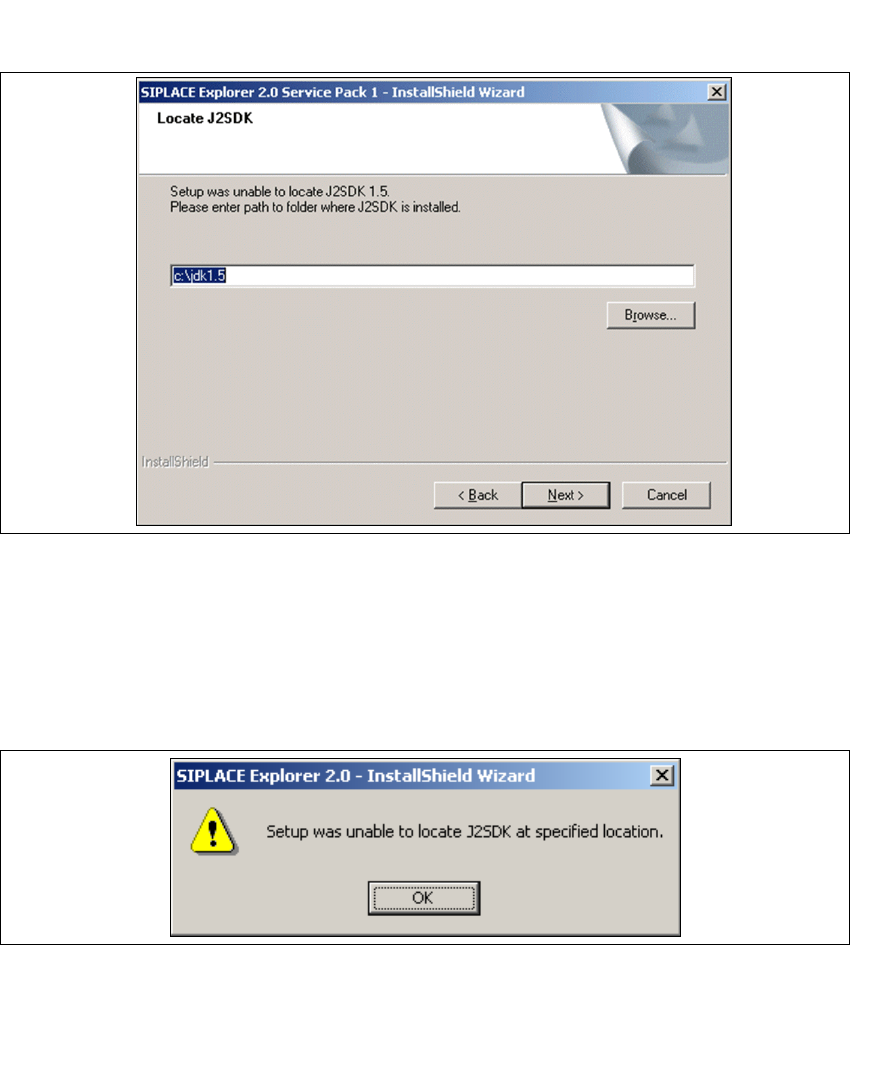
→ However, if the installation procedure is unable to find J2 JRE v.1.5.X, the Locate J2SDK
dialog box will appear on your screen.
3
Fig. 3 - 17 SIPLACE Explorer setup - locate JAVA 2 SDK
→ In this case, you can either enter the path to the J2SDK 2 JRE v.1.5. folder directly into the text
field or click on the
Browse button and use the Open File dialog box to find the JAVA 2 JRE
folder.
→ If you failed to correctly specify the path to the folder in which JAVA 2 SDK is installed, you will
see the following dialog box.
3
Fig. 3 - 18 SIPLACE Explorer setup - unable to locate J2SE
→ Click OK to return to the previous screen. SIPLACE Explorer requires JAVA 2 JRE to be
installed prior to installation.
→ At this point, you can either try to specify the JAVA 2 JRE folder again, or click Cancel to exit
the installation of SIPLACE Explorer.
3 Installing SIPLACE Explorer Installation and Configuration Guide SIPLACE Explorer
3.1 Initial Installation of SIPLACE Explorer 2.0 SP1 Edition 12/2005 EN
38
→ If you chose Cancel, please install the version of JAVA 2 JRE included on the installation CD
or available free from (see page 29) Sun Microsystems at http://java.sun.com/j2se and then re-
start installation of SIPLACE Explorer.
NOTE
If you have the J2 Runtime environment (not JAVA 2 JRE) - available from Sun Microsystems
at http://java.sun.com/j2se - installed on your system, the website generated by SIPLACE
Explorer Website Builder will not function properly as it is based on JSP, which requires JAVA
2 JRE. 3
→ The installation of SIPLACE Explorer 2.0 SP1 will be continued once JAVA 2 JRE v.1.5 has
been localized. The following dialog box will appear.
3
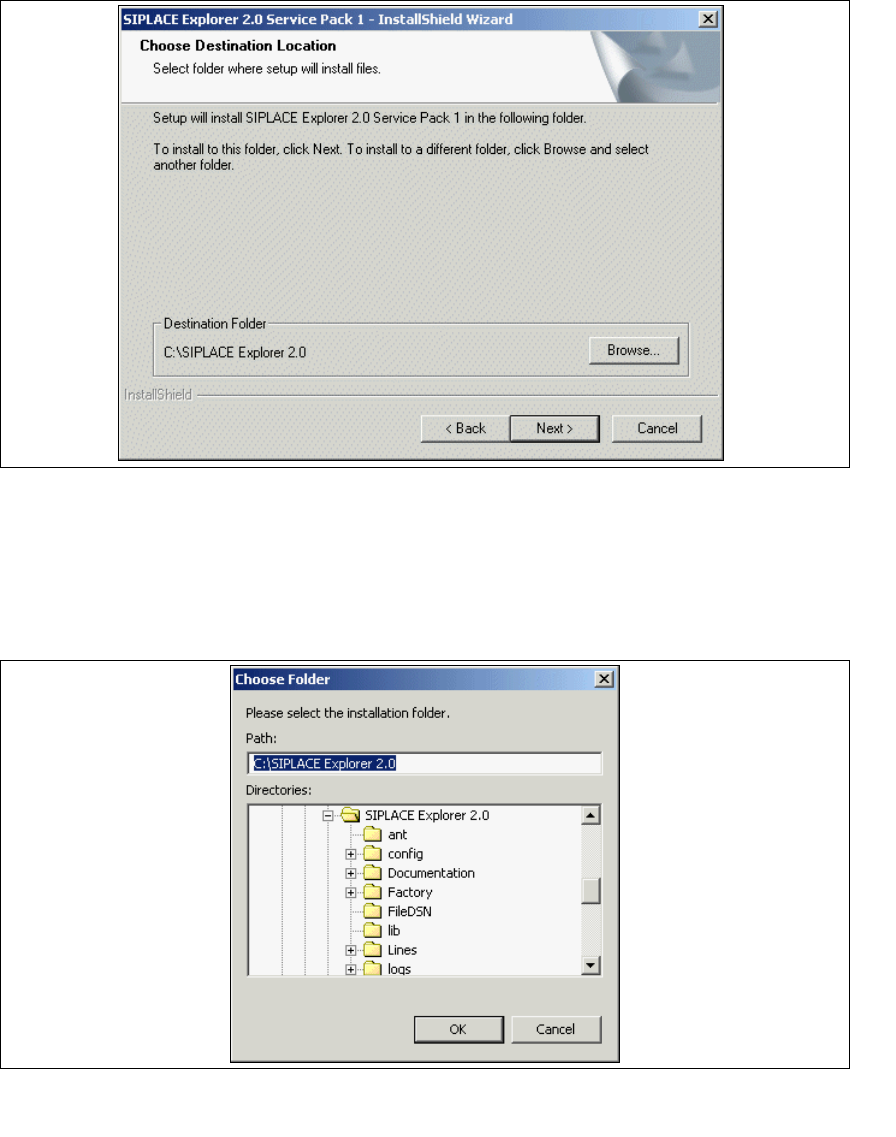
Fig. 3 - 19 SIPLACE Explorer setup - choose destination location
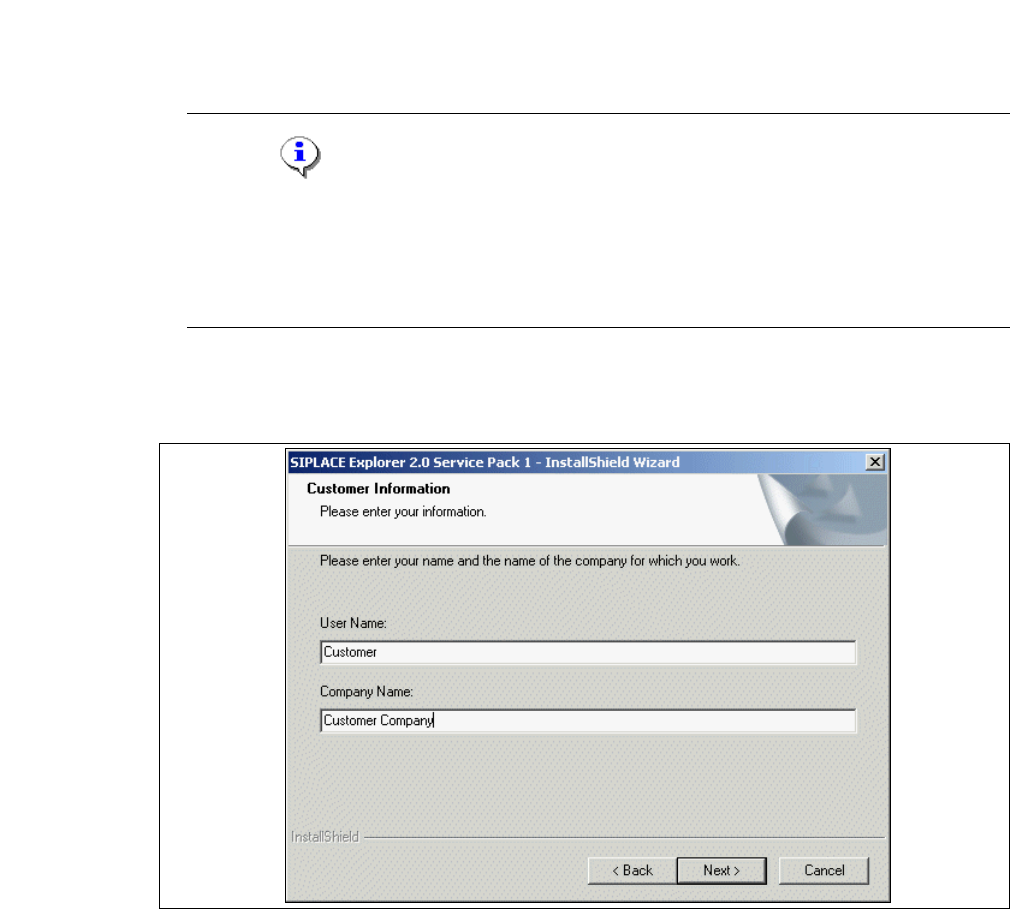
→ Enter your name in the User Name field and the name of your company in the Company
Name
field. Click on Next to continue.
Installation and Configuration Guide SIPLACE Explorer 3 Installing SIPLACE Explorer
Edition 12/2005 EN 3.1 Initial Installation of SIPLACE Explorer 2.0 SP1
39
→ Now specify the folder in which you wish to install the application. The default folder is
C:\SIPLACE Explorer2.0.
3
Fig. 3 - 20 SIPLACE Explorer setup - choose destination location
→ You can alter the default installation folder by using the Browse button.
→ The Choose Folder dialog box will appear to locate the desired folder.
→ Specify path and click OK to select another folder. The selected folder will be shown in the
Choose Destination Location dialog box.
3
Fig. 3 - 21 SIPLACE Explorer setup - 'choose folder' dialog box
→ To accept the destination folder, click on Next in the Choose Destination Location dialog box.