00193697-01.pdf - 第33页
SIPLACE S oftware Guide SR.504.xx 3 Graphical user interface Issue 01/03 E N 3.3 User interface - views and menus 33 3.3.2.3 "Options" menu The "Opti ons" me nu is onl y avail able in t he mai n view …

3 Graphical user interface SIPLACE Software Guide SR.504.xx
3.3 User interface - views and menus Issue 01/03 EN
32
GEM F12 3
This menu item is used to call the GEM interface functions. See Option "GEM Interface" on page
77. 3
NOTE
The GEM interface functions cannot be called unless the interface has been configured.
At the "Operator" access level, only the function "Send and receive messages" is available. In the
"GEM State View" function the buttons are inactive for the "Operator". 3
SIPLACE Software Guide SR.504.xx 3 Graphical user interface
Issue 01/03 EN 3.3 User interface - views and menus
33
3.3.2.3 "Options" menu
The "Options" menu is only available in the main view. This menu contains all the supplementary
functions. 3
Å Click the required menu item and then make the appropriate settings or selections in the cor-
responding windows or dialog boxes.
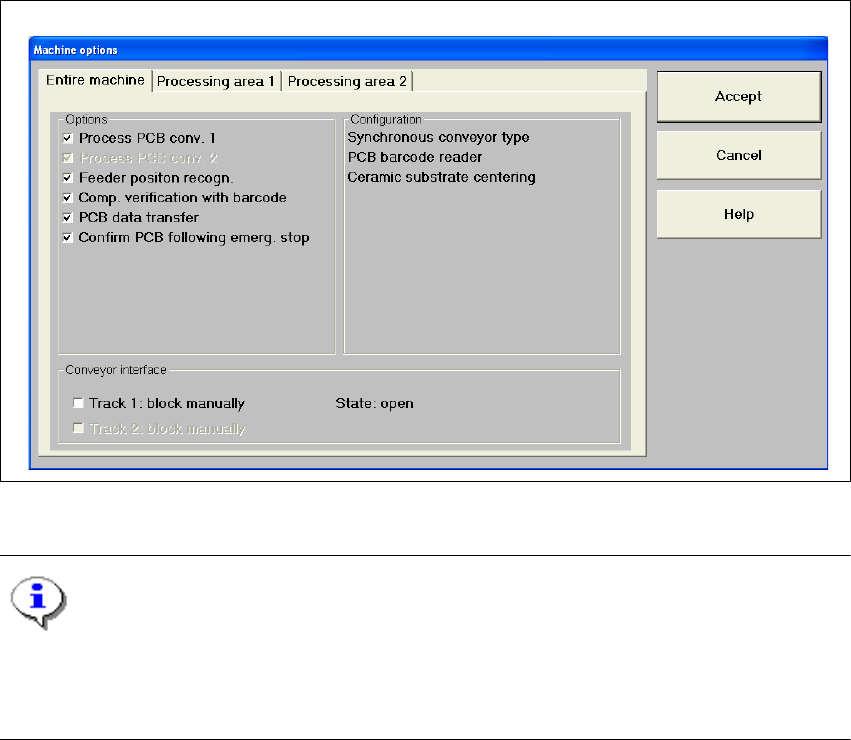
Machine options... 3
Depending on access level, you can obtain information about the station configuration ("Opera-
tor") or activate or deactivate the displayed machine options ("Line engineer", "Service"). 3
Å Click the Machine options... menu item (or the appropriate button in the working area of the
main view). The following window is displayed.
3
Fig. 3.3 - 4 "Machine options - entire machine" dialog box (Example: HF)
NOTE
Only those machine options are displayed which are configured at the current station.
This dialog box may contain different information and check boxes depending on the type of
SIPLACE machine being used. 3
3 Graphical user interface SIPLACE Software Guide SR.504.xx
3.3 User interface - views and menus Issue 01/03 EN
34
Å Click the checkboxes corresponding to the machine options which you want to activate or de-
activate.
NOTE
At "Operator" access level, it is only possible to activate and deactivate the conveyor interface op-
tions. 3
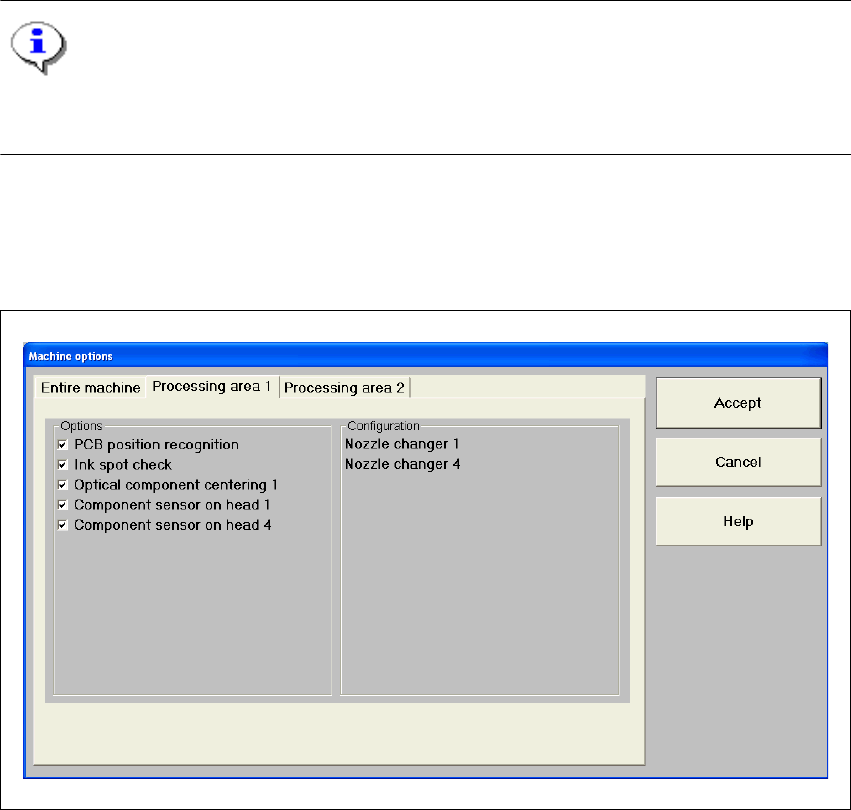
Å If you want to activate or deactivate the options for a processing area or view its configuration,
click the Processing area 1 or Processing area 2 tab to select the required area.
The display switches to the selected processing area (see example below for PA1).
3
Fig. 3.3 - 5 "Machine options - Processing area 1" dialog box (Example: HF)
Å Activate/deactivate the checkboxes corresponding to the required machine options.
Å Click Accept to save the settings.