00197197-02-IM SetupCenter 5.1.pdf - 第72页
Installation Software Installation Setup Center 72 Installation Manual SIPLACE Setup Center 5.1 Step 3 Licence dialog ► Read the license agreement. If yo u agree with the conditio ns, c lick I accept ... , otherwise clic…
Installation
Setup Center Software Installation
Installation Manual SIPLACE Setup Center 5.1 71
Installing Forced Setup Verification and CLI
The dialog boxes shown below will be displayed during the installation procedure.
Step 1
► Insert the SIPLACE Setup Center installation CD into the CD-ROM drive. The installation routine
starts automatically.
► You can also start the installation by running the Autorun.cmd program located in the root directory
on the installation CD.
► This starts the user-controlled installation of SIPLACE Setup Center; you are prompted to select the
installation language.
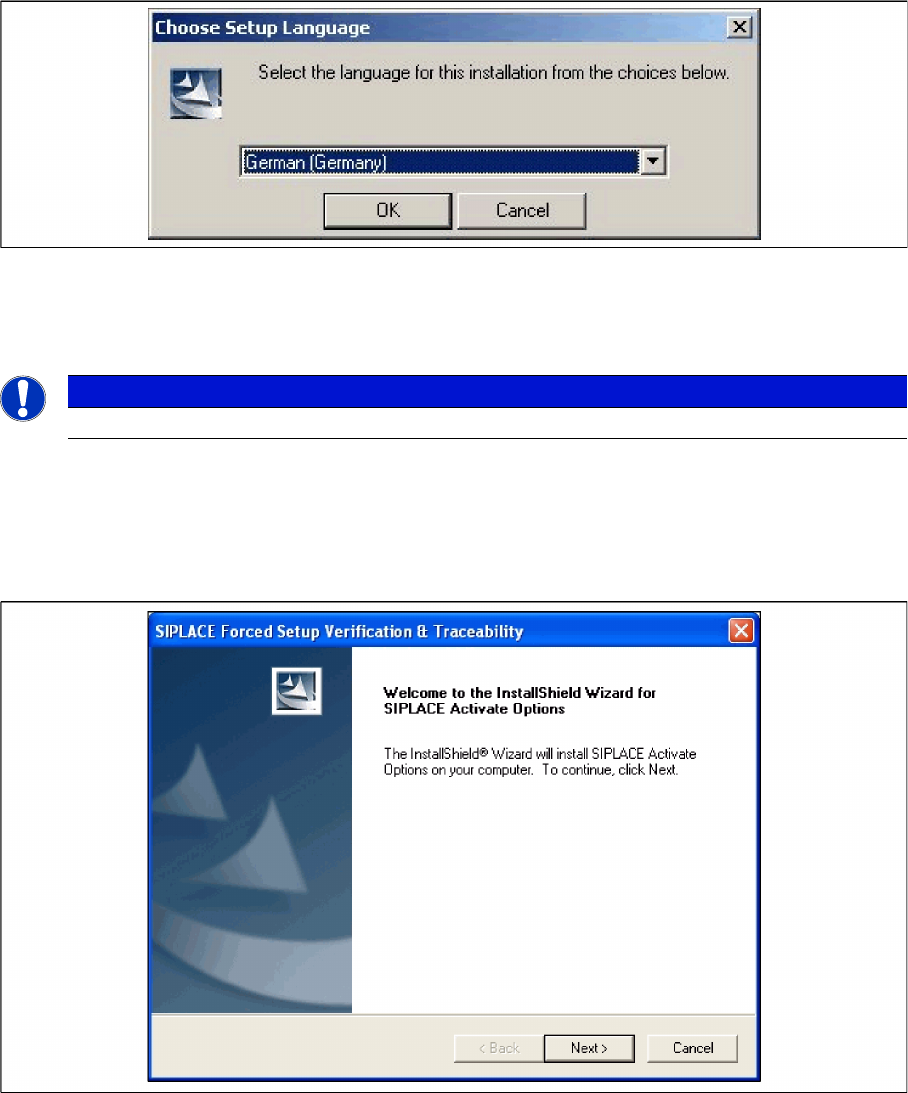
"Choose setup language" dialog box
► Select the language you want.
► Click OK.
Step 2 Welcome dialog
► Log on as administrator to the station PC.
► Place the product CD in your CD-ROM drive.
► The Start screen appears.
NOTICE
This decision only relates to the language used during the installation routine!
Installation
Software Installation Setup Center
72 Installation Manual SIPLACE Setup Center 5.1
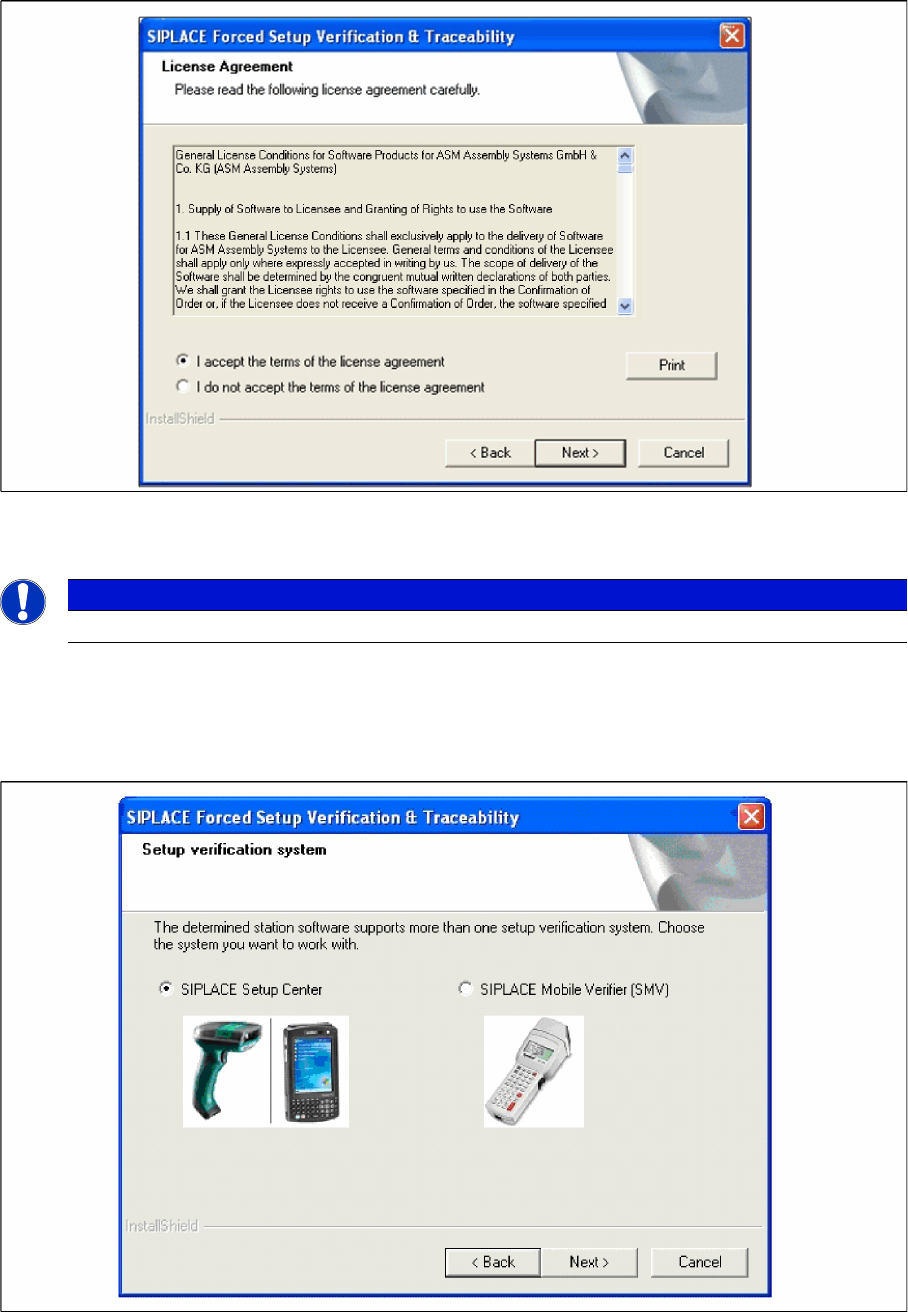
Step 3 Licence dialog
► Read the license agreement. If you agree with the conditions, click I accept ..., otherwise click on I
do not accept.... If you select I do not accept ..., the installation procedure will be terminated.
► Click on Next, to continue the installation procedure.
Step 4 Setup verification system
► The station software version 407 and 505 offers two different interfaces to the Setup verification sys
-
tem. By choosing the corresponding Setup verification system the interface will be configured in the
station-software accordingly.
► Click Next to continue.
NOTICE
This Dialog will only appear for the machine with the station-software version 407 and 505!
Installation
Setup Center Software Installation
Installation Manual SIPLACE Setup Center 5.1 73
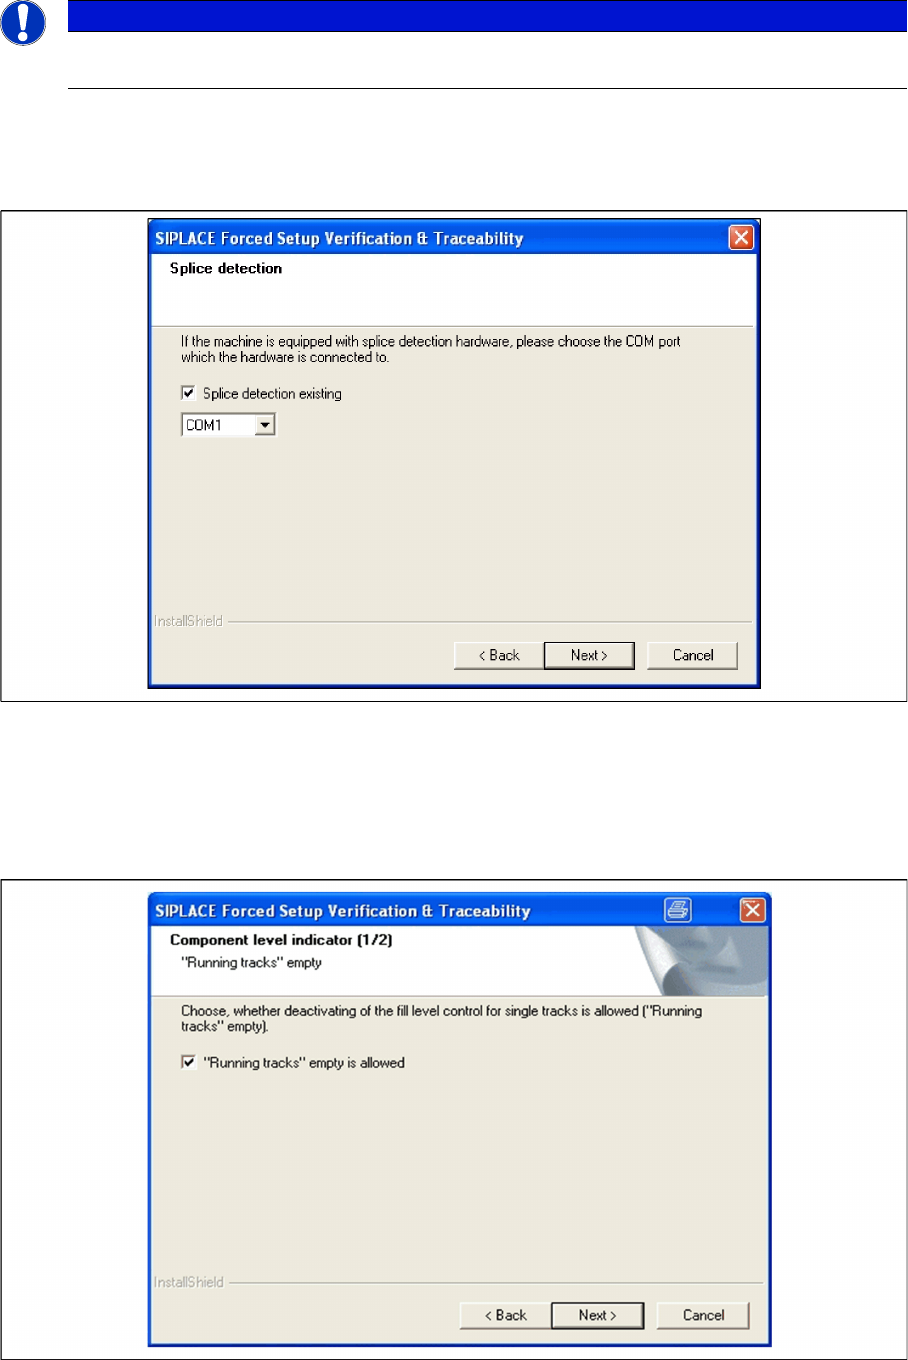
Step 5 Configuration of the Splice detection
► Select the checkbox Splice detection existing, if a splice detection is available.
► Enter the COM Port where Splice detection is plugged in or leave empty the entry field.
► Click Next to continue.
Step 6a Fill Level Control (1)
► If the fill level control should be disabled for single tracks, activate the checkbox “Running tracks”
empty is permitted. After that you can let single tracks go empty consciously.
► Click Next to continue.
NOTICE
This dialog will not appear for X-serie machines since the splice interface is always integrated
into the X feeders and is not available for S feeders at these machines!